This post was last updated on 2025 October 26
This article on The Laugavegur Trail may contain affiliate links. If you click and make a purchase using these links, I will make a small commission at no extra cost to you. Thanks so much for supporting Frugal Frolicker! :)
This Laugavegur Trail article was originally published on 26 October 2014.
—
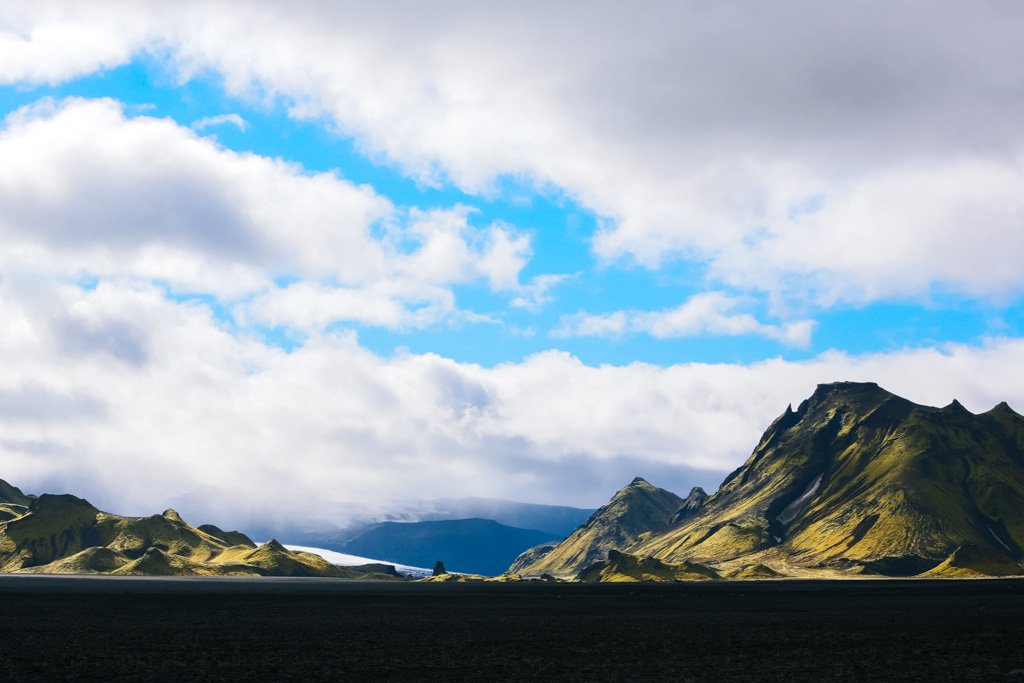
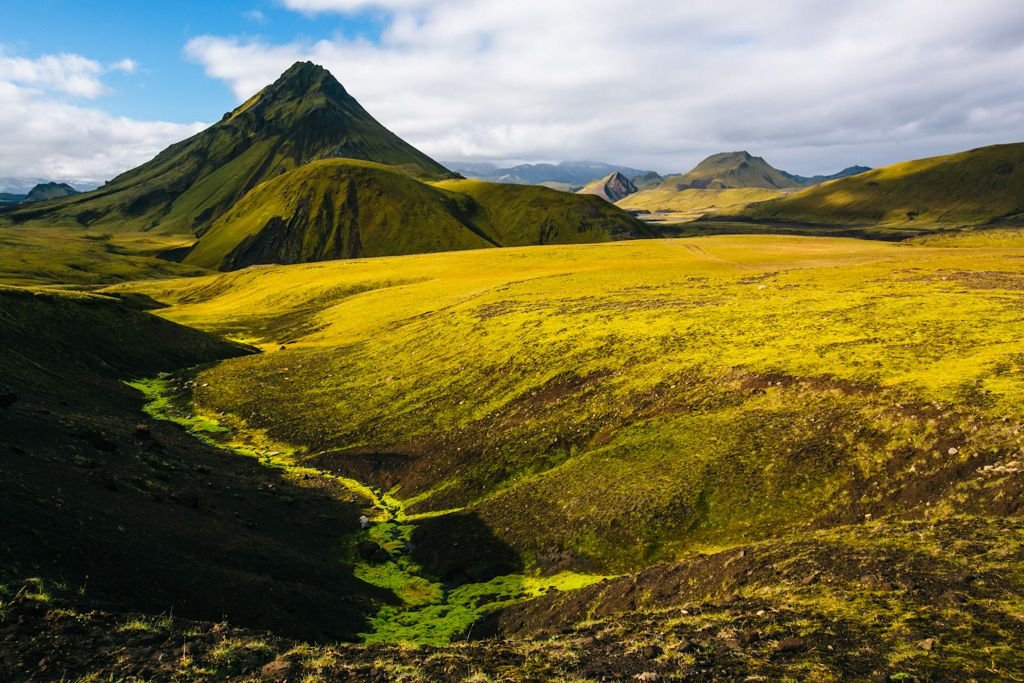
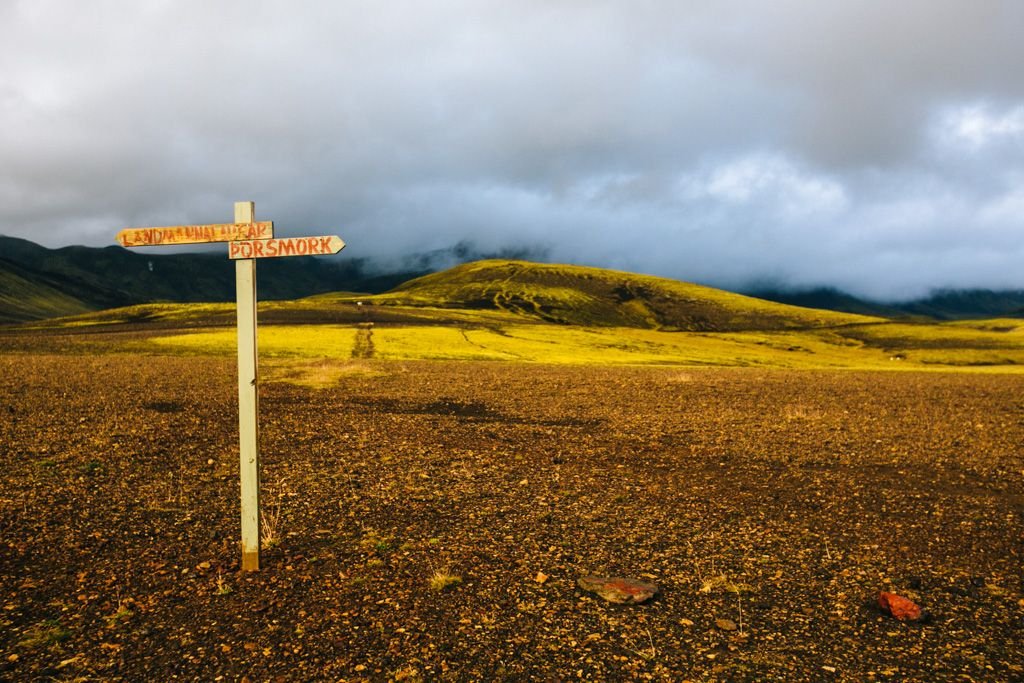
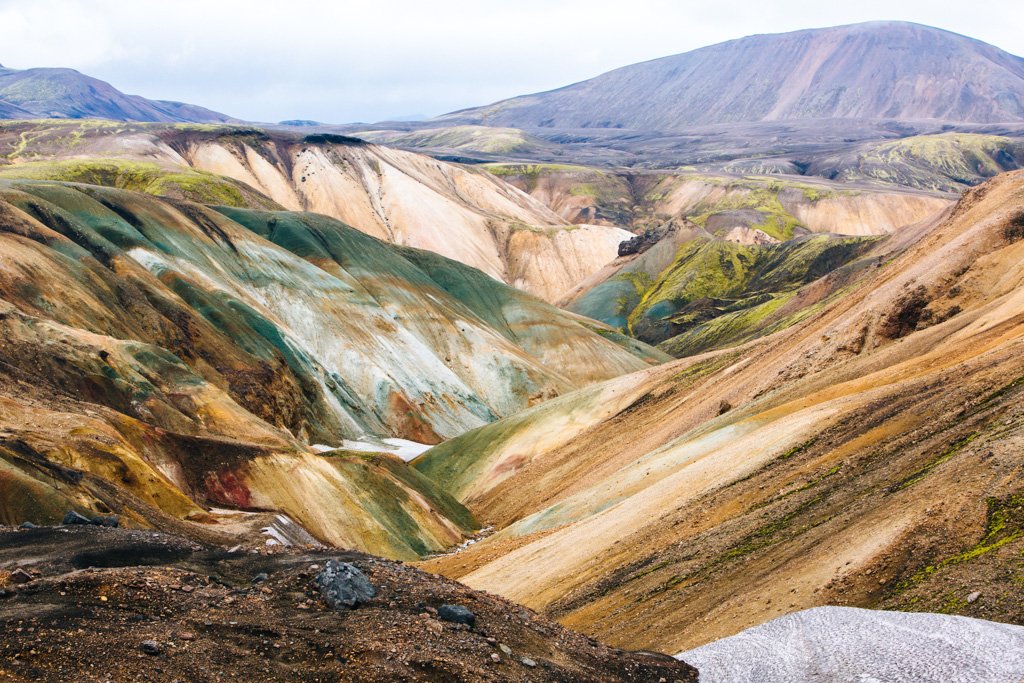
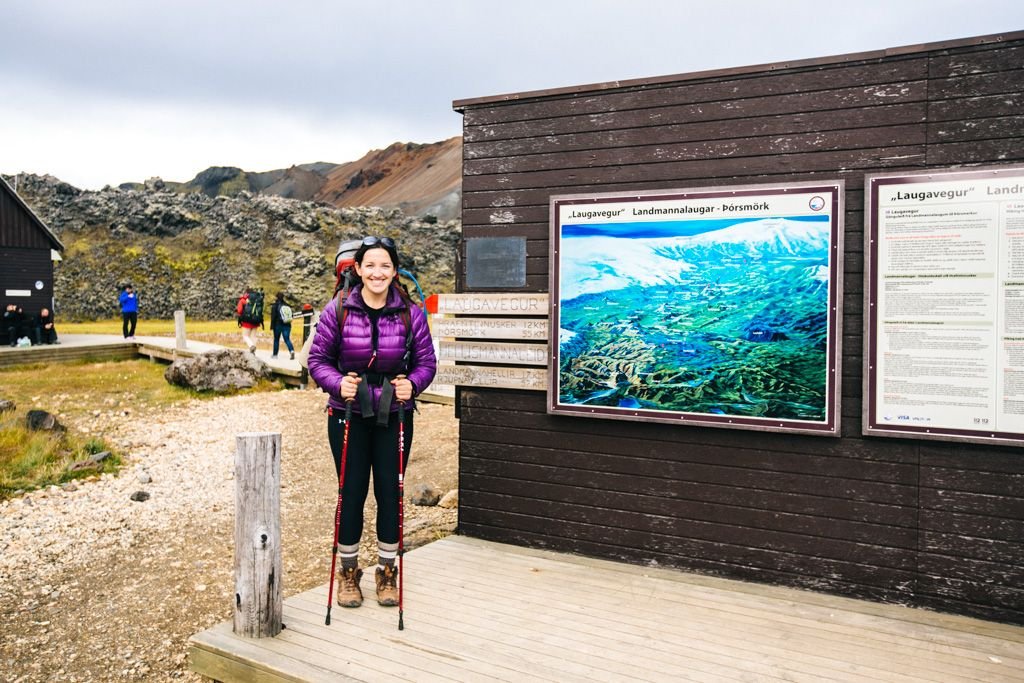
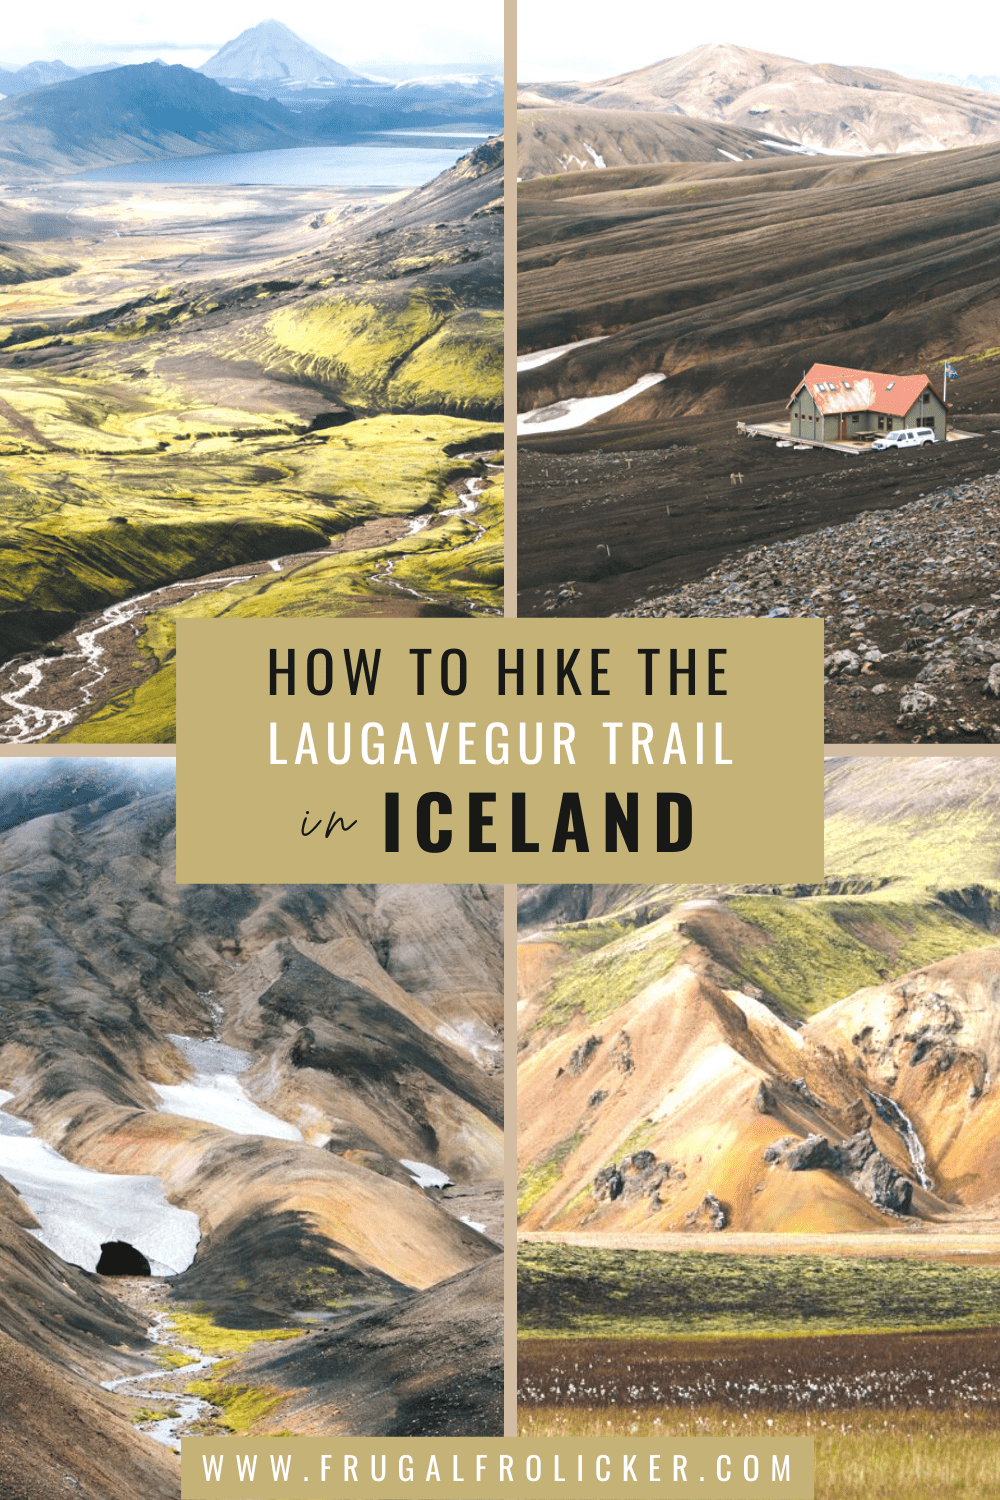
Considered Iceland’s most popular hiking trail, the Laugavegur Trail (or Laugavegurinn Trail) spans 55km from Landmannalaugar to Þórsmörk (Thorsmork). It passes through a very colorful, varied landscape: from rainbow-colored hills to black volcanic deserts, neon green valleys to ice caves.
This is not a trek for wildlife spotting or tree hugging – nope, just wide open landscapes that seem to have sprung from another world.
In this article, I’m going to help you plan for the Laugavegur Trail in Iceland: everything from how to get there from Reykjavik, to where to stay on the trail, to what to pack.
1. Research Bus Timetables in Iceland
There are only 2-3 months out of the year where it’s possible to hike the Laugavegur Trail. Outside of mid-June through mid-September, the roads leading to and from the trail are impassible and buses do not run. Depending on weather, i.e. how heinous the winter was, there may be too much residual snow to make the trek in June.
I highly recommend playing it safe and planning your Laugavegur Trek for somewhere in the mid-July to mid-September range.
Thus, the very first thing you should do is check to ensure buses are running on the days you want to start and end the trek. Reykjavik Excursions is the main bus company serving Iceland, but Trex also runs buses to the trailheads. You might also consult Nordic Adventure Travel which consolidates the various timetables on a very messy, confusing website.
You’ll want to check what time buses run between Reykjavik and Landmannalaugar, as well as Reykjavik and Thorsmork (or alternatively Skógar, if you want to add an extra day to your trek).
Planning a trip to Iceland?
These are the sites I use and recommend for booking travel:
HOTELS IN ICELAND: I always search on Booking.com for accommodation, as their Genius loyalty program offers 10-20% discounts and free breakfast/upgrades for certain hotels.
FLIGHTS TO ICELAND: When researching flights, I always check Skyscanner first because it pulls in flight options across all airlines and saves you the trouble of searching each airline individually. When booking flights via Skyscanner, I always book directly with the airline rather than one of the third party options.
CAR RENTALS IN ICELAND: When renting a car on your travels, check DiscoverCars.com for the best deals.
ACTIVITIES IN ICELAND: If you’re looking to book tours or other organized activities on your travels, GetYourGuide and Viator both offer myriad options for fun things to do all around the world (think: sailing trips, cooking classes, city walking tours, and more).
TRAVEL INSURANCE FOR ICELAND: Unless you can easily afford to pay for huge unexpected medical bills, DON’T TRAVEL WITHOUT TRAVEL INSURANCE! These days, I usually buy the Safety Wing nomad insurance, as it’s very affordable and caters to digital nomads with a monthly subscription option. I’ve also been a longtime World Nomads user, and will still use them if I need more comprehensive insurance (e.g. for adventure activities) or if I am visiting the US (Americans aren’t eligible for Safety Wing’s US add-on option).
ESIM / SIM CARDS FOR ICELAND: When traveling overseas, I always purchase an eSIM from Simify for the country I’m going to, activate it before I depart, and as soon as I arrive I am automatically connected to the local network and can easily find my way to my accommodation. No need to to buy a local SIM card at the airport; eSIMs are fully electronic and don’t require you to take out your old SIM.
LUGGAGE: I am currently a July luggage girl (July Australia / July US). They offer a lifetime warranty, which I have used multiple times now – and every time, they have sent me a brand new replacement suitcase without hassle. I recommend their Checked Plus if traveling with 32kg/70lb of luggage (note: many airlines do not allow bags this heavy!), the Checked if traveling with 23kg/50lb of luggage, and the Carry On Light (Expanded) which is super lightweight and really helps you stay within the 7kg carry-on limit that many Aussie airlines enforce. Click to read my full review of July luggage.
2. Map Out Your Route for the Laugavegur Trail
Then, with bus schedules at hand, it’s time to piece together your route for the Laugavegur Trail. You can do the Landmannalaugar – Thorsmork section comfortably in 4 days/3 nights, which should allow ample time in the evening to tackle the optional night hikes if you’re up for it.
However, if your time in Iceland is not so limited, I encourage you to add extra days to more thoroughly explore the region. You have a few options here:
-
- Stay an extra day in Landmannalaugar – The only swimmable hot spring along the trek is in Landmannalaugar, so unless you’d like to kick off your lengthy first day of hiking with a dip or start the trek from the south, consider alloting an extra day to swim or do some short day hikes around Landmannalaugar, and stay overnight at the Landmannalaugar hut. Plus, this is the most beautiful region along the Laugavegurinn – why WOULDN’T you want more time here?
-
- Add an extra day to extend the trek from Thorsmork to Skogar – In stark contrast to the rest of the Laugavegurinn Trail, this 25km segment is speckled with waterfalls and craters. It’s doable in about 10 hours, though you might prefer to take your time and spread it across two days of hiking.
-
- Add one or more days to sample the day hikes from Thorsmork – Thorsmork is paradise for day hikes, which you can enjoy without having to lug around a big backpack. There are hikes you can follow into the valley or up into the surrounding mountains, most of which run through the forest – something that the rest of the trail is sorely lacking. There’s also a hike that leads to the foot of Eyjafjallajokull glacier, which is worth doing if you won’t be taking a separate glacier tour in Iceland.
You’ll want to plan your route so that you arrive in Thorsmork early enough on your last day to catch the bus back to Reykjavik. (I may or may not have inadvertently planned on taking a bus back on the same day I was due to fly out of Reykjavik… oops!)
Also consider the direction in which you’d like to tackle the hike. Trekking north to south is more common, as Landmannalaugar is 300m higher in elevation than Thorsmork – though it can very well be done in reverse.
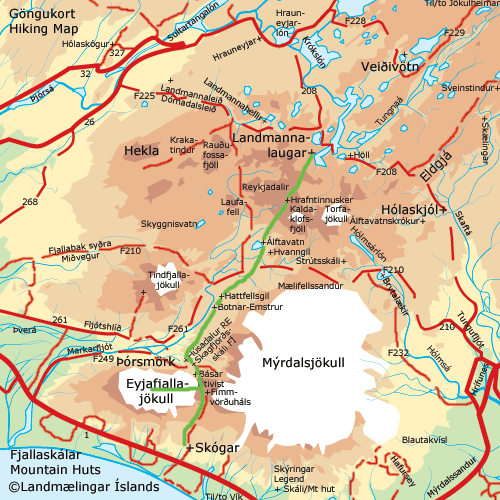
I did not carry a Laugavegur Trail map with me and felt that the trail is quite obvious to follow. For peace of mind, you could always purchase a Laugavegur Trail Map beforehand and bring it with you.
Source: Nordic Adventure Travel
Here’s what a 4 day hike from Landmannalaugar to Thorsmork looks like, day by day:
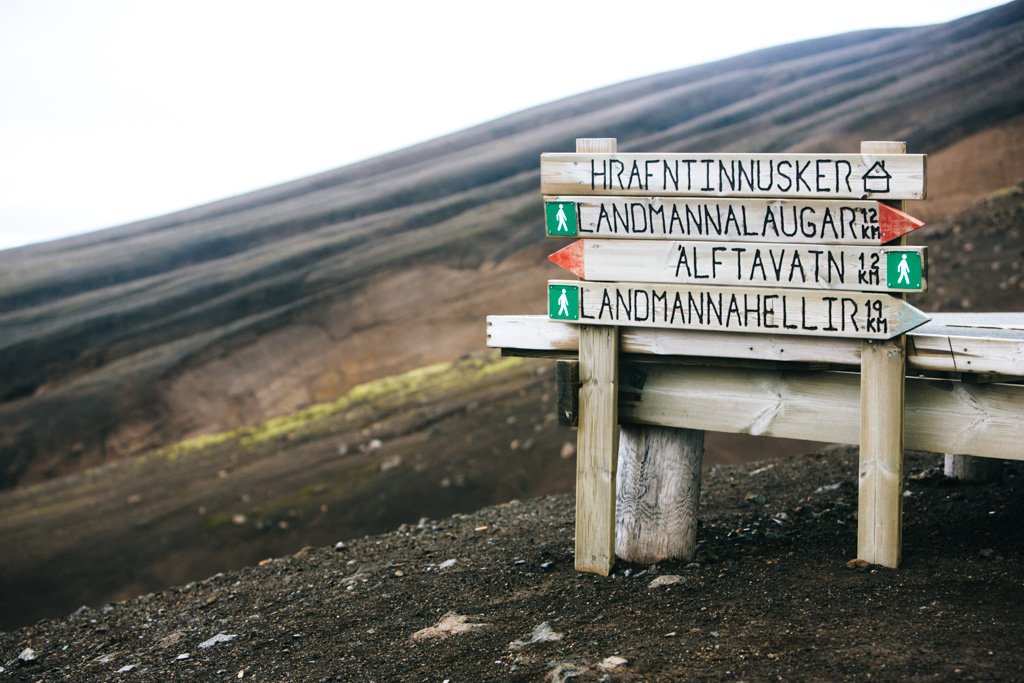
Day 1: Landmannalaugar – Hrafntinnusker
12km, 470m elevation gain, 4-5hrs
Optional night hikes from Hrafntinnusker hut: Mt. Söðull (20 minute walk), ice caves (40 minute walk)
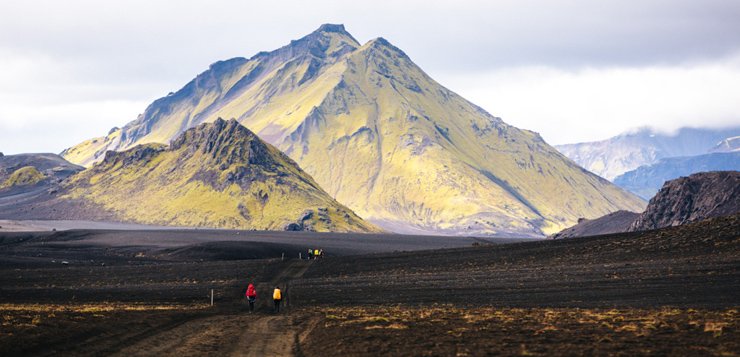
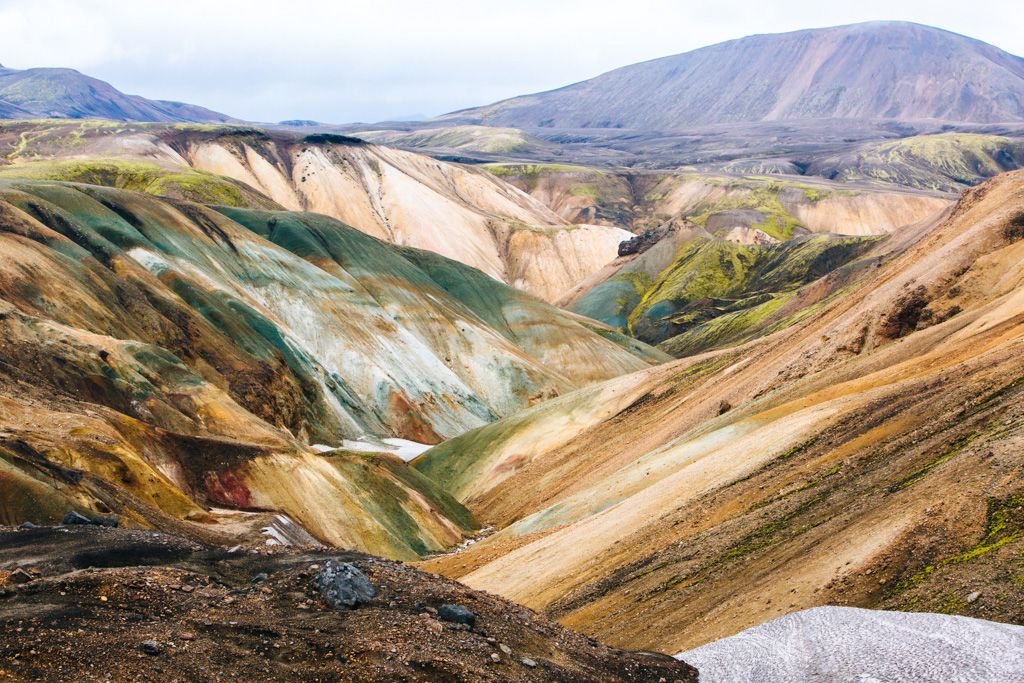
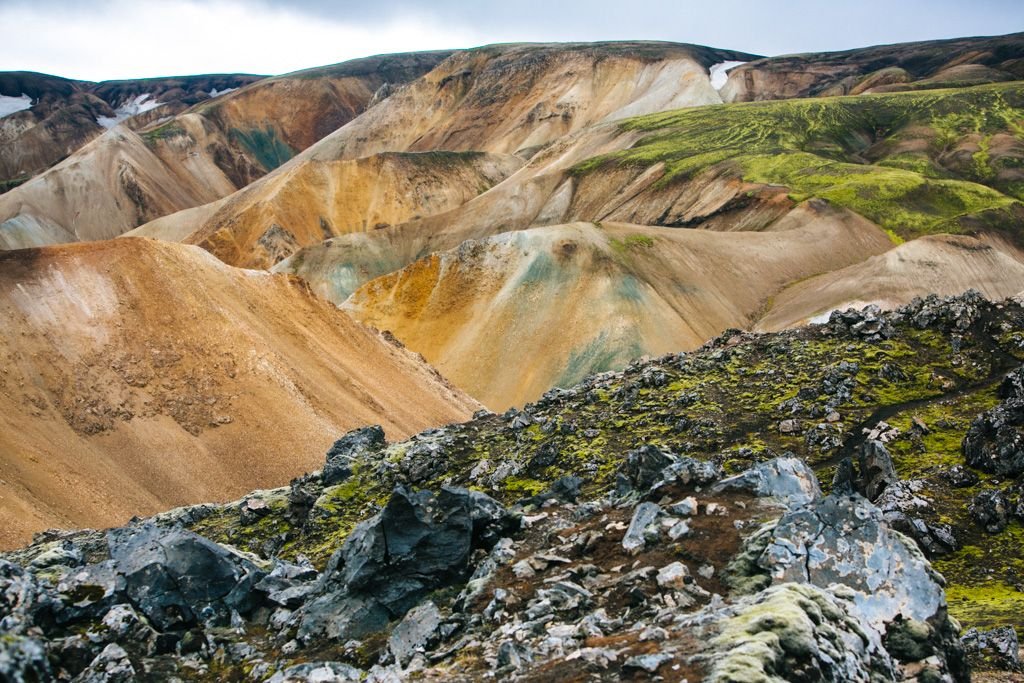
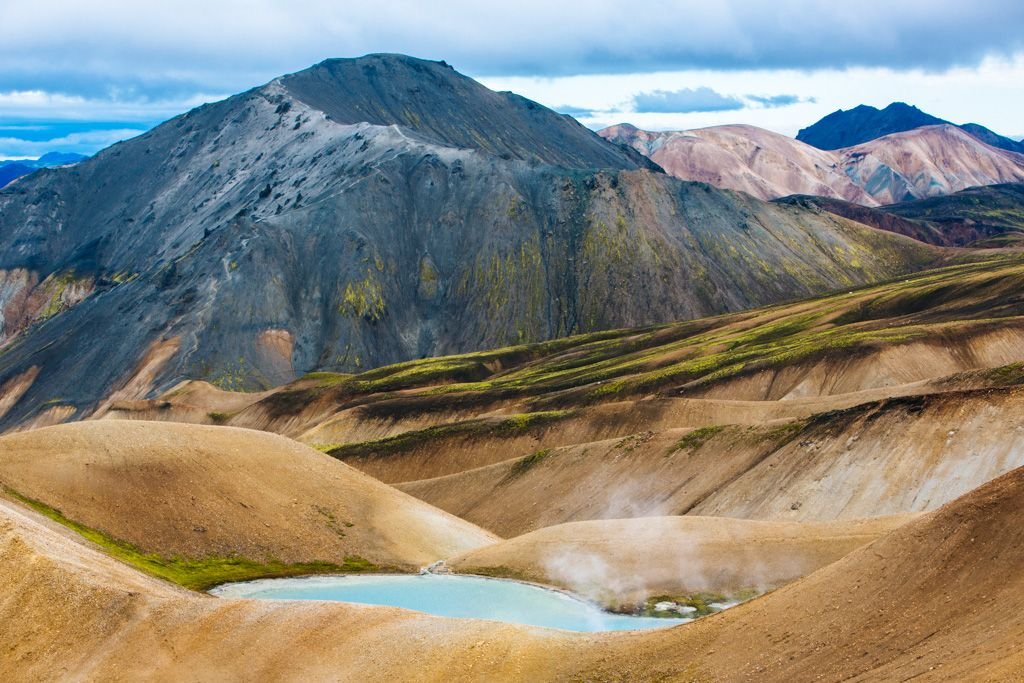
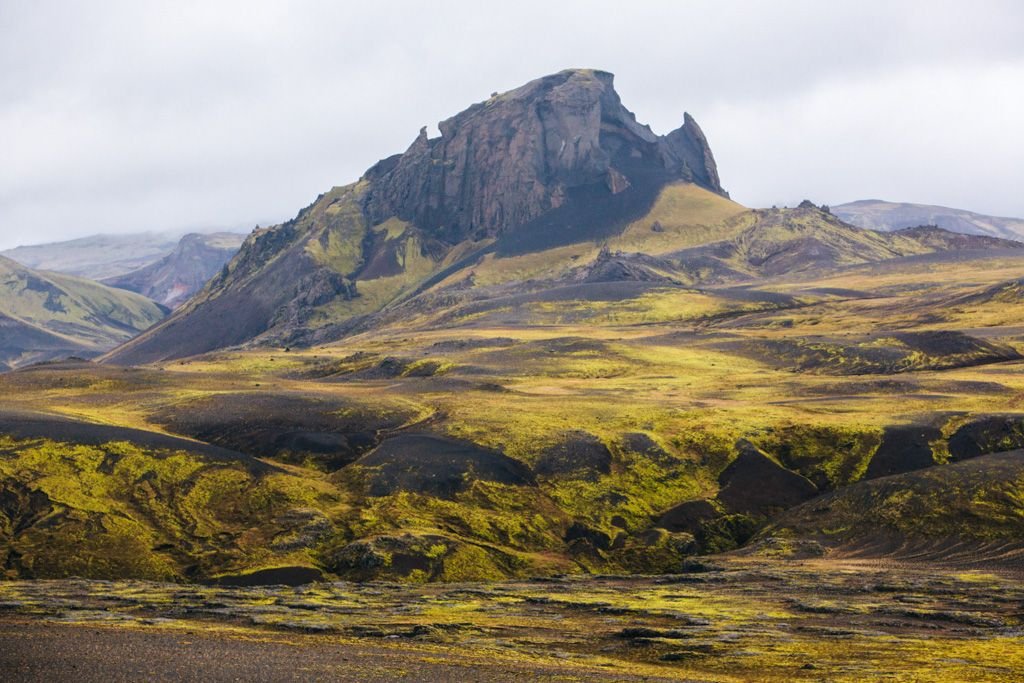
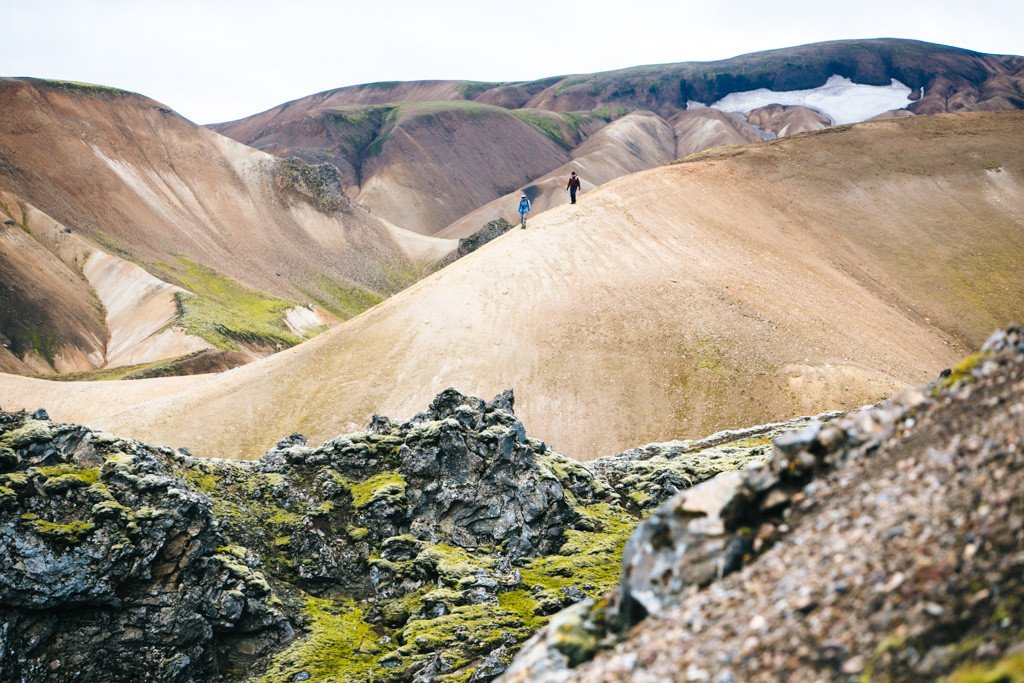
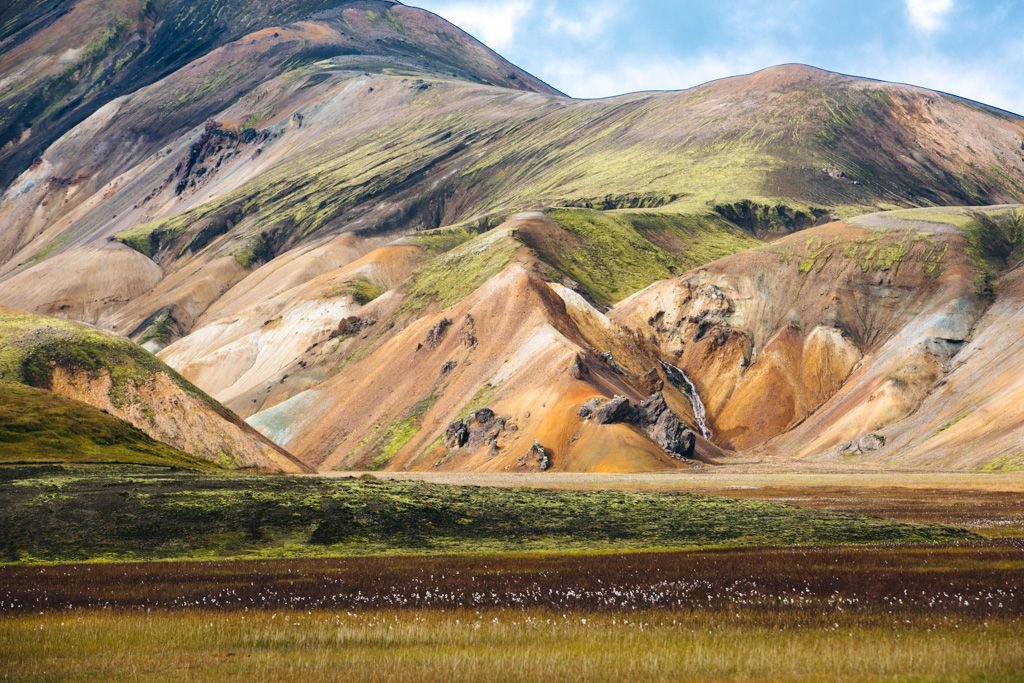
The first day of the Laugavegur Trek just blew my damn mind. It was both the most physically challenging and aesthetically rewarding of the 4 trekking days. In no time it turned into a rainbow-colored mountainous wonderland and I just COULD NOT PUT MY CAMERA DOWN.
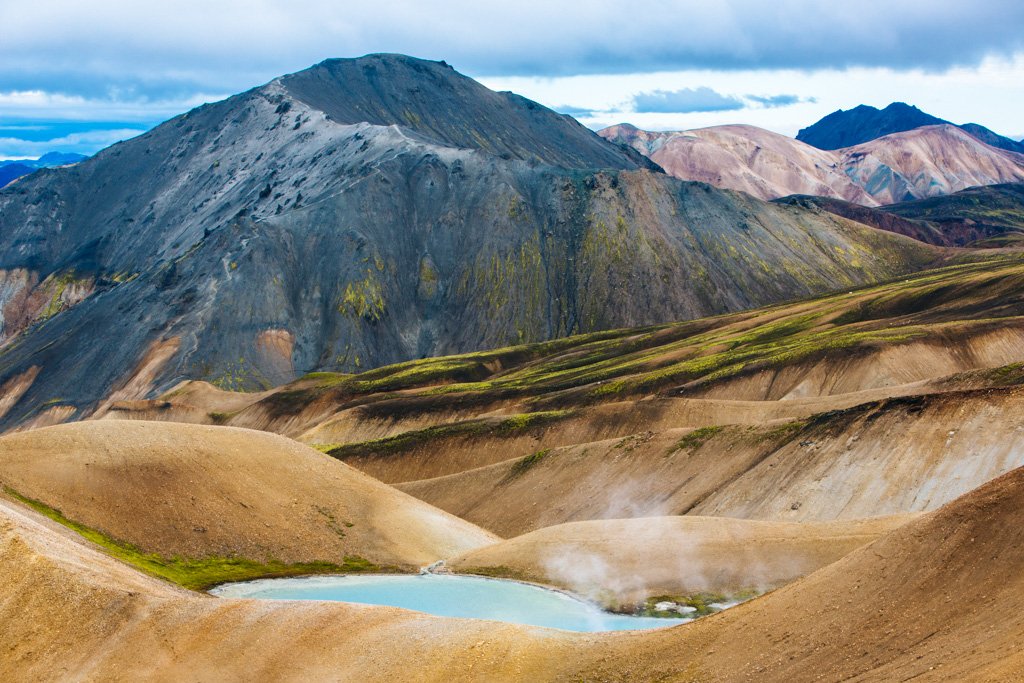
Wildflowers, volcanic rock, geothermal pools, waterfalls, glaciers, braided hills laced with neon green moss. Oh my sweet baby Jesus, just look at the Landmannalaugar region:
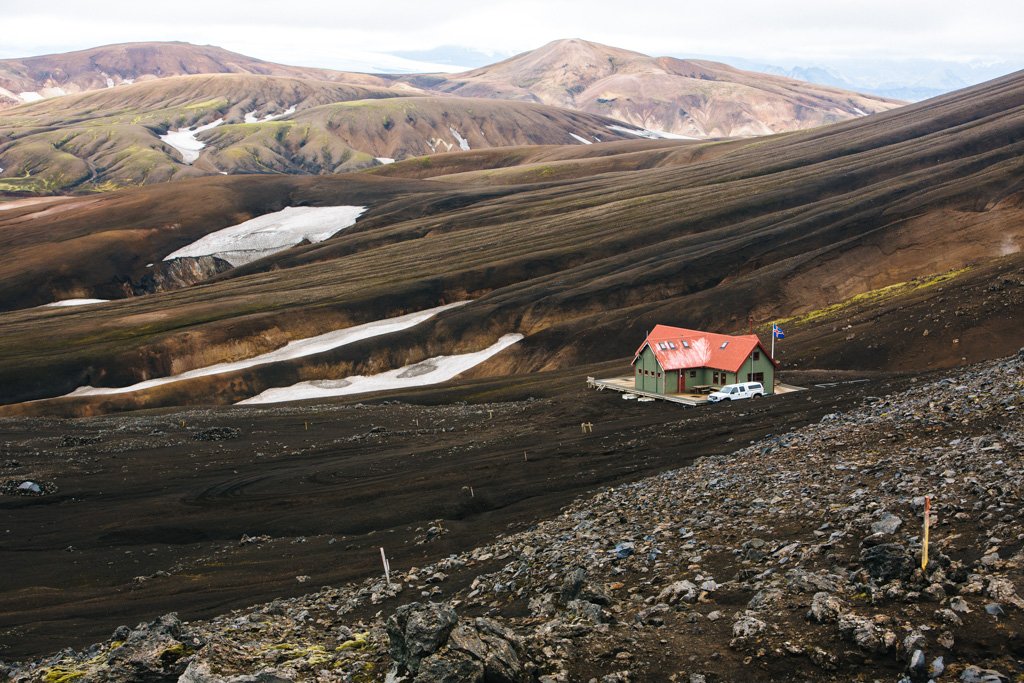
Snow gradually started creeping into view as we gained elevation. During this last hour of trekking we were exhausted, cold, and begging the Icelandic gods for our hut to be just over the next hill. And the next.
And so on until we practically dropped to our knees at the sight of Hrafntinnusker. Man, what a day.
Day 2: Hrafntinnusker – Álftavatn
12km, 490m elevation drop, 4-5hrs
Optional night hikes from Álftavatn hut: Mt. Brattháls (1-2 hours return), Mt. Torfatindur (1-2 hours to climb 818m)
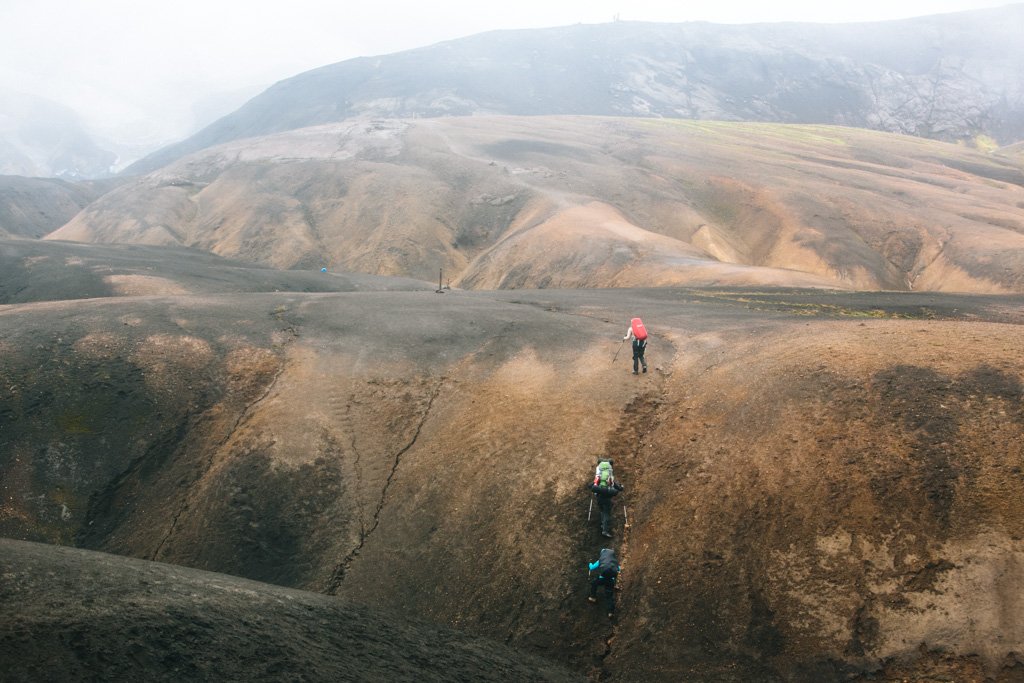
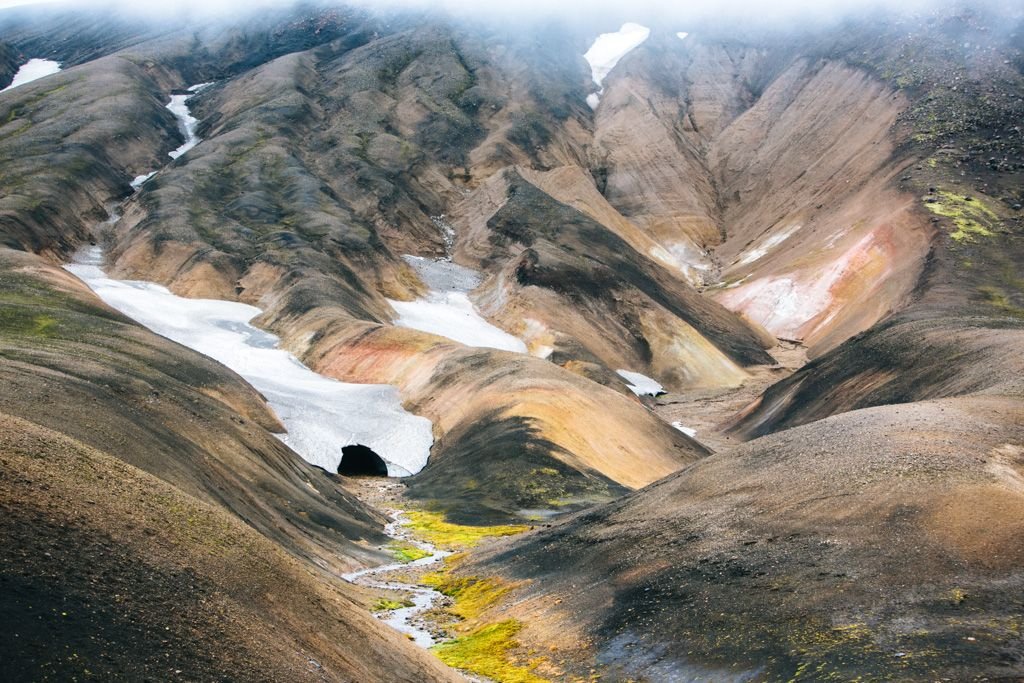
The second day of the Laugavegur Trail was quite a stunner as well. It began with heavy wind and light rain as we trudged through fog in a constant uphill/downhill pattern. Every so often the fog would lift for a few seconds and reveal ice caves and braided hills beyond the black landscape just in front of us.
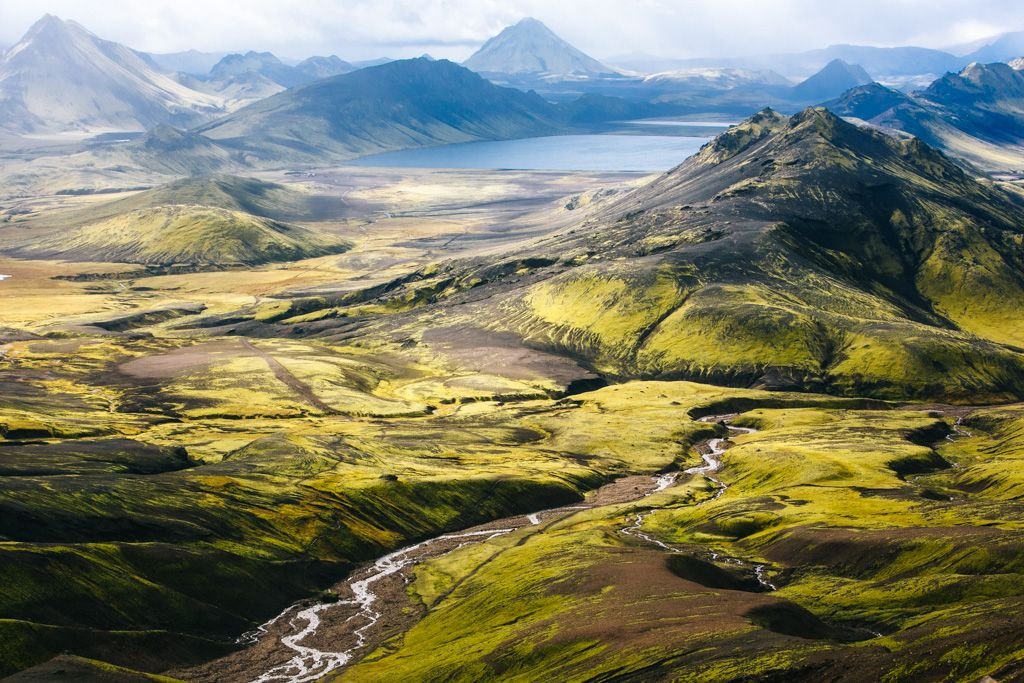
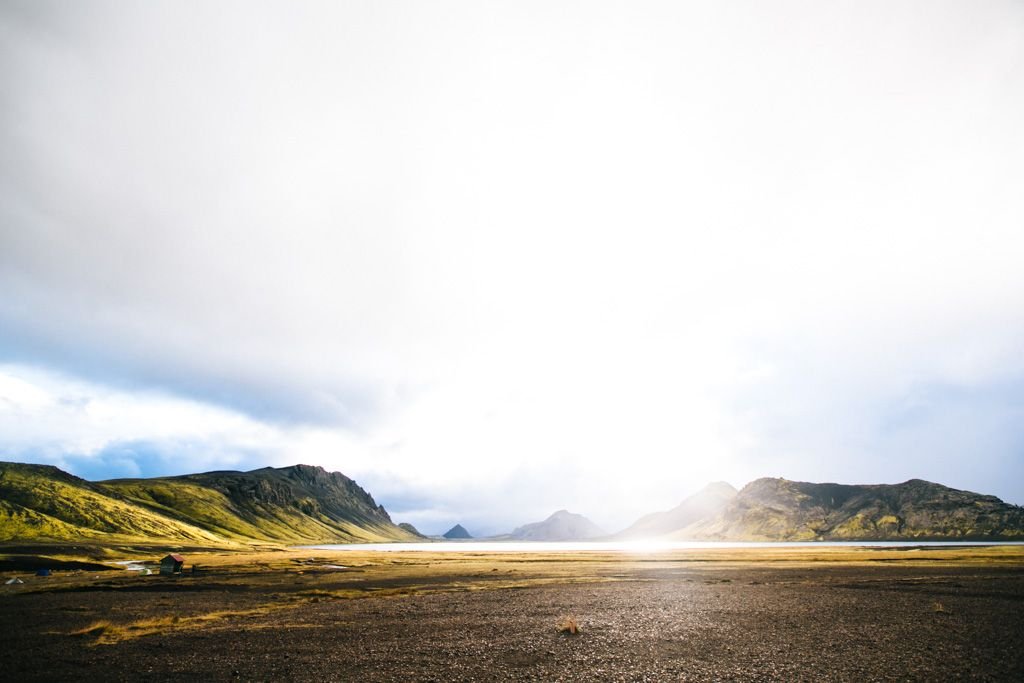
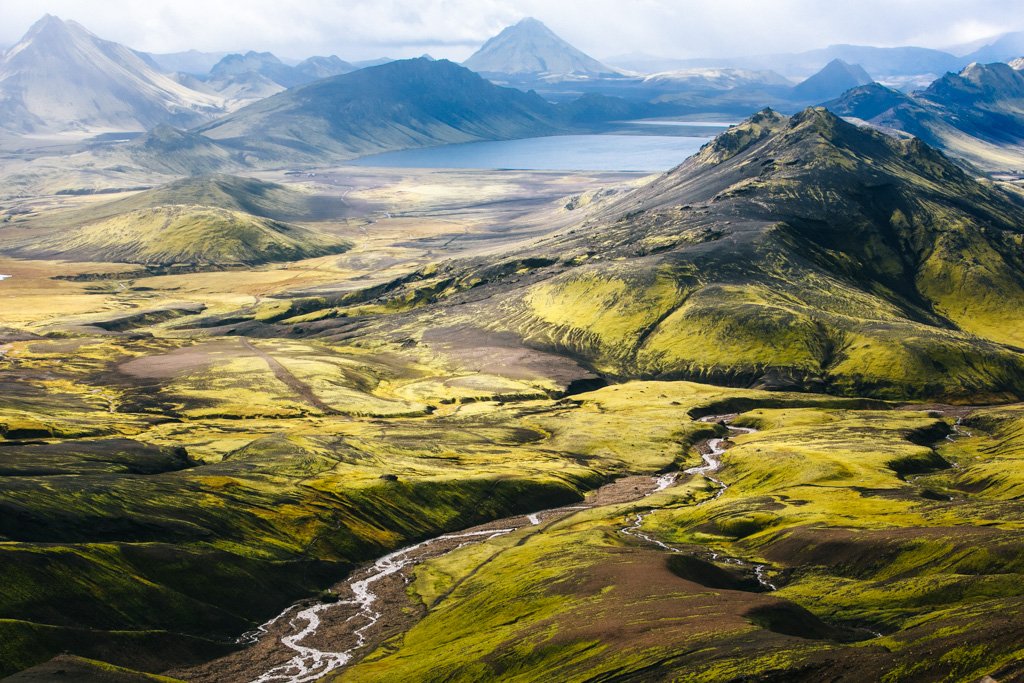
We reached our highest elevation around midday and, as if on cue, the clouds parted to reveal the brightest green valley below, dotted with peaks and accented with blue lakes. We had an ARE YOU KIDDING ME moment, then began the steep decent into it. There was a traumatizing river crossing and a wrong turn I’d prefer not to relive, but we made it to Álftavatn just in time for golden hour on the lake. PERFECTION.
Day 3: Áftavatn – Emstrur/Botnar
15km, 40m elevation drop, 6-7hrs
Optional night hikes from Emstrur hut: Markarfljótsgljúfur canyon (45min return)
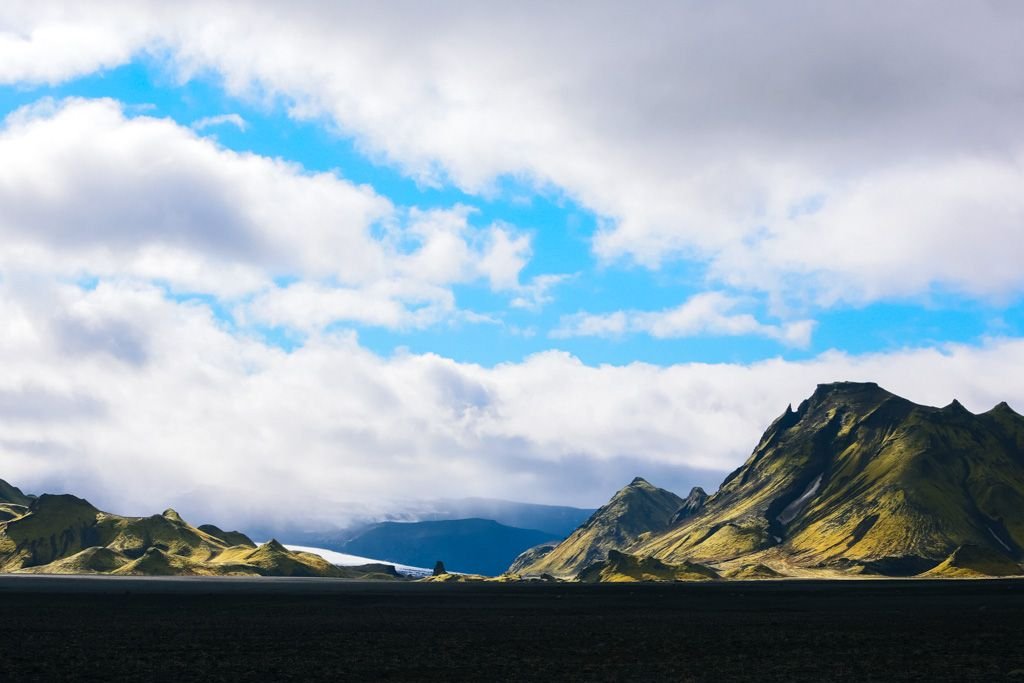
I wasn’t particularly looking forward to Day 3 of the Laugavegur Trek because it would entail *2* river crossings, but I powered through them like a champ (a humble champ, mind you). Then the trail merged with the 4WD road for a bit and instantly felt less trek-like – that is, until I looked to my left and glimpsed a glacier peeking out from between the peaks. As if that weren’t enough, the light was hitting the scene just right. Nicki and I whipped out our cameras on reflex and shot the hell out of it – as avid photographers do.
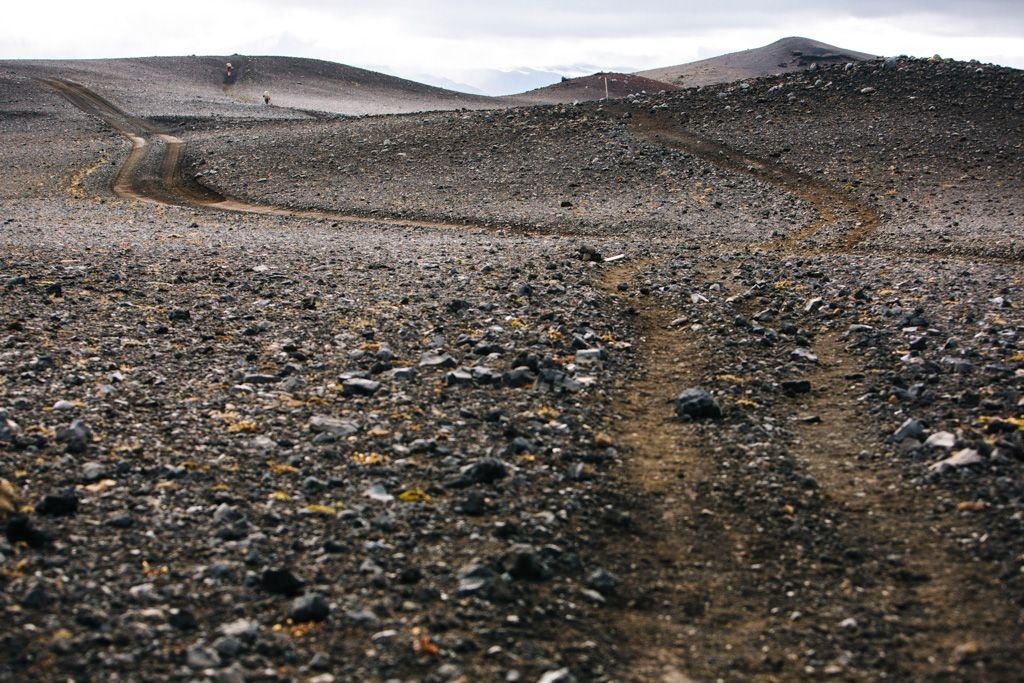
The second half of the day took us through a massive black desert. We kept turning corners, insisting that the hut just HAD to be there – but no, just more black sand and nothingness. It felt endless like it did at the end of the first day, except without the dramatic landscape to entertain us.
I’d had grand plans to hit the ‘night hikes’ at each hut, but at the end of the first two days of trekking I was happier warming up and relaxing at the hut in the evening instead of heading back out to the hills. I have no regrets about skipping these side hikes.
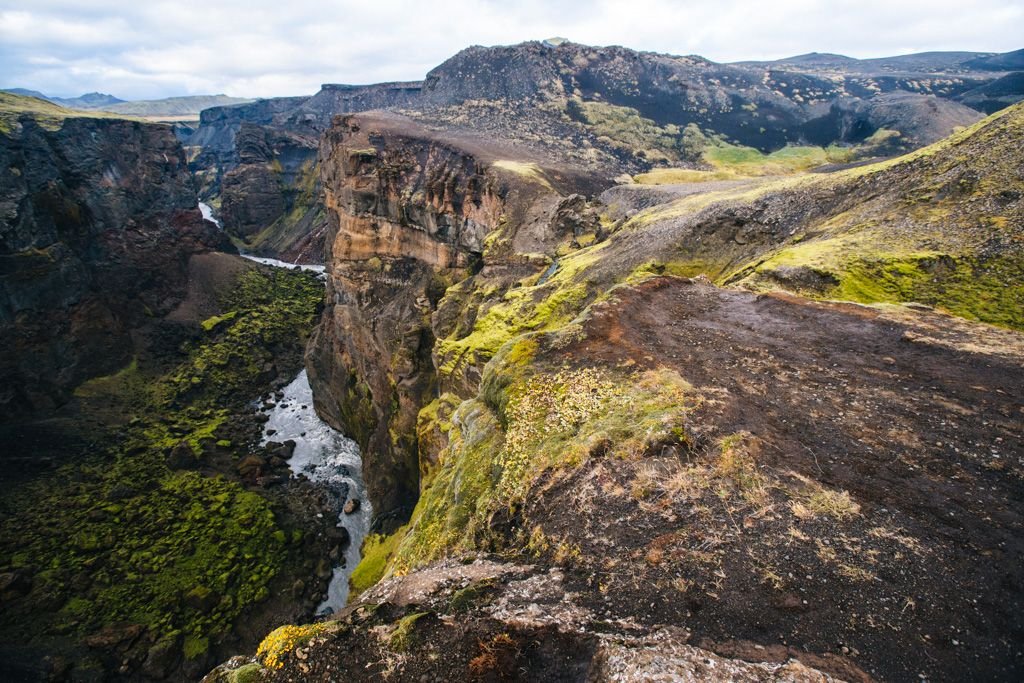
BUT, since the third day of trekking wasn’t quite as exciting, I was keen to check out the night hike from Emstrur. It brought me to this gorge, where I planted myself until the sun went down. It was beyond glorious and just… so peaceful.
Day 4: Emstrur/Botnar – Thorsmork
15km, 300m elevation drop, 6-7hrs
Optional night hikes from Thorsmork: Mt. Valahnúkur, Sönghellir Cave, and many more
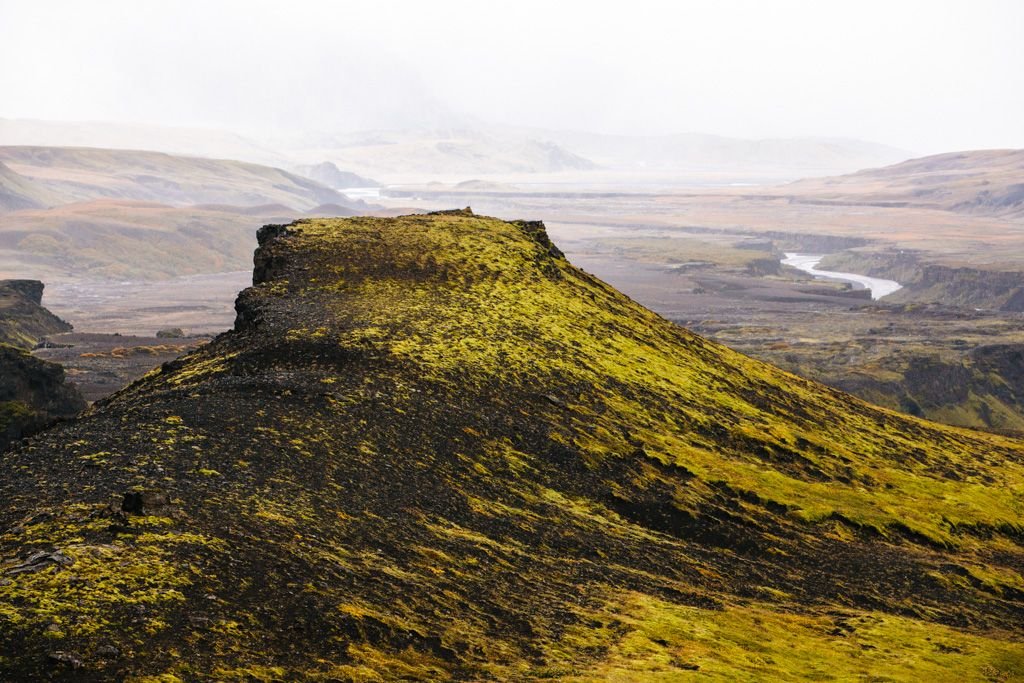
The weather turned its back on us completely on the last day of the Laugavegur Trek. About 10 minutes into it, my backpack cover bit the dust and blew away in the wind without my even realizing it. My bag got wet, my gloves were soaked through, and the entire time I was dreading the massive river crossing that was rumored to be up to our thighs. Needless to say, the camera stayed stashed in my backpack for 98% of the day.
I was ECSTATIC to reach sunny Þórsmörk (Thorsmork) and in dire need of a hot shower and coffee. I took care of both there before we caught our bus back to Reykjavik.
3. Book Your Huts for the Laugavegur Trek
As soon as you know approximately where you’ll be trekking each day, you should book your huts. Ferðafélag Íslands (FI) hosts several huts along the trail which they highly recommend trekkers book several months in advance. The huts are in full operation while the buses are still running to/from the trail; if buses aren’t running, then the huts are closed for the season.
Most huts along the Laugavegur Trek are 9500kr (US$68) per night, but before you let sticker shock take hold, consider the value here. I don’t know about you, but there’s precious little I want more after a long, arduous, and potentially wet day of hiking than to envelop myself in warmth and sprawl out on a mattress to recover from the day.
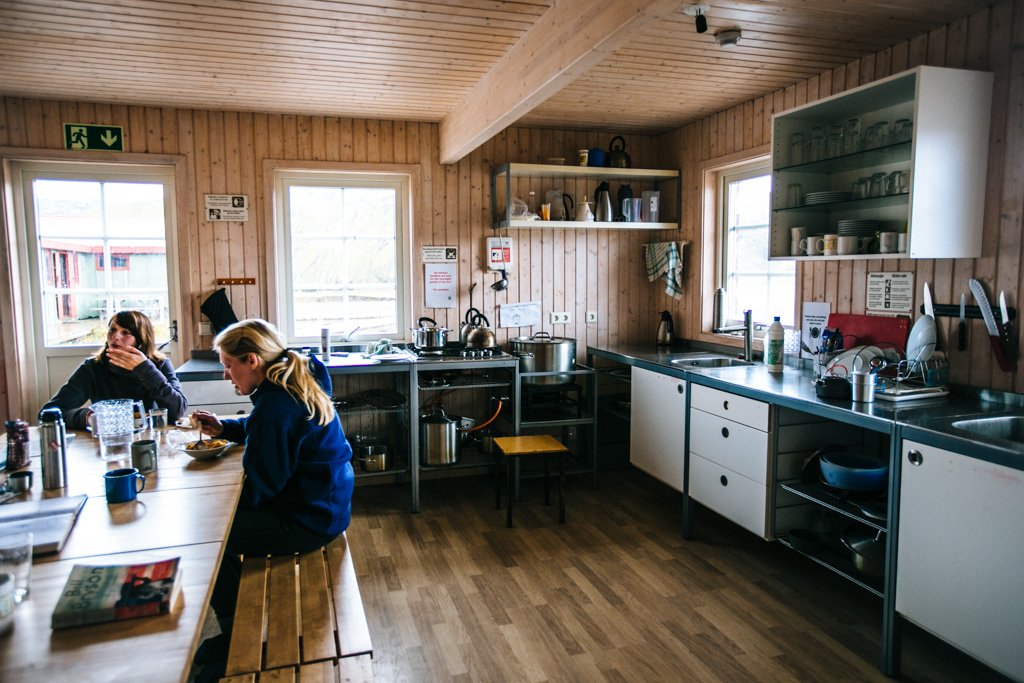
In addition to heat and beds, these huts come fully equipped with kitchen utensils, lighters, tables and benches, and well-kept bathroom facilities. Some even offer hot showers (5 minutes for 500kr/US$4).
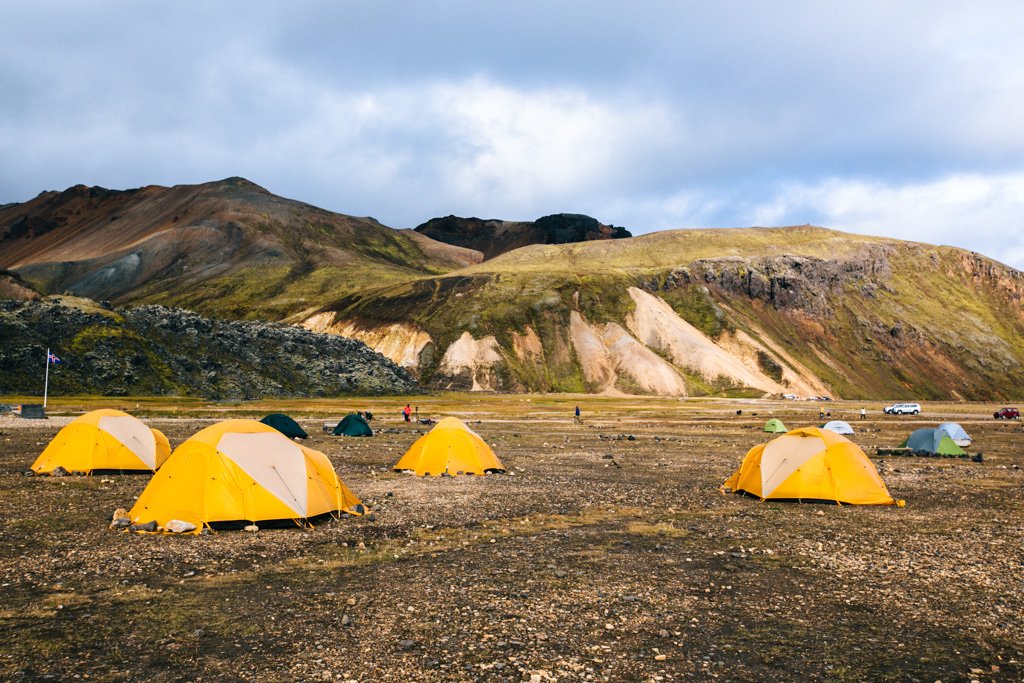
Alternatively, if lugging a tent and enduring the cold and wind aint no thang to you, you have the option of camping outside of the huts for 2000kr (US$14) per night. Campers do not have access to the cooking facilities inside the huts, but are free to use anything outside of the hut.
Tents at Landmannalaugar
These are the huts available for booking along the trail (in order from north to south), which you can reserve for 9500kr/night per person by emailing fi@fi.is:
- Landmannalaugar
- Hrafntinnusker
- Álftavatn*
- Hvanngil*
- Emstrur (Botnar)
- Thorsmork (Langidalur)
* These huts are a couple km apart, so you’ll book one or the other but not both
Since Þórsmörk (Thorsmork) is a hub for several day hikes and is more easily accessible than Landmannalaugar, it actually hosts 3 separate huts. The above mentioned Langidalur is a FI hut, but there are two other hut options in Thorsmork as well:
-
- Katla – owned and run by Volcano Huts, this slightly fancier accommodation offers bonus luxuries like a hot pool, sauna, and restaurant. Bunks are 5900kr/night (US$42) per person and can be booked on the Volcano Huts website.
-
- Basar – owned and run by Utivist, bunks in this hut go for 7200kr/night (US$52). You can reserve your spot by emailing utivist@utivist.is.
Álftavatn
A few other things to note about the huts on the Laugavegur Trail:
-
- You are expected to carry all your garbage with you throughout the trek. Only a couple of the huts have trash bins, so it’s mostly carry in/carry out.
-
- Each hut is looked after by a warden, who will ensure the heat is turned on for the evening and that everyone is checked in for the night who has a bunk reserved. Wardens are happy to provide trekkers with information about the trek – be sure to ask them what the “night hikes” are at their hut!
-
- Some wardens assign bunks, while others leave it first come first served. The nice thing is that they tend to assign the double beds to those who have booked together and save the single beds for the solo trekkers. If you’re concerned about potentially having to share a double bed with a stranger, you might want to aim to arrive on the early side.
-
- Huts do not provide linens or pillows. Bring a sleeping bag!
Planning a trip to Iceland?
These are the sites I use and recommend for booking travel:
HOTELS IN ICELAND: I always search on Booking.com for accommodation, as their Genius loyalty program offers 10-20% discounts and free breakfast/upgrades for certain hotels.
FLIGHTS TO ICELAND: When researching flights, I always check Skyscanner first because it pulls in flight options across all airlines and saves you the trouble of searching each airline individually. When booking flights via Skyscanner, I always book directly with the airline rather than one of the third party options.
CAR RENTALS IN ICELAND: When renting a car on your travels, check DiscoverCars.com for the best deals.
ACTIVITIES IN ICELAND: If you’re looking to book tours or other organized activities on your travels, GetYourGuide and Viator both offer myriad options for fun things to do all around the world (think: sailing trips, cooking classes, city walking tours, and more).
TRAVEL INSURANCE FOR ICELAND: Unless you can easily afford to pay for huge unexpected medical bills, DON’T TRAVEL WITHOUT TRAVEL INSURANCE! These days, I usually buy the Safety Wing nomad insurance, as it’s very affordable and caters to digital nomads with a monthly subscription option. I’ve also been a longtime World Nomads user, and will still use them if I need more comprehensive insurance (e.g. for adventure activities) or if I am visiting the US (Americans aren’t eligible for Safety Wing’s US add-on option).
ESIM / SIM CARDS FOR ICELAND: When traveling overseas, I always purchase an eSIM from Simify for the country I’m going to, activate it before I depart, and as soon as I arrive I am automatically connected to the local network and can easily find my way to my accommodation. No need to to buy a local SIM card at the airport; eSIMs are fully electronic and don’t require you to take out your old SIM.
LUGGAGE: I am currently a July luggage girl (July Australia / July US). They offer a lifetime warranty, which I have used multiple times now – and every time, they have sent me a brand new replacement suitcase without hassle. I recommend their Checked Plus if traveling with 32kg/70lb of luggage (note: many airlines do not allow bags this heavy!), the Checked if traveling with 23kg/50lb of luggage, and the Carry On Light (Expanded) which is super lightweight and really helps you stay within the 7kg carry-on limit that many Aussie airlines enforce. Click to read my full review of July luggage.
4. What To Pack For The Laugavegur Trail
You’re going to be tackling a challenging trek in the remote southern highlands of Iceland. Don’t make it any harder for yourself by being careless with your packing. Instead, take the time beforehand to procure essential gear and stock up on light yet filling foodstuff.
For the most part, you will need to pack and carry in everything you’ll be needing for the entire trek. There’s a newly-opened bar and restaurant at Álftavatn, and a restaurant and small shop called LavaGrill at the Volcano Hut at Húsadalur in Thorsmork where you can pick up extra gear and snacks.
And what exactly do you need to pack, you might ask? Read on for my best tips on what food and gear to bring on the Laugavegur Trail!
Food
One thing you won’t have to worry about is water. As long as you are equipped with water bottles and/or a water bladder, you can easily refill with clean water each day at the huts along the trek.
Food, on the other hand, you’ll have to carry in with you. What you bring depends on your dietary needs and preferences, but in general you’ll want to pack food that is filling and light in weight. Consider these tips:
-
- For easy munching during the day while you’re on the trail, pack trail mix or protein bars. (I brought a bag of homemade trail mix from NYC, far cheaper than buying the ingredients in Reykjavik and more filling than bars)
-
- Bring perishable items to consume on Day 1. Cheese and meats should still be good to eat, so take advantage while you can! (We brought pitas, salami, and cheese to make sandwiches for lunch on the first day)
-
- The most satisfying, easy, nonperishable meal I’ve come up with for camping trips and treks? Chili! Grab cans of kidney beans, chickpeas, and some other bean with chili sauce, throw it all in a pot, and warm it up. The cans hold a lot of weight, so you might want to make chili earlier on in the trek to lose the weight in your pack.
-
- Tuna’s another great nonperishable yet filling food.
-
- Pasta is a no-brainer for an easy meal – but instead of toting along a big jar of tomato sauce, bring a tiny jar of pesto to put on it.
Gear
Weather is very unpredictable in Iceland. You should go into the Laugavegur Trek expecting to encounter rain, wind, and hail, and then consider yourself lucky if you’re not met with all three!
In addition to the obvious jacket and wool layers, be sure to include these must-pack items in your backpack for the trek:
- Comfortable, broken-in hiking boots
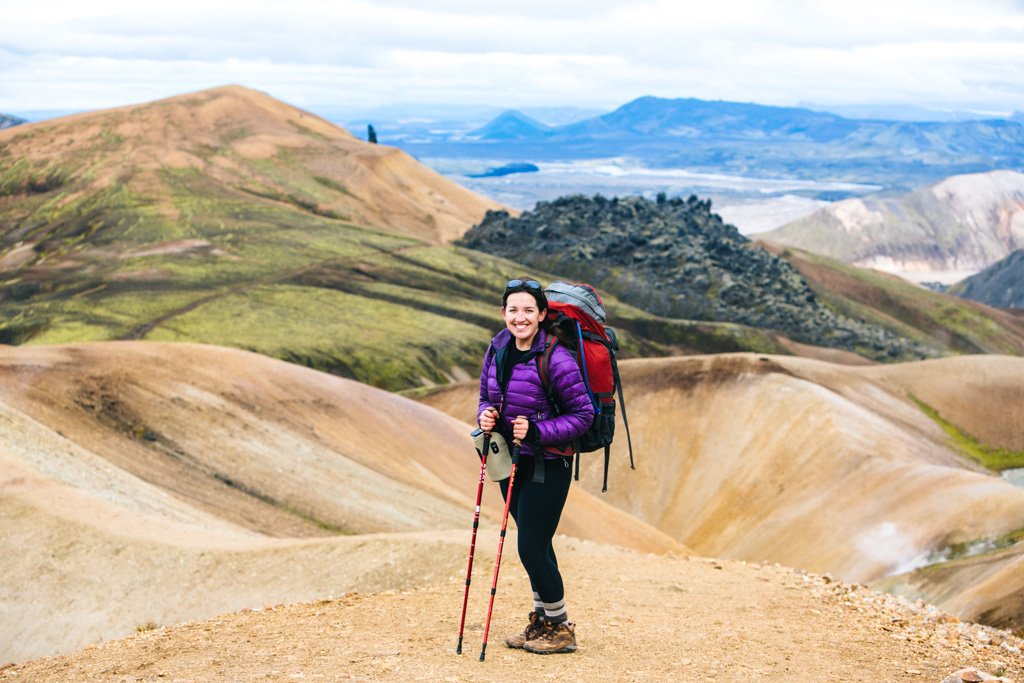
- A comfortable, well-fitting backpack
- Waterproof pack cover
- Trekking poles
- Sleeping bag
- Headlamp
- Rain jacket and rain pants
- Wool socks
- Gloves
- Water bottles and/or Camelbak that can hold at least 2L in total
NOT INTO BIG HIKES? CLICK TO BOOK A DAY TRIP TO LANDMANNALAUGAR.
Planning a trip to Iceland?
These are the sites I use and recommend for booking travel:
HOTELS IN ICELAND: I always search on Booking.com for accommodation, as their Genius loyalty program offers 10-20% discounts and free breakfast/upgrades for certain hotels.
FLIGHTS TO ICELAND: When researching flights, I always check Skyscanner first because it pulls in flight options across all airlines and saves you the trouble of searching each airline individually. When booking flights via Skyscanner, I always book directly with the airline rather than one of the third party options.
CAR RENTALS IN ICELAND: When renting a car on your travels, check DiscoverCars.com for the best deals.
ACTIVITIES IN ICELAND: If you’re looking to book tours or other organized activities on your travels, GetYourGuide and Viator both offer myriad options for fun things to do all around the world (think: sailing trips, cooking classes, city walking tours, and more).
TRAVEL INSURANCE FOR ICELAND: Unless you can easily afford to pay for huge unexpected medical bills, DON’T TRAVEL WITHOUT TRAVEL INSURANCE! These days, I usually buy the Safety Wing nomad insurance, as it’s very affordable and caters to digital nomads with a monthly subscription option. I’ve also been a longtime World Nomads user, and will still use them if I need more comprehensive insurance (e.g. for adventure activities) or if I am visiting the US (Americans aren’t eligible for Safety Wing’s US add-on option).
ESIM / SIM CARDS FOR ICELAND: When traveling overseas, I always purchase an eSIM from Simify for the country I’m going to, activate it before I depart, and as soon as I arrive I am automatically connected to the local network and can easily find my way to my accommodation. No need to to buy a local SIM card at the airport; eSIMs are fully electronic and don’t require you to take out your old SIM.
LUGGAGE: I am currently a July luggage girl (July Australia / July US). They offer a lifetime warranty, which I have used multiple times now – and every time, they have sent me a brand new replacement suitcase without hassle. I recommend their Checked Plus if traveling with 32kg/70lb of luggage (note: many airlines do not allow bags this heavy!), the Checked if traveling with 23kg/50lb of luggage, and the Carry On Light (Expanded) which is super lightweight and really helps you stay within the 7kg carry-on limit that many Aussie airlines enforce. Click to read my full review of July luggage.
Check out my other posts about Iceland:
- Scenes From The Road In Iceland
- 10 Worthwhile Stops To Make On Your Iceland Road Trip
- Hot Pool Hopping in the Iceland Wild
- I Saw The Northern Lights: Now I Can Die Happy!
- Best of Iceland – Photo Gallery
- My 13 Favorite Moments In Iceland
- How To Take Awesome Photos In Iceland
Frugal Facts
As of October 2020 —
Via Ferðafélag Íslands (FI):
Huts along the Laugavegur Trail are 9500kr (US$68) per night per person, while campsites are 2000kr (US$14) per night per person. A 5 minute hot shower is available at some of the huts and costs 500kr (US$4).
Via Reykjavik Excursions:
The Highland Bus runs only during summer months (approx. mid-June through mid-September) between Reykjavik and the Laugavegur Trail. The summer hiking pass costs 14,000kr (US$102) and includes round trip transfers from Reykjavik to Landmannalaugar and from Thorsmork/Skogar to Reykjavik.

