This post was last updated on 2025 October 27
This article on Taking The Everest Base Camp Trek By Storm may contain affiliate links. If you click and make a purchase using these links, I will make a small commission at no extra cost to you. Thanks so much for supporting Frugal Frolicker! :)
In February of 2013, I quit my job and set off for my biggest trip to-date: backpacking through Asia.
The whole impetus for the trip was hiking the Everest Base Camp Trek, something I’d been saying I’d do the next time I was in-between jobs and could afford to spend at least 3 weeks in Nepal. Then somehow 3 weeks turned into 5 months, 6 countries, and countless adventures – the first of which was EBC. It was an incredible way to kick off my travels.
Here’s what you need to know before taking on the Everest Base Camp Trek: the route, the challenges, and the highlights along the way —
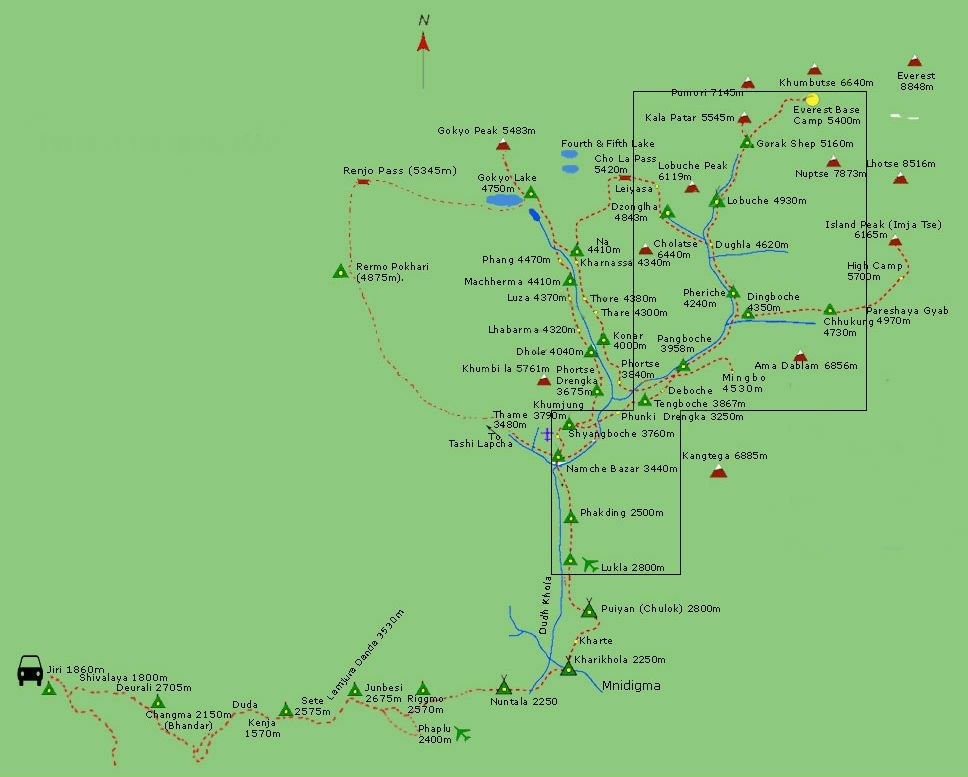
The Route to Everest Base Camp
The traditional Everest Base Camp trek begins in Lukla and goes to base camp and back, and can be done comfortably in 12 days. If you’re feeling ambitious and want a more varied hike, I highly recommend adding the Phaplu to Lukla segment (an extra 4-5 days) to your trek.
Planning a trip to Nepal?
These are the sites I use and recommend for booking travel:
ACCOMMODATION IN KATHMANDU: I always search on Booking.com for accommodation, as their Genius loyalty program offers 10-20% discounts and free breakfast/upgrades for certain hotels.
FLIGHTS TO KATHMANDU: When researching flights, I always check Skyscanner first because it pulls in flight options across all airlines and saves you the trouble of searching each airline individually. When booking flights via Skyscanner, I always book directly with the airline rather than one of the third party options.
ACTIVITIES IN NEPAL: If you’re looking to book tours or other organized activities on your travels, GetYourGuide and Viator both offer myriad options for fun things to do all around the world (think: sailing trips, cooking classes, city walking tours, and more).
TRAVEL INSURANCE FOR NEPAL: Unless you can easily afford to pay for huge unexpected medical bills, DON’T TRAVEL WITHOUT TRAVEL INSURANCE! These days, I usually buy the Safety Wing nomad insurance, as it’s very affordable and caters to digital nomads with a monthly subscription option. I’ve also been a longtime World Nomads user, and will still use them if I need more comprehensive insurance (e.g. for adventure activities) or if I am visiting the US (Americans aren’t eligible for Safety Wing’s US add-on option).
ESIM / SIM CARDS FOR NEPAL: When traveling overseas, I always purchase an eSIM from Simify for the country I’m going to, activate it before I depart, and as soon as I arrive I am automatically connected to the local network and can easily find my way to my accommodation. No need to to buy a local SIM card at the airport; eSIMs are fully electronic and don’t require you to take out your old SIM.
LUGGAGE: I am currently a July luggage girl (July Australia / July US). They offer a lifetime warranty, which I have used multiple times now – and every time, they have sent me a brand new replacement suitcase without hassle. I recommend their Checked Plus if traveling with 32kg/70lb of luggage (note: many airlines do not allow bags this heavy!), the Checked if traveling with 23kg/50lb of luggage, and the Carry On Light (Expanded) which is super lightweight and really helps you stay within the 7kg carry-on limit that many Aussie airlines enforce. Click to read my full review of July luggage.
Everest Base Camp Itinerary
I trekked from Lukla to EBC and back in mid-February, at the tail end of the off-season. Hiking up, I encountered few other people – in fact, sometimes my porter-guide and I were the only ones staying the night at our tea house. But on the way back in late February, we were passing by lots of fellow hikers who were just starting off.
Day 1: Lukla to Chhamuwa
Day 2: Chhamuwa to Namche Bazaar
Day 3: Namche Bazaar (rest day)
Day 4: Namche Bazaar (snow day)
Day 5: Namche Bazaar to Tengboche
Day 6: Tengboche to Dingboche
Day 7: Dingboche (rest day)
Day 8: Dingboche to Labouche
Day 9: Labouche to Gorak Shep (+ Everest Base Camp)
Day 10: Gorak Shep (+ Kala Patthar) to Labouche
Day 11: Labouche to Pheriche
Day 12: Pheriche to Namche Bazaar
Day 13: Namche Bazaar
Day 14: Namche Bazaar to Phakding
Day 15: Phakding to Lukla
Tip: Flights in and out of Lukla are often delayed or cancelled due to low visibility, so be sure to pad your trek with an extra day or two both before and after, just in case you can’t fly on your scheduled day. Aim to be on the first flight of the morning and you’ll have the best chance of taking off as scheduled.
Note that I had originally planned on adding on the side trek to Gokyo (via the Cho La Pass), but because of the snow day that set us back on Day 4, we didn’t have enough time for it. We ended up having a couple of extra days, so we took our time going back down to Lukla.
The Challenges of Trekking to Base Camp
Level of Difficulty
I completed the Everest Base Camp trek in a very cushy 15 days because I had extra time, but it can definitely be done comfortably in 12. If necessary, you can trek all the way back from Gorak Shep to Lukla in 3 days.
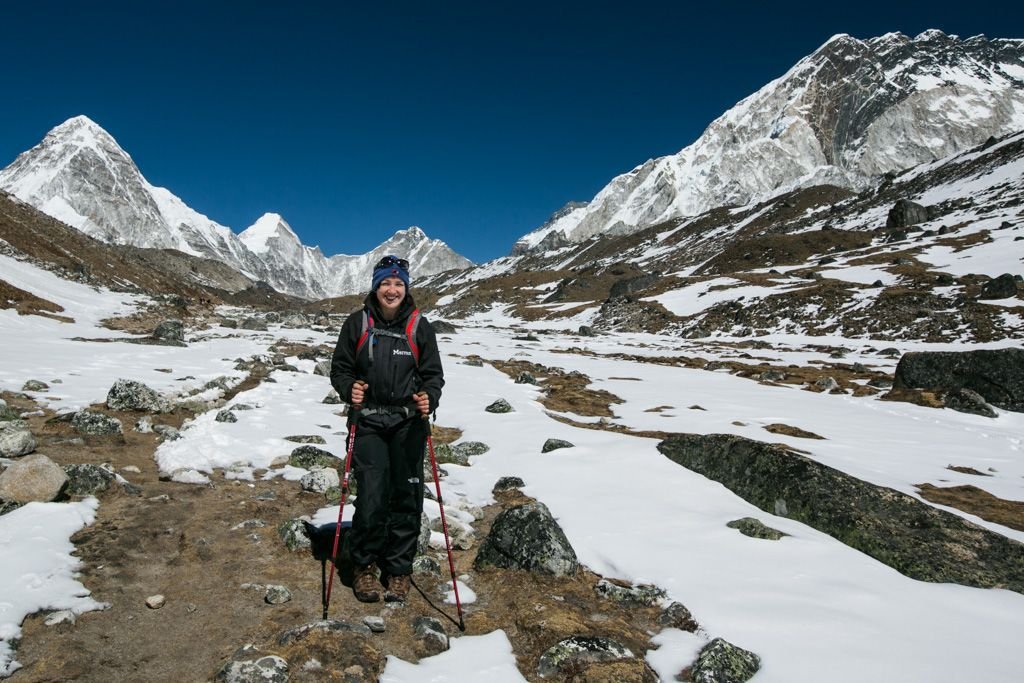
The EBC trek is really not that strenuous. You don’t necessarily need to be in great shape to complete it, though if you aren’t you may be hating your life on the steep uphill segments just before Namche and Tengboche. For the sake of gauging difficulty, I will say that I was in better-than-average shape during this trek, having spent the previous year rock climbing 3x/week and biking almost daily. But then again, I met a very skinny, petite Aussie girl who had done the whole trek carrying her own bag on her back!
Tip: Hire a porter (or porter-guide) to carry your bag for you during the trek. Having less weight to carry will make the trek significantly less difficult for you. Ask around at your accommodation in Kathmandu or in town for a recommended porter, guide, or porter-guide. The extra $20 or so a day is more than worth it, trust me!
Rather than physical difficulty, you’ll be more concerned with the cold weather and the altitude while doing the Everest Base Camp trek. You should take these into serious consideration before setting off on the trek and ensure you’re well prepared to face them.
The cold
Days on the trail are fine – the sun is out and you’re generating adequate body heat while trekking. You’ll be sufficiently warm dressed in various layers.
Nights in the tea houses are COLD. Once the sun goes down, it’s game over. You put on every layer you have with you, you sit in front of the wood stove for as long as it’s running, and then you jump straight into your 4-season down sleeping bag til sunrise. Forget about showering north of Namche during winter – you’ll never want to take your hat and gloves off, much less all of your clothes in order to dump a bucket of lukewarm water on yourself. I can assuredly say that I have never been more cold in my life than the nights I spent on the Everest Base Camp Trek.
Tip: Ask for extra blankets and have them fill your water bottle with hot water before going to bed. Put the water bottle inside the foot of your sleeping bag to keep your feet toasty all night!
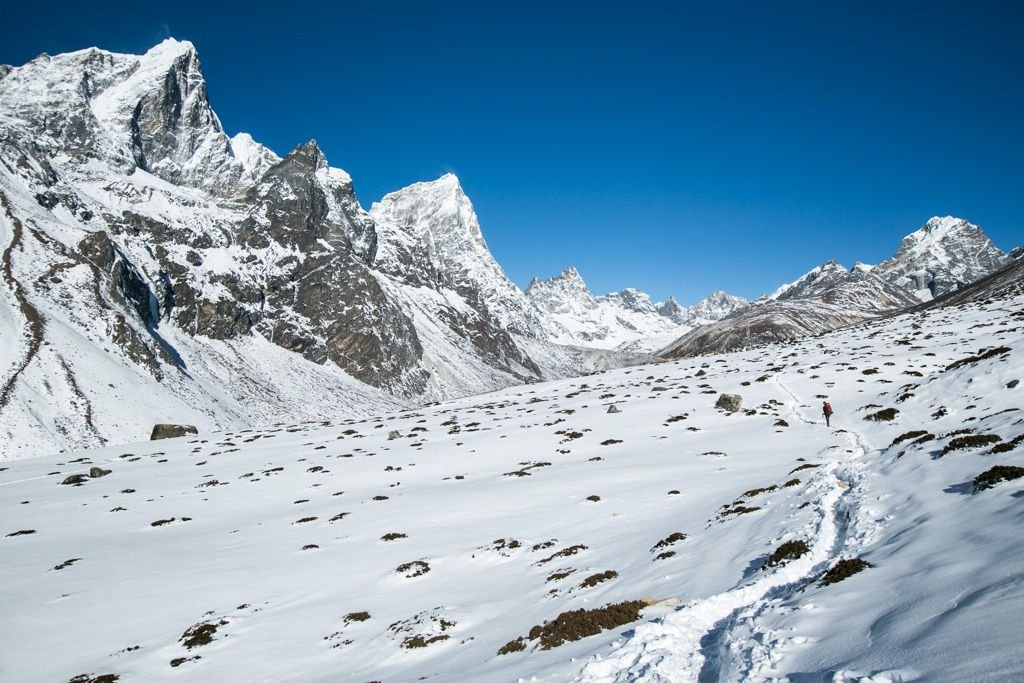
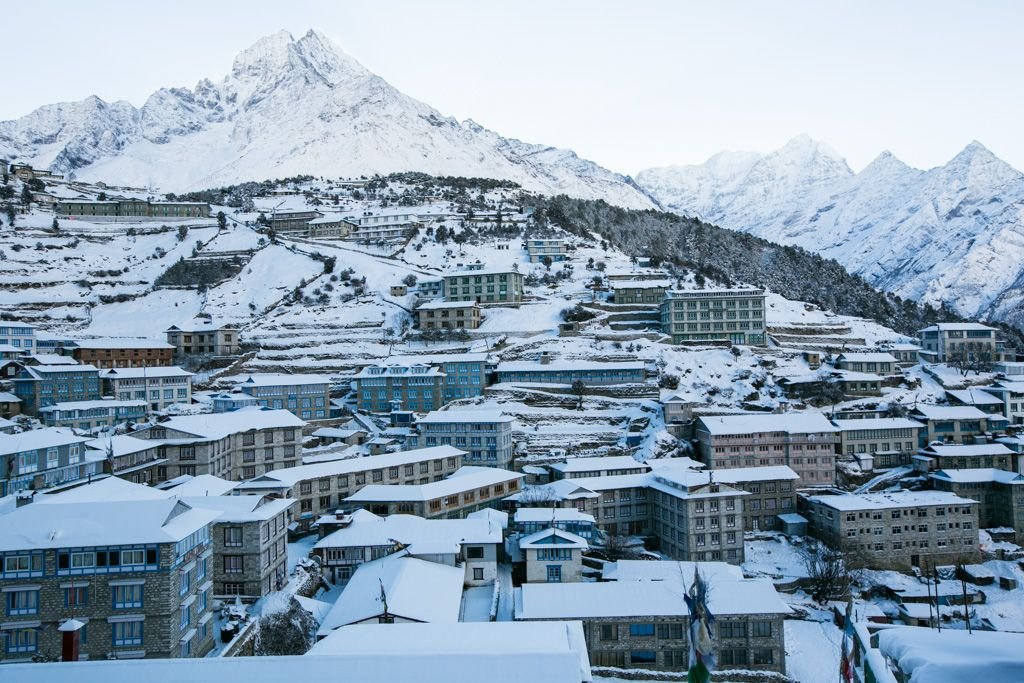
If you take on the EBC Trek in the offseason during winter, be prepared for snow. Heavy snow had us snowed in at Namche Bazaar for a couple days, but hiking on snowy paths in the days following was not bad at all. We also encountered snow one day along the way, around Dingboche – surprisingly it was more peaceful than cumbersome. Be prepared for snow to alter your trekking schedule, but don’t let it hinder your enjoyment of the trek.
If you see yourself complaining about the cold nonstop and not being able to put mind over matter for the 2 weeks you’re trekking so that you can handle it AND still enjoy your experience, I’d think twice about going to base camp.
The altitude
Altitude sickness is the real deal, folks. Do your research and ensure you schedule rest days during your trek so that you’re properly acclimatized. It’s tempting to keep on trucking when you feel fine and have a good rhythm going, but don’t overextend yourself or skip rest days.
I only experienced the mildest of headaches while at high altitudes, but I met people who fared worse. I heard of people having to turn around and go back without making it to base camp because of altitude sickness. It’s important to listen to your body, rest often, and drink as much water as you can when trekking at higher altitudes.
Even if you’re lucky enough not to experience altitude sickness, you WILL feel the altitude in some way. The higher up you go, the less oxygen you have to breathe, which makes trekking more and more of a challenge. The easiest of trail segments will feel like the most arduous task. Towards the end, I felt like I was crawling – it was SO FRUSTRATING because there wasn’t anything difficult about the trek. At lower altitudes, I would have casually strolled along my way without even thinking about it. But with a limited supply of oxygen, my body demanded that I slow down.
Highlights Along The Everest Base Camp Trek
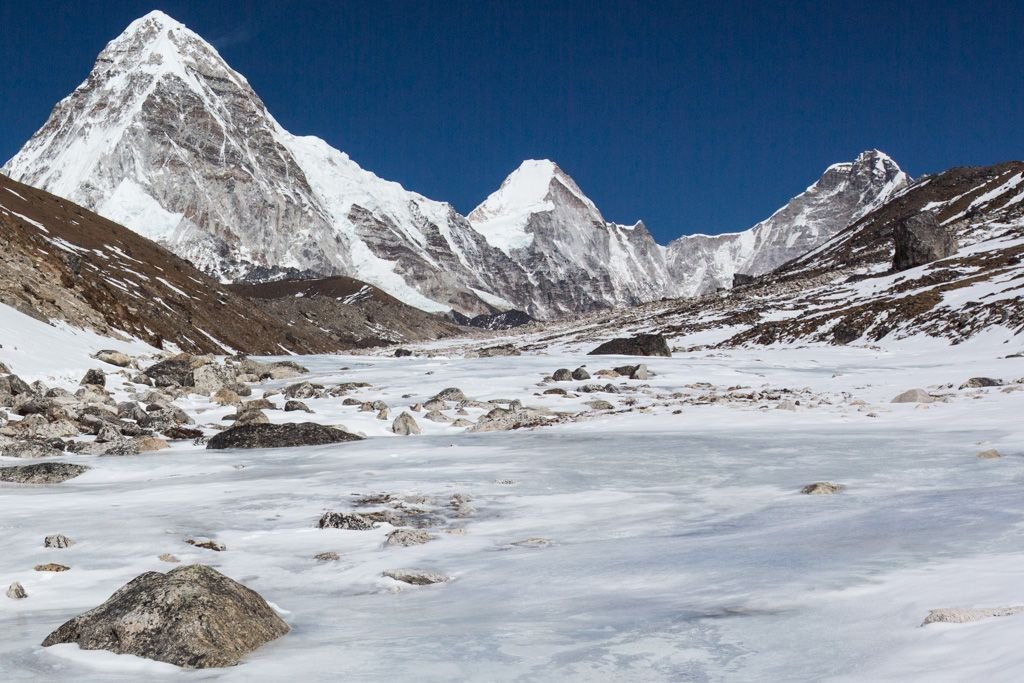
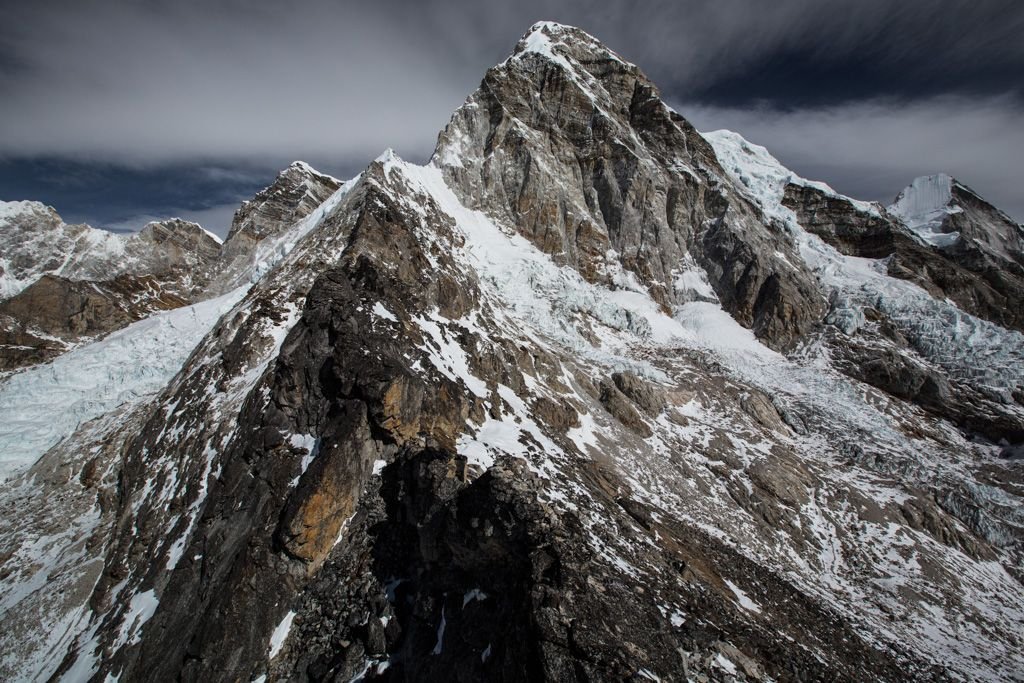
Objectively speaking, the scenery along the Everest Base Camp Trek is just STUNNING. I was really glad to be taking on the trek solo and free of distractions – that way I was able to fully soak in the constant fetching views of the Himalayas, images which are still ingrained in my mind after the fact.
Lukla
I expected Lukla to be a dump based on my research, but it was a pretty decent village teeming with locals. During peak season I assume it’s overrun by trekkers, but I didn’t see too many when I was there in February.
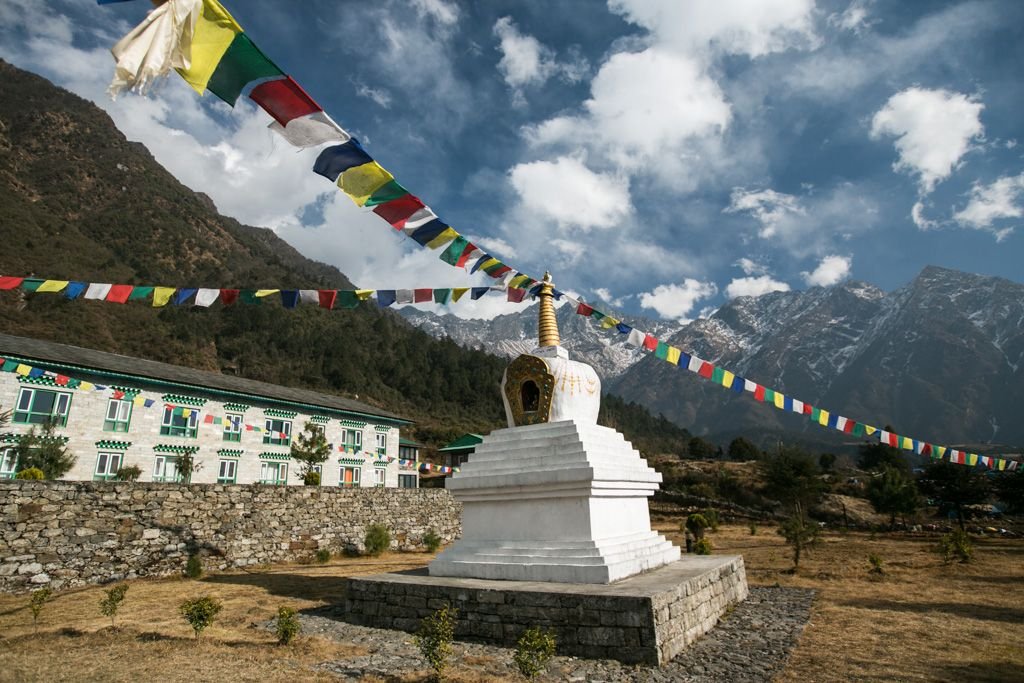
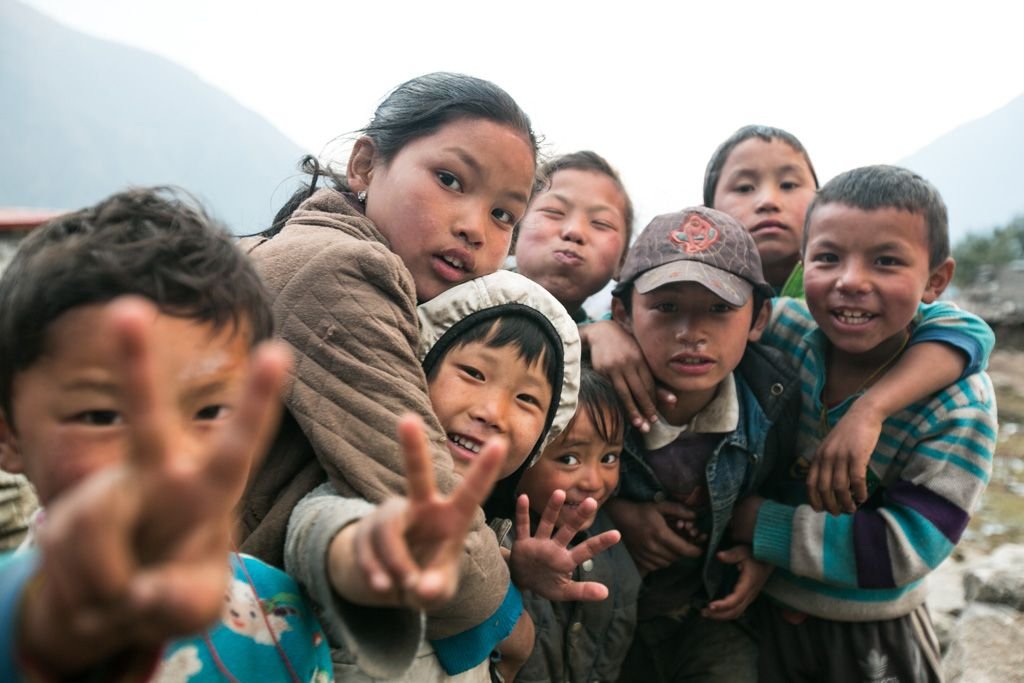
My time in Lukla was spent drinking real coffee, taking hot showers, being chased by children, and hitting up the free wifi at Illy Cafe. There are also a couple of stupas you can check out nearby.
Namche Bazaar
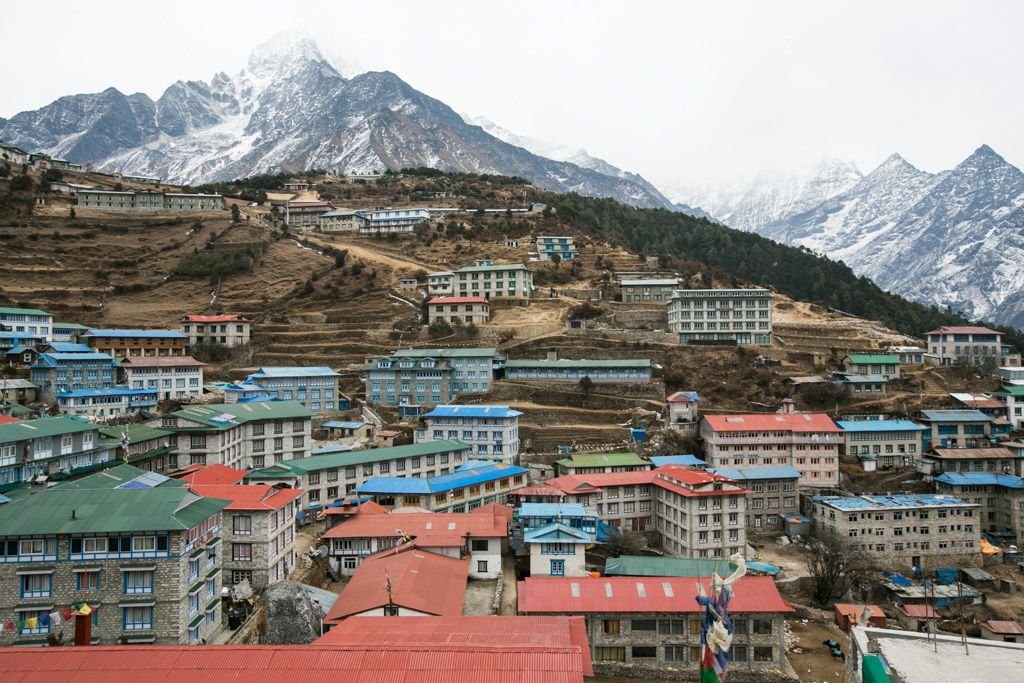
We got snowed in at Namche for 2 days and couldn’t trek til the snow passed. It was an incredibly frustrating couple of days because I was so antsy to get on the trail! Instead I resigned myself to coffee, wifi, reading, and writing. Not a bad way to spend my time, all things considered. In fact, Namche is an ideal place to take a rest day – I’d recommend scheduling 2 days here on the way up.
Namche’s chock full of trekking stores, souvenir shops, lodges, and cafes – at least half of which were closed for the offseason while I was in town. I spent an exorbitant amount of time at Namche Bakery – amazing coffee, free wifi, and delicious pizza!
Tengboche
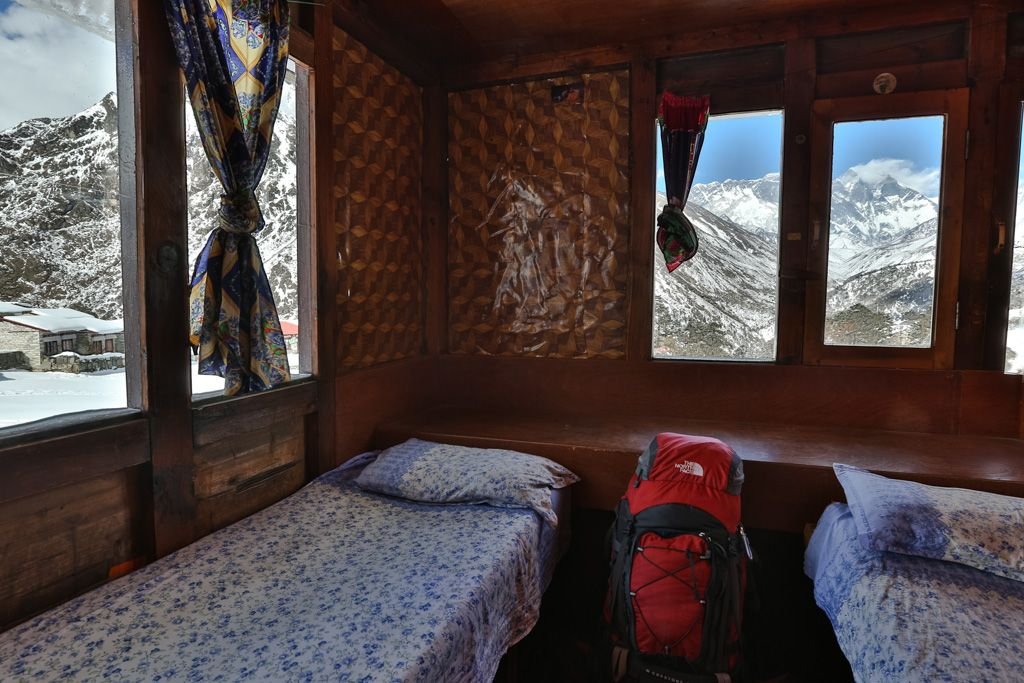
I was really eager to see to monks chant in Tengboche, but I wasn’t feeling well when we arrived that afternoon so I missed it. I did soak up the insane view from my bedroom, though – I had a view of the beautiful monastery through one window, and the mountain range through the other. If you’re going to vomit in the Himalayas, you might as well have a panoramic view, right?
Dingboche
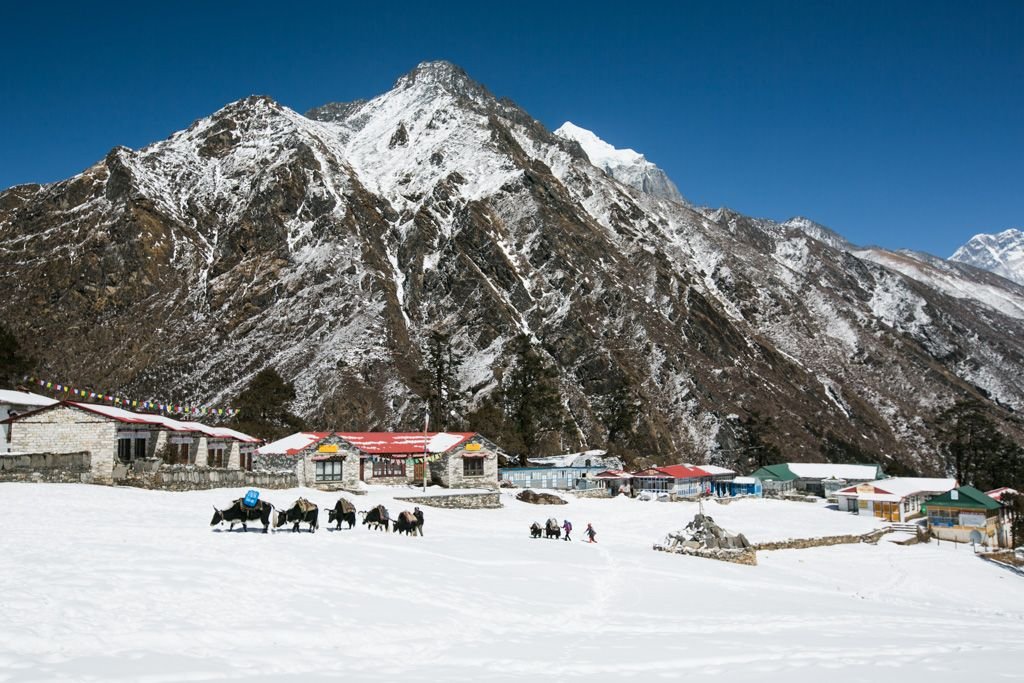
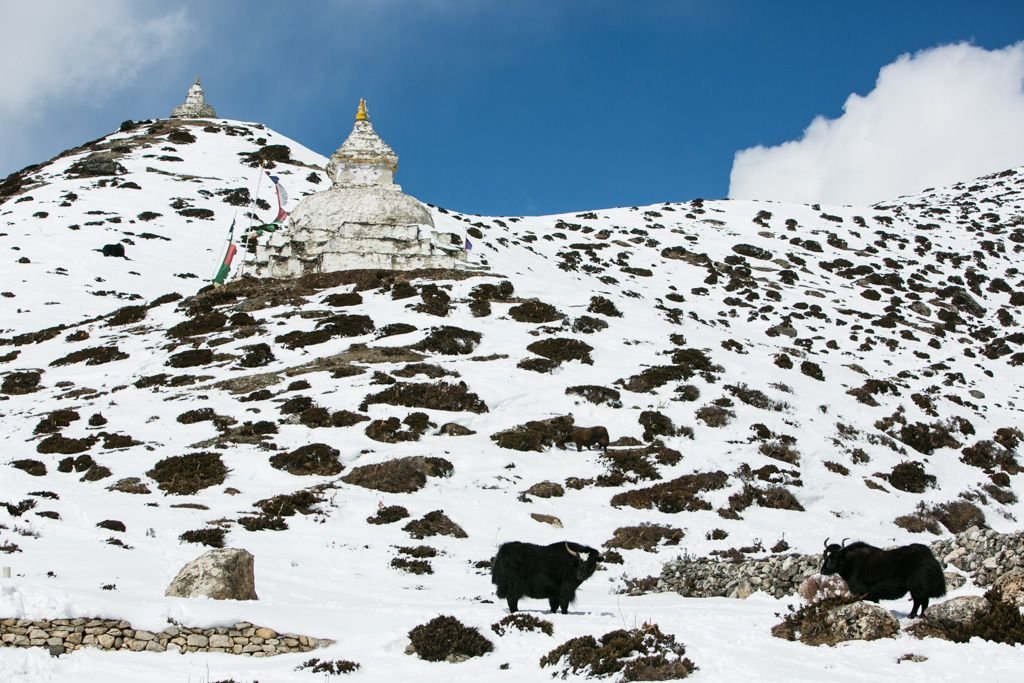
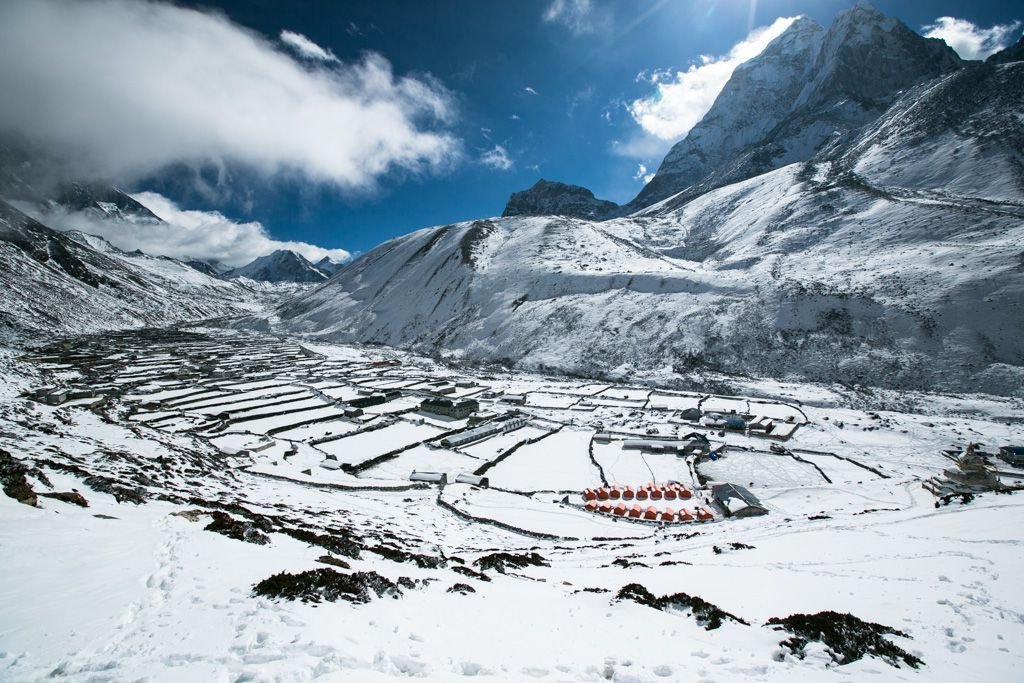
We had a rest day scheduled in Dingboche, which was quite unfortunate because it’s a ghost town. Literally NOTHING was open, and no one was out and about aside from the yak and donkeys. I read way too much these 2 days.
One thing you CAN do is a short hike uphill, where there are a couple of stupas and prayer flags and a nice view of the mountains and village below.
Gorak Shep
Like Labouche, Gorak Shep consists of a few trekking lodges and nothing more. It’s the setting off point for the two major landmarks of the EBC trek: Kala Patthar and Everest Base Camp. And it’s so damn cold at night that trekkers essentially get in and get out as soon as they’ve seen these 2 things.
Kala Patthar
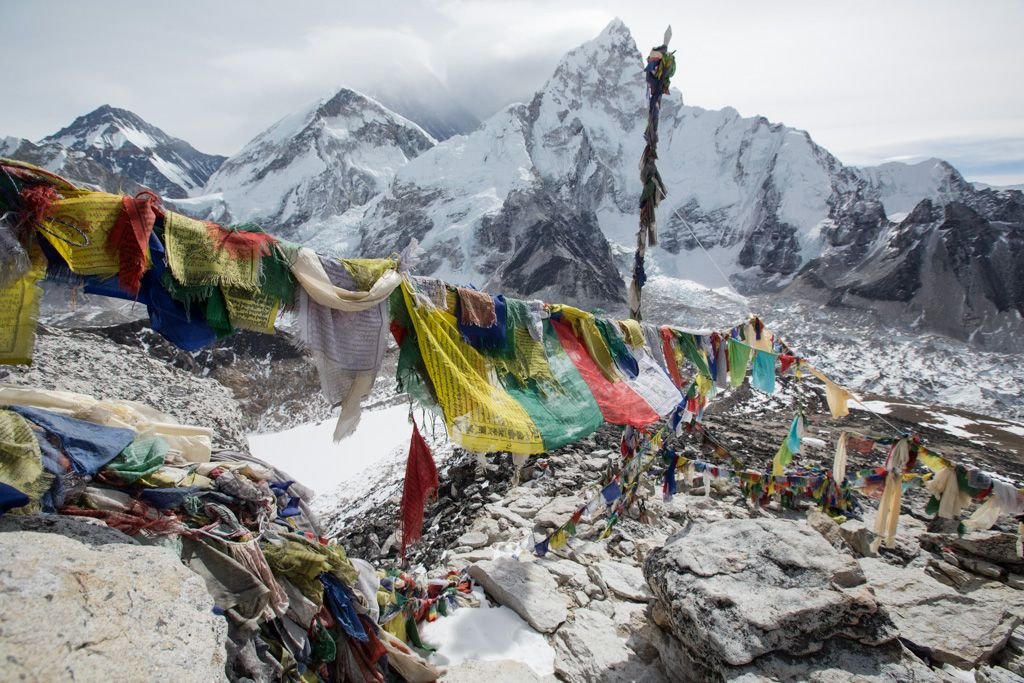
You really have to earn the view from 5545m with a 2 hour climb. Coupled with the altitude, this will probably be the most difficult part of the entire trek. I hauled my ass up that hill and stopped every few minutes to breathe, and it was hell. But once I got to the top I didn’t care anymore. I had a 360-degree view of Himalayan magic, which made it worth the hardship.
Tip: When you get to the top of Kala Patthar, keep going up until you can’t possibly go any further. You’ll be on a rock crag experiencing vertigo, but the view from the very top trumps any other view you had below.
Everest Base Camp
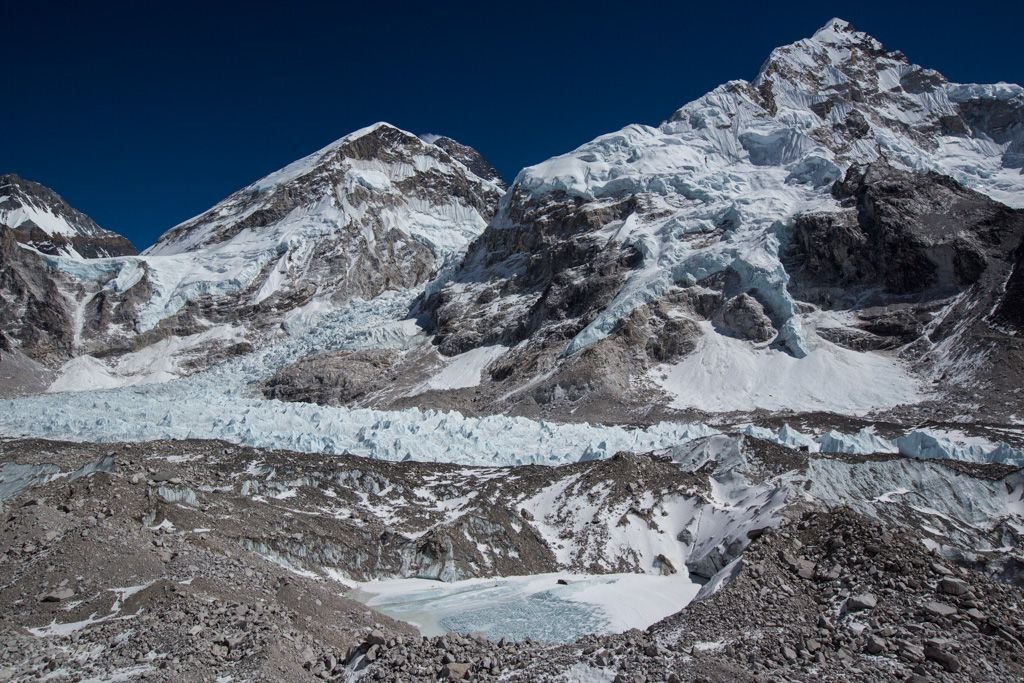
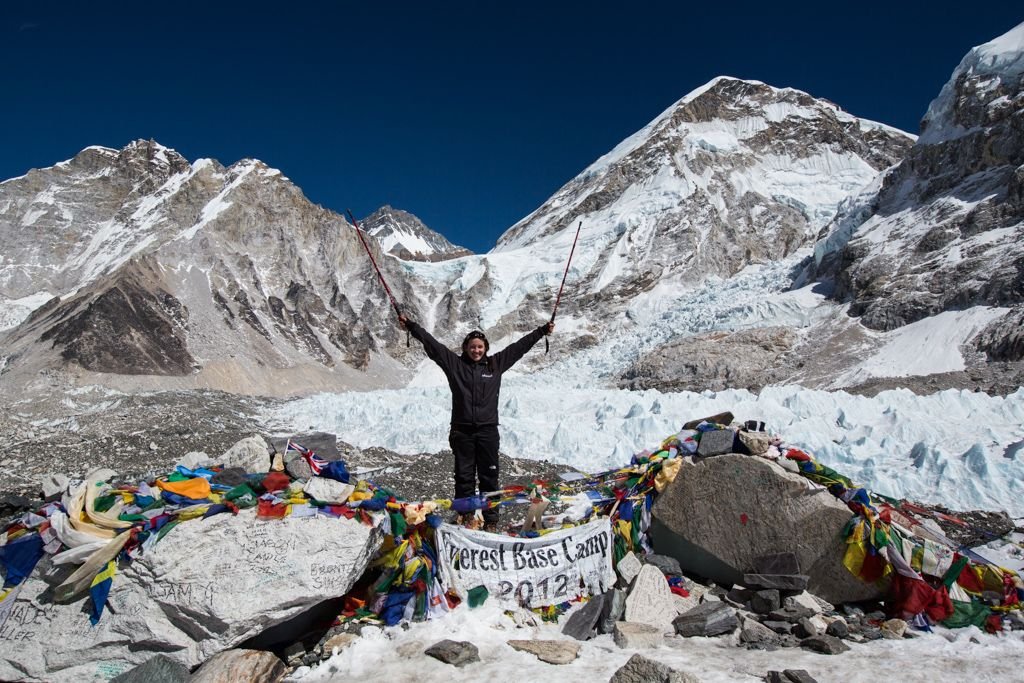
There are 2 base camps: old and new. The old base camp is closer and more than adequate to say you’ve reached Everest Base Camp (there’s a sign and everything!). The new base camp is at least an hour further, closer to the mountain range. I don’t think you gain much by visiting the newer base camp, so I was fine with going to the older one.
Base Camp is empty before March since no one climbs in the winter, but during climbing season it’ll be filled with tents.
Since it was before March, they hadn’t yet changed the sign to say 2013!
The Bottom Line
The Everest Base Camp Trek will be unlike anything you’ve ever experienced before. It is physically and mentally exhausting and definitely not for everyone. If you have any interest in doing it but are hesitant for whatever reason, you should go for it – just be sure to prepare yourself! It’s one of those *once in a lifetime* experiences you can’t possibly end up regretting.
Planning a trip to Nepal?
These are the sites I use and recommend for booking travel:
ACCOMMODATION IN KATHMANDU: I always search on Booking.com for accommodation, as their Genius loyalty program offers 10-20% discounts and free breakfast/upgrades for certain hotels.
FLIGHTS TO KATHMANDU: When researching flights, I always check Skyscanner first because it pulls in flight options across all airlines and saves you the trouble of searching each airline individually. When booking flights via Skyscanner, I always book directly with the airline rather than one of the third party options.
ACTIVITIES IN NEPAL: If you’re looking to book tours or other organized activities on your travels, GetYourGuide and Viator both offer myriad options for fun things to do all around the world (think: sailing trips, cooking classes, city walking tours, and more).
TRAVEL INSURANCE FOR NEPAL: Unless you can easily afford to pay for huge unexpected medical bills, DON’T TRAVEL WITHOUT TRAVEL INSURANCE! These days, I usually buy the Safety Wing nomad insurance, as it’s very affordable and caters to digital nomads with a monthly subscription option. I’ve also been a longtime World Nomads user, and will still use them if I need more comprehensive insurance (e.g. for adventure activities) or if I am visiting the US (Americans aren’t eligible for Safety Wing’s US add-on option).
ESIM / SIM CARDS FOR NEPAL: When traveling overseas, I always purchase an eSIM from Simify for the country I’m going to, activate it before I depart, and as soon as I arrive I am automatically connected to the local network and can easily find my way to my accommodation. No need to to buy a local SIM card at the airport; eSIMs are fully electronic and don’t require you to take out your old SIM.
LUGGAGE: I am currently a July luggage girl (July Australia / July US). They offer a lifetime warranty, which I have used multiple times now – and every time, they have sent me a brand new replacement suitcase without hassle. I recommend their Checked Plus if traveling with 32kg/70lb of luggage (note: many airlines do not allow bags this heavy!), the Checked if traveling with 23kg/50lb of luggage, and the Carry On Light (Expanded) which is super lightweight and really helps you stay within the 7kg carry-on limit that many Aussie airlines enforce. Click to read my full review of July luggage.
