This post was last updated on 2025 October 27
This article on The Overland Track: What You Should Know Before Taking On This Tasmania Hike may contain affiliate links. If you click and make a purchase using these links, I will make a small commission at no extra cost to you. Thanks so much for supporting Frugal Frolicker! :)
As I admitted in a previous post, I did very little research before tackling the Overland Track in Tasmania. Beyond booking the trek and transportation and equipping myself with standard trekking gear, I really didn’t know what I was getting myself into.
Planning a trip to Tasmania?
These are the sites I use and recommend for booking travel:
ACCOMMODATION IN TASMANIA: I always search on Booking.com for accommodation, as their Genius loyalty program offers 10-20% discounts and free breakfast/upgrades for certain hotels.
FLIGHTS TO TASMANIA: When researching flights, I always check Skyscanner first because it pulls in flight options across all airlines and saves you the trouble of searching each airline individually. When booking flights via Skyscanner, I always book directly with the airline rather than one of the third party options.
CAR RENTAL IN TASMANIA: When renting a car on your travels, check DiscoverCars.com for the best deals.
ACTIVITIES IN TASMANIA: If you’re looking to book tours or other organized activities on your travels, GetYourGuide and Viator both offer myriad options for fun things to do all around the world (think: sailing trips, cooking classes, city walking tours, and more).
TRAVEL INSURANCE FOR AUSTRALIA: Unless you can easily afford to pay for huge unexpected medical bills, DON’T TRAVEL WITHOUT TRAVEL INSURANCE! These days, I usually buy the Safety Wing nomad insurance, as it’s very affordable and caters to digital nomads with a monthly subscription option. I’ve also been a longtime World Nomads user, and will still use them if I need more comprehensive insurance (e.g. for adventure activities) or if I am visiting the US (Americans aren’t eligible for Safety Wing’s US add-on option).
ESIM / SIM CARDS FOR AUSTRALIA: When traveling overseas, I always purchase an eSIM from Simify for the country I’m going to, activate it before I depart, and as soon as I arrive I am automatically connected to the local network and can easily find my way to my accommodation. No need to to buy a local SIM card at the airport; eSIMs are fully electronic and don’t require you to take out your old SIM.
LUGGAGE: I am currently a July luggage girl (July Australia / July US). They offer a lifetime warranty, which I have used multiple times now – and every time, they have sent me a brand new replacement suitcase without hassle. I recommend their Checked Plus if traveling with 32kg/70lb of luggage (note: many airlines do not allow bags this heavy!), the Checked if traveling with 23kg/50lb of luggage, and the Carry On Light (Expanded) which is super lightweight and really helps you stay within the 7kg carry-on limit that many Aussie airlines enforce. Click to read my full review of July luggage.
Suffice it to say that the Overland Track was a learning experience for me. Here’s what I wish I’d known before hiking the Overland Track in Tasmania —
5 Tips For The Overland Track
1. You will 100% get wet
Whether or not it rains on the Overland Track, you’ll be trudging through mud and puddles often throughout the trek, even in summer. Your feet WILL get wet. If it does rain, your everything will get wet. Here’s how to fight the soggy factor:
- Pack an absurd amount of plastic bags of varying sizes/types and bag all your clothes and sleeping gear before putting them in your pack. This literally saved my ass when I, at the last minute, thought to use my one spare bag to cover my sleeping bag before setting off to trek on a day that ended up being very rainy. Some of my fellow trekkers weren’t so lucky and had a soggy night’s sleep.
- Bring paper of some sort: newspaper is best, but notebook or book paper also works. When your boots get wet, crumble up sheets of paper and shove them in each boot. Leave them in overnight and by morning your boots will be much less wet!
- Invest in quality rain gear. My $8 thrift store UNIQLO rain jacket and $10 rain pants from Amazon were kind of a joke after hiking in the rain for a couple hours. If you’re serious about hiking, shell out the money for quality gear that works and lasts, like this rain jacket from Kathmandu which I ended up buying shortly after this experience.
Note that I hiked the Overland Track in January, which is summer in Australia, and it rained nearly every day.
2. The Overland Track is all about woods and wildlife
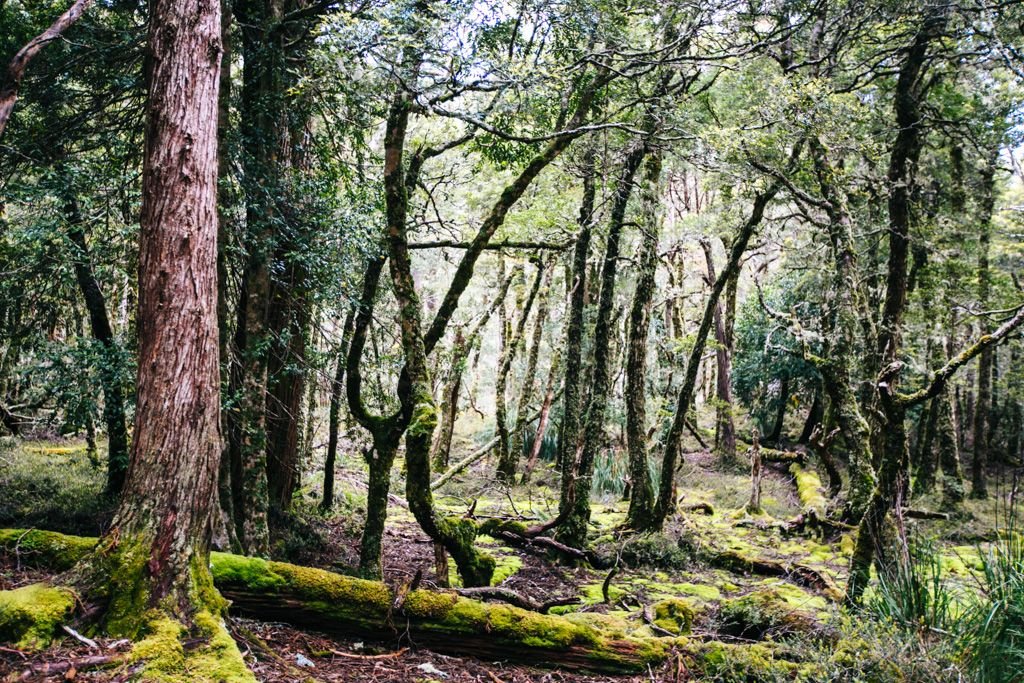
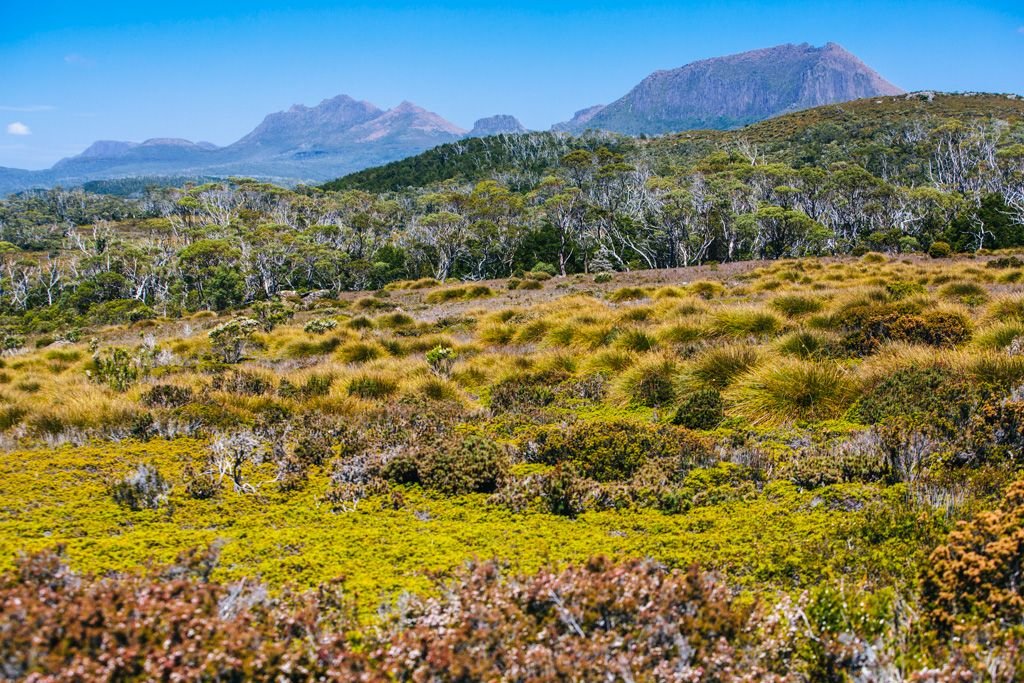
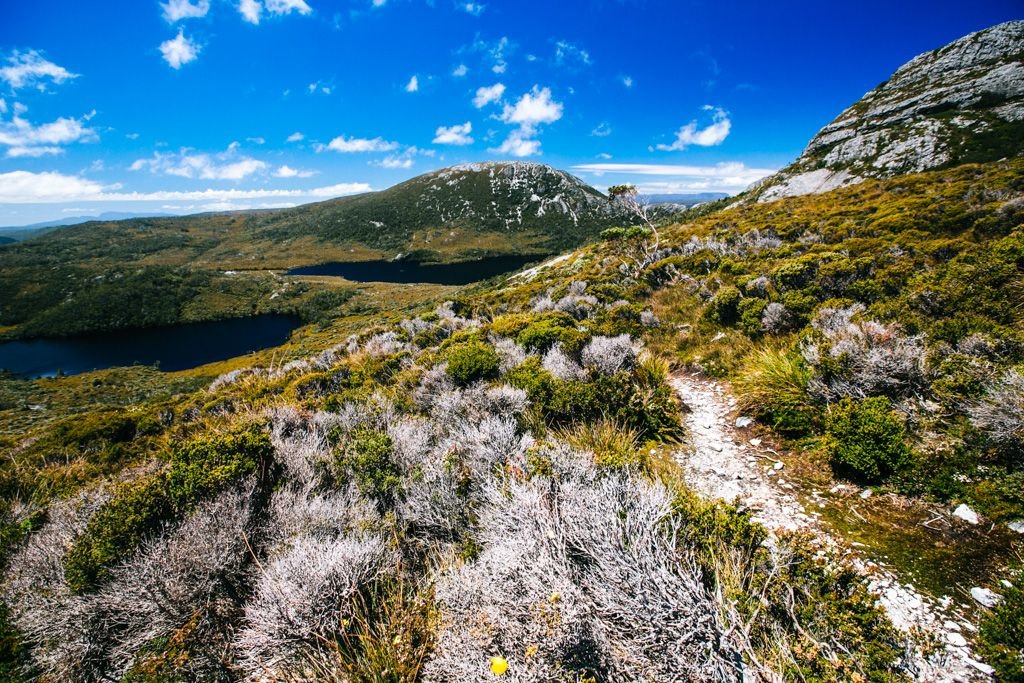
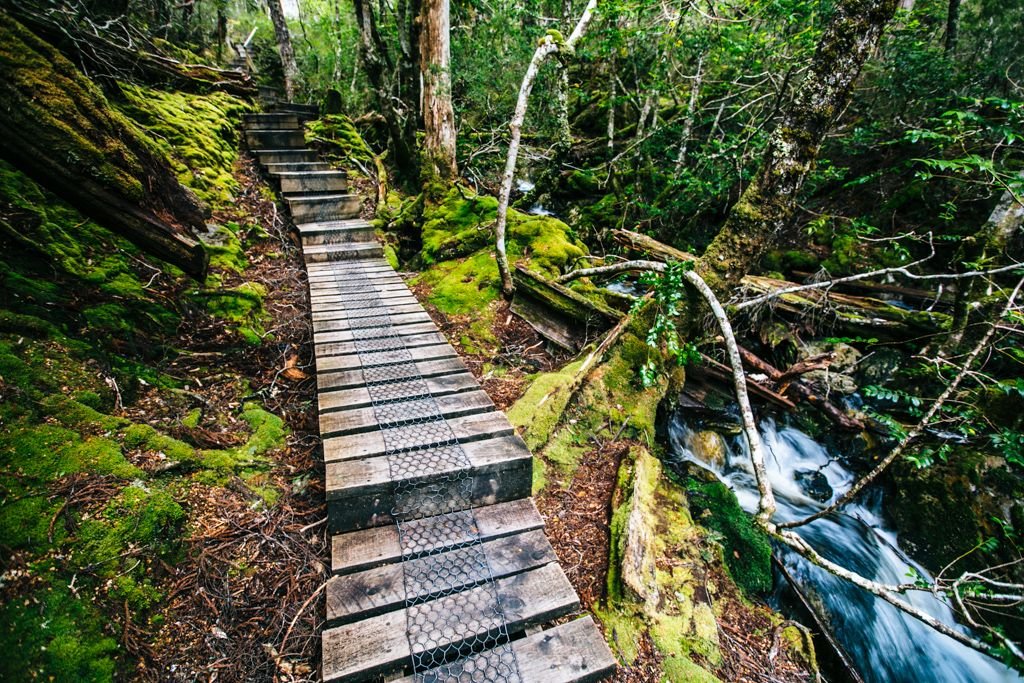
If your ideal hit of nature involves long walks through forest and all sorts of plant and animal life, you’ll love the Overland Track. However, as I learned on this trek, it’s definitely not my style of hiking. Most of the trail runs through forest, with only brief stints of mountainous or open terrain. In other words: it is nothing like the Everest Base Camp Trek or Laugavegur Trail. I’ve never seen so many shades of green in my life!
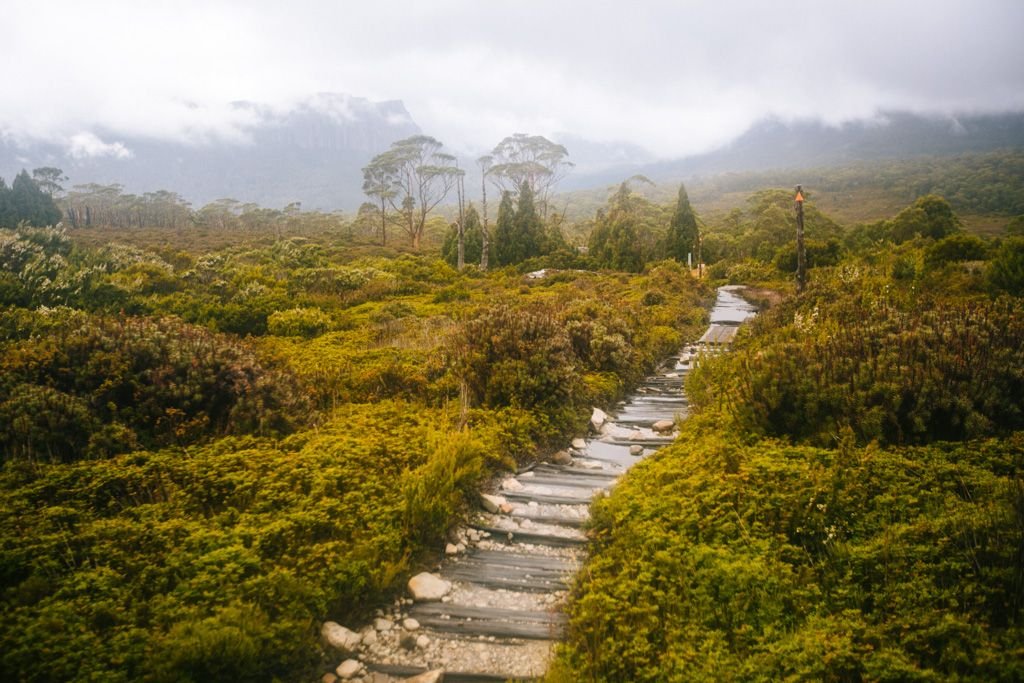
The Tasmania Parks and Wildlife Service go through great lengths to preserve the land, building boardwalks and continually encouraging trekkers to stick to the path so as not to kill any plants just off of it. The plant life on the Overland Track really is remarkable and diverse, with hundreds of different trees, bushes, flowers, and fungi to observe. As for animals, I saw several pademelons (like wallabies) and a couple of tiger snakes (Lord, did they give me a spook!). I heard frogs, birds, and other unidentifiable critters on various parts of the trek as well. And if I weren’t so darn oblivious, I likely would have observed far more.
3. It is impossible to get lost on the Overland Track
During the first two days, there was always a trail marker in sight; sometimes two. I remember thinking to myself: boy, they sure do make this trail idiot proof. Then on Day 3, I thought I’d taken a wrong turn while stuck in an endless mud maze in the dark woods in the pouring rain, because I hadn’t seen a marker in what seemed like hours. Turns out there was no other turn to make and I had stayed on the trail despite the lack of trail markers on this one segment.
The Overland Track is so well-trodden that you instinctively know where to walk without anyone or anything telling you. You’ll be reassured constantly as you walk over planks and man-made steps along the way.
4. Yes, it’s worth paying $200 for the Overland Track permit
I know you’re skeptical, and far be it for me to support shelling out money for something (*ahem*, #frugal) – but here’s why it makes sense in this case:
- Limiting the number of trekkers (34/day) and instating a fee prevents overcrowding on the trail, which means less danger to the wildlife along it.
- The money goes toward track preservation (building/renovating boardwalks, huts, and facilities), removal of toilet waste and transportation of coal by helicopter, and wages for hut wardens and rangers. Without these costly endeavors, the Overland Track wouldn’t be the great experience it is today.
Overland Track permits can be booked via the Tassie Parks & Wildlife Service website.
5. Allow 5 days minimum to complete the hike – more if you want to add on any side treks or summits
Do some research beforehand and determine whether any of the add-on options appeal to you. There are at least 5 mountain summits you can take on, each requiring an additional half day. It might make sense in some cases to stay two nights at one hut and dedicate one whole day to summiting a nearby mountain or embarking on a side trek (the New Pelion hut is ideal for this). You might also consider the side trek to Pine Valley, which is best enjoyed with at least two extra days.
Overland Track Checklist
Before you set off on the Overland Track, make sure you’ve got your permit, park pass, and transport sorted. Unfortunately this isn’t the kind of hike you can just show up at without any warning, as Tassie Parks & Wildlife limits the number of Overland Track permits issued per day to 34 for independent hikers.
Here’s what you need to do, logistics-wise, before starting the Overland Track:
- Book your Overland Track permit online (you’re required to select a start date, but don’t need to specify an end date; however you can’t book any huts in advance).
- Obtain a Tasmanian National Parks Pass – you can either purchase one online, or at any park visitors centre in Tasmania. 8 week passes cost $30 for backpackers and $60 for those who plan to enter any park with a vehicle.
- Book your bus from Launceston to Cradle Mountain via McDermott’s Coaches – it costs 75 AUD and leaves at 7:30am on Sunday, Monday, Wednesday, and Friday.
- Book your bus from Lake St. Clair to Hobart via Overland Track Transport – it costs 85 AUD and departs Lake St. Clair at 2:30pm on Monday, Wednesday, Friday, and Saturday.
- If you want to take the ferry across Lake St. Clair rather than walk the length of it to reach the end of the trail, it’s highly recommended that you pre-book your ferry ticket. The private ferry from Narcissus to Cynthia Bay costs 50 AUD.
Planning a trip to Tasmania?
These are the sites I use and recommend for booking travel:
ACCOMMODATION IN TASMANIA: I always search on Booking.com for accommodation, as their Genius loyalty program offers 10-20% discounts and free breakfast/upgrades for certain hotels.
FLIGHTS TO TASMANIA: When researching flights, I always check Skyscanner first because it pulls in flight options across all airlines and saves you the trouble of searching each airline individually. When booking flights via Skyscanner, I always book directly with the airline rather than one of the third party options.
CAR RENTAL IN TASMANIA: When renting a car on your travels, check DiscoverCars.com for the best deals.
ACTIVITIES IN TASMANIA: If you’re looking to book tours or other organized activities on your travels, GetYourGuide and Viator both offer myriad options for fun things to do all around the world (think: sailing trips, cooking classes, city walking tours, and more).
TRAVEL INSURANCE FOR AUSTRALIA: Unless you can easily afford to pay for huge unexpected medical bills, DON’T TRAVEL WITHOUT TRAVEL INSURANCE! These days, I usually buy the Safety Wing nomad insurance, as it’s very affordable and caters to digital nomads with a monthly subscription option. I’ve also been a longtime World Nomads user, and will still use them if I need more comprehensive insurance (e.g. for adventure activities) or if I am visiting the US (Americans aren’t eligible for Safety Wing’s US add-on option).
ESIM / SIM CARDS FOR AUSTRALIA: When traveling overseas, I always purchase an eSIM from Simify for the country I’m going to, activate it before I depart, and as soon as I arrive I am automatically connected to the local network and can easily find my way to my accommodation. No need to to buy a local SIM card at the airport; eSIMs are fully electronic and don’t require you to take out your old SIM.
LUGGAGE: I am currently a July luggage girl (July Australia / July US). They offer a lifetime warranty, which I have used multiple times now – and every time, they have sent me a brand new replacement suitcase without hassle. I recommend their Checked Plus if traveling with 32kg/70lb of luggage (note: many airlines do not allow bags this heavy!), the Checked if traveling with 23kg/50lb of luggage, and the Carry On Light (Expanded) which is super lightweight and really helps you stay within the 7kg carry-on limit that many Aussie airlines enforce. Click to read my full review of July luggage.
Overland Track Itinerary
The Overland Track takes about 5 days to complete, and must be hiked north to south. You could potentially shave off a day or two if you don’t want to do any of the side tracks and keep a steady pace. Alternatively, you may want to add a couple of days if you want to do ALL of the side trips, including the Pine Valley overnight.
Below is a brief outline of the hike, day by day. Refer to this post for details on each day of the hike.
Day 1: Ronny Creek to Waterfall Valley (10 km / 4-5 hours)
Optional Side Treks:
- Cradle Mountain summit (2-3 hours)
Day 2: Waterfall Valley to Windermere (8 km / 2-3 hours)
Optional Side Treks:
- Barn Bluff summit (3-4 hours)
- Lake Will (1 hour)
Day 3: Windermere to Pelion (17 km / 4-6 hours)
Optional Side Treks:
- Mt. Oakleigh (4-5 hours)
Day 4: Pelion to Kia Ora (9 km / 3 hours)
Optional Side Treks:
- Mt. Ossa (3.5-4.5 hours)
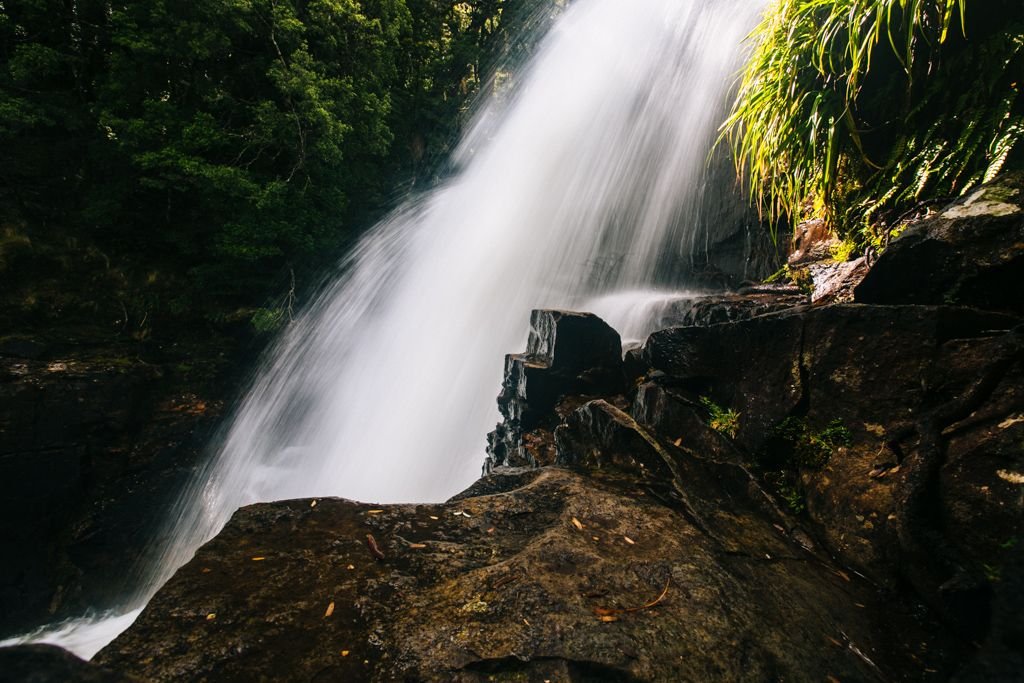
Ferugsson Falls.
Day 5: Kia Ora to Windy Ridge (10 km / 3-4 hours) to Narcissus (9 km / 3-4 hours)
Upon arrival in Narcissus, you can either stay overnight in the hut, or take the ferry across the lake. Check the bus and ferry timetables to see what option works best with your schedule.
Optional Side Treks:
- D’Alton & Fergusson Falls (1 hour)
- Hartnett Falls (1 hour)
(OPTIONAL) Day 5-6: Windy Ridge to Pine Valley and back (4.7 km / 2 hours one way)
If you want to add on what’s said to be the best side trip off the Overland Track, the turn-off to Pine Valley is just after Windy Ridge. From here, it’s an easy 4.7km to Pine Valley. Stay overnight in the Pine Valley hut and use it as a base to do two optional side treks: the Labyrinth (6km / 4 hours) and the Acropolis (6 km / 5 hours).
(OPTIONAL) Day 7: Narcissus to Cynthia Bay (17.5 km / 6-7 hours)
Note that you can either hike around Lake St. Clair to Cynthia Bay, or take the ferry across from Narcissus to save time. The walk is by far the least interesting part of the entire Overland Track, so I’d recommend taking the ferry instead of walking it.
READ MORE: The Big Thing I Learned From Hiking The Overland Track
Planning a trip to Tasmania?
These are the sites I use and recommend for booking travel:
ACCOMMODATION IN TASMANIA: I always search on Booking.com for accommodation, as their Genius loyalty program offers 10-20% discounts and free breakfast/upgrades for certain hotels.
FLIGHTS TO TASMANIA: When researching flights, I always check Skyscanner first because it pulls in flight options across all airlines and saves you the trouble of searching each airline individually. When booking flights via Skyscanner, I always book directly with the airline rather than one of the third party options.
CAR RENTAL IN TASMANIA: When renting a car on your travels, check DiscoverCars.com for the best deals.
ACTIVITIES IN TASMANIA: If you’re looking to book tours or other organized activities on your travels, GetYourGuide and Viator both offer myriad options for fun things to do all around the world (think: sailing trips, cooking classes, city walking tours, and more).
TRAVEL INSURANCE FOR AUSTRALIA: Unless you can easily afford to pay for huge unexpected medical bills, DON’T TRAVEL WITHOUT TRAVEL INSURANCE! These days, I usually buy the Safety Wing nomad insurance, as it’s very affordable and caters to digital nomads with a monthly subscription option. I’ve also been a longtime World Nomads user, and will still use them if I need more comprehensive insurance (e.g. for adventure activities) or if I am visiting the US (Americans aren’t eligible for Safety Wing’s US add-on option).
ESIM / SIM CARDS FOR AUSTRALIA: When traveling overseas, I always purchase an eSIM from Simify for the country I’m going to, activate it before I depart, and as soon as I arrive I am automatically connected to the local network and can easily find my way to my accommodation. No need to to buy a local SIM card at the airport; eSIMs are fully electronic and don’t require you to take out your old SIM.
LUGGAGE: I am currently a July luggage girl (July Australia / July US). They offer a lifetime warranty, which I have used multiple times now – and every time, they have sent me a brand new replacement suitcase without hassle. I recommend their Checked Plus if traveling with 32kg/70lb of luggage (note: many airlines do not allow bags this heavy!), the Checked if traveling with 23kg/50lb of luggage, and the Carry On Light (Expanded) which is super lightweight and really helps you stay within the 7kg carry-on limit that many Aussie airlines enforce. Click to read my full review of July luggage.

Frugal Facts
As of November 2018 —
The bus from Launceston to Cradle Mountain costs 75 AUD via McDermott’s Coaches. It leaves at 7:30am on Sunday, Monday, Wednesday, and Friday.
The bus from Lake St. Clair to Hobart costs 85 AUD with Overland Track Transport. It departs Lake St. Clair at 2:30pm on Monday, Wednesday, Friday, and Saturday.
An Overland Track permit costs 200 AUD – you must book your start date upon purchasing your permit.
A Tasmania Parks Pass costs 30 AUD for hikers (valid for 8 weeks). If you already purchased a parks pass for your vehicle (like I did when I was roadtripping in Tasmania – it costs 60 AUD), you can just use this while you’re trekking.
The private ferry from Narcissus to Cynthia Bay costs 50 AUD.


