This post was last updated on 2025 October 27
This article on The Kalalau Trail may contain affiliate links. If you click and make a purchase using these links, I will make a small commission at no extra cost to you. Thanks so much for supporting Frugal Frolicker! :)
The Kalalau Trail is exhilarating, exhausting, terrifying, drop-dead stunning, and positively one of the best hikes you could ever hope to embark on.
I tend to operate on a *throw myself into it and see what happens* basis, often without pausing to consider whether I can actually succeed (after all, whatever happens, I can handle it). But honestly? Even with all my research, I had some serious concerns about tackling the Kalalau Trail in Kauai. The Internet failed my frantic and very specific Google queries about car break-ins and trail safety and I went into this trek with all sorts of trepidation.
I don’t want you to be filled with dread and second guess your decision to hike to Kalalau like I did, so here is the guide I wish I’d had beforehand – for you, my friends!
Planning a trip to Kauai?
These are the sites I use and recommend for booking travel:
ACCOMMODATION IN KAUAI: I always search on Booking.com for accommodation, as their Genius loyalty program offers 10-20% discounts and free breakfast/upgrades for certain hotels.
FLIGHTS TO KAUAI: When researching flights, I always check Skyscanner first because it pulls in flight options across all airlines and saves you the trouble of searching each airline individually. When booking flights via Skyscanner, I always book directly with the airline rather than one of the third party options.
CAR RENTALS IN KAUAI: When renting a car on your travels, check DiscoverCars.com for the best deals.
ACTIVITIES IN KAUAI: If you’re looking to book tours or other organized activities on your travels, GetYourGuide and Viator both offer myriad options for fun things to do all around the world (think: sailing trips, cooking classes, city walking tours, and more).
TRAVEL INSURANCE FOR USA: Unless you can easily afford to pay for huge unexpected medical bills, DON’T TRAVEL WITHOUT TRAVEL INSURANCE! These days, I usually buy the Safety Wing nomad insurance, as it’s very affordable and caters to digital nomads with a monthly subscription option. I’ve also been a longtime World Nomads user, and will still use them if I need more comprehensive insurance (e.g. for adventure activities) or if I am visiting the US (Americans aren’t eligible for Safety Wing’s US add-on option).
ESIM / SIM CARDS FOR USA: When traveling overseas, I always purchase an eSIM from Simify for the country I’m going to, activate it before I depart, and as soon as I arrive I am automatically connected to the local network and can easily find my way to my accommodation. No need to to buy a local SIM card at the airport; eSIMs are fully electronic and don’t require you to take out your old SIM.
LUGGAGE: I am currently a July luggage girl (July Australia / July US). They offer a lifetime warranty, which I have used multiple times now – and every time, they have sent me a brand new replacement suitcase without hassle. I recommend their Checked Plus if traveling with 32kg/70lb of luggage (note: many airlines do not allow bags this heavy!), the Checked if traveling with 23kg/50lb of luggage, and the Carry On Light (Expanded) which is super lightweight and really helps you stay within the 7kg carry-on limit that many Aussie airlines enforce. Click to read my full review of July luggage.
Getting to the Kalalau Trailhead
The easiest thing to do is rent a car and drive to the trailhead, which is at the very end of the road (route 560). It’s also the riskiest option because break-ins happen semi-frequently with cars left here overnight. If you’re up for chancing it, leave no valuables in your car and lock it. Ask to store your belongings at whatever hotel you stay at before starting the trek so that they’re safe.
A lot of sources recommend leaving your car unlocked so that thieves won’t break any windows if they want to get into your car, but if your car rental company offers coverage for break-ins there’s really no reason not to lock it (note: I rented a car from Dollar and they covered break-ins). There are actually two Kalalau Trail parking lots by the trailhead and Ke’e Beach: the one right next to it, and another one just a minute down the road at Ha’ena State Park. Note that you must book and pay for a parking space here in advance.
Alternatively, you can park your car at Haena County Park, which is used for Haena Beach and the Haena Beach Park campground. Because people camp literally right next to the lit parking lot, break-ins aren’t usually an issue here. This parking lot is about a half hour walk from the trailhead (or a mile). You could always drive to the trailhead, leave your pack, drive back to Haena Beach to park the car, then walk back to the trailhead pack-free.
UPDATE: Since the Kalalau Trail has reopened in June 2019, overnight parking is no longer allowed at the trailhead or along the road. All hikers must either be dropped off, or book onto the shuttle bus which runs from Princeville to Ha’ena State Park. You may be able to get away with parking at Haena County Park, but do so at your own risk.
CLICK TO BOOK A RENTAL CAR IN LIHUE.
BOOK ACTIVITIES IN KAUAI:
How Many Nights For The Kalalau Trail?
Short answer: as many as you can manage!
I would say 3 nights is the absolute minimum to allow for the Kalalau Trail, but you will want more once you reach Kalalau Beach – trust me on this one. This is definitely a hike to be savored, not one to rush through for bragging rights.
If you are a very fit person and/or a very experienced hiker, you should be fine walking the entire 11 miles in one day. For everyone else, it’s smart to break the walk in half and camp at Hanakoa on the way to/from Kalalau especially if you’re hiking in winter when the trail tends to be wet and slow-going.
Personally, I had 4 days and 3 nights for the hike. I took 2 days to hike in because I got a late start on Day 1 and couldn’t make it to Kalalau Valley before dark. I had just under 24 hours at Kalalau Beach which I felt was sufficient to soak up the vibes, but not long enough to fully relax or explore the valley. I also took 2 days to hike out because I didn’t want to put myself through the mentally exhausting cliff scramble and the physically exhausting mud trudging in the same day (FYI the former is during miles 7-9, the latter during miles 1-6).
Do They Check Your Kalalau Trail Permit?
Maybe occasionally? Word is that they may be more strict about it during busy times when the trail is booked out and many people who couldn’t get permits risk it and hike anyway. But during off peak times, it’s less likely anyone will check for permits.
Take that with a grain of salt, though – you really never know when the park authorities will show up. If you want to play it safe, book your Kalalau Trail permit far in advance (like 6 months in advance if you’re hiking during peak time, i.e. summer).
For what it’s worth, I met several people who either didn’t book a permit, only booked their first couple days just to feel it out, or ended up starting a day later than planned and were hiking the Kalalau Trail without a permit on their last day. Kalalau Trail trekkers tend not to be sticklers for rules – here’s hoping that the park authorities aren’t either!
UPDATE: After the reopening of the Kalalau Trail in June 2019, there are now rangers stationed along the trail to check permits, offer assistance, and ensure safety. Also, Kalalau Trail permits can now only be booked up to 90 days in advance.
When To Hike The Kalalau Trail?
Any time! Kauai weather is consistently warm year-round.
Do note, though, that peak time is summer (June-August), when the trail will be crowded and permits get booked out many months in advance.
Winter (December-February) is less crowded, but more rainy. Even if it doesn’t rain during your trek, you’ll experience mud in every possible consistency, which can really slow you down.
Be sure to check the weather forecast once you arrive on Kauai and make sure you have a plan in the event that it rains (whether that means buying rain gear, postponing your trek, or backing out altogether). Check the State Parks website the morning you’re due to start trekking to see if the Kalalau Trail is closed due to flash flooding.
What’s It Like Hiking The Kalalau Trail?
Unbelievably awesome!
The Kalalau Trail has 3 main landmarks / stopping points / segments:
Trailhead to Hanakapi’ai Beach (Mile 0-2)
A popular day hike suitable for any level hiker, this segment of the trail is slippery and muddy (particularly in winter). The second mile is a steep downhill walk to the beach. You’ll catch some distant views of the Na Pali Coast along the way.
Right before you reach the beach, you’ll cross Hanakapi’ai Stream. This is the stream everyone says not to cross if the water is too high or flowing too fast (seriously, people have died here – it can be dangerous!). As long as the water isn’t above your knees, you should be fine to cross. Plus, there will likely be several other trekkers or day hikers on the trail with you, so if in doubt – watch them cross first and then follow.
Hanakapi’ai Beach is lovely but not safe for swimming. It’s not a designated campsite, but people do (illegally) camp here.
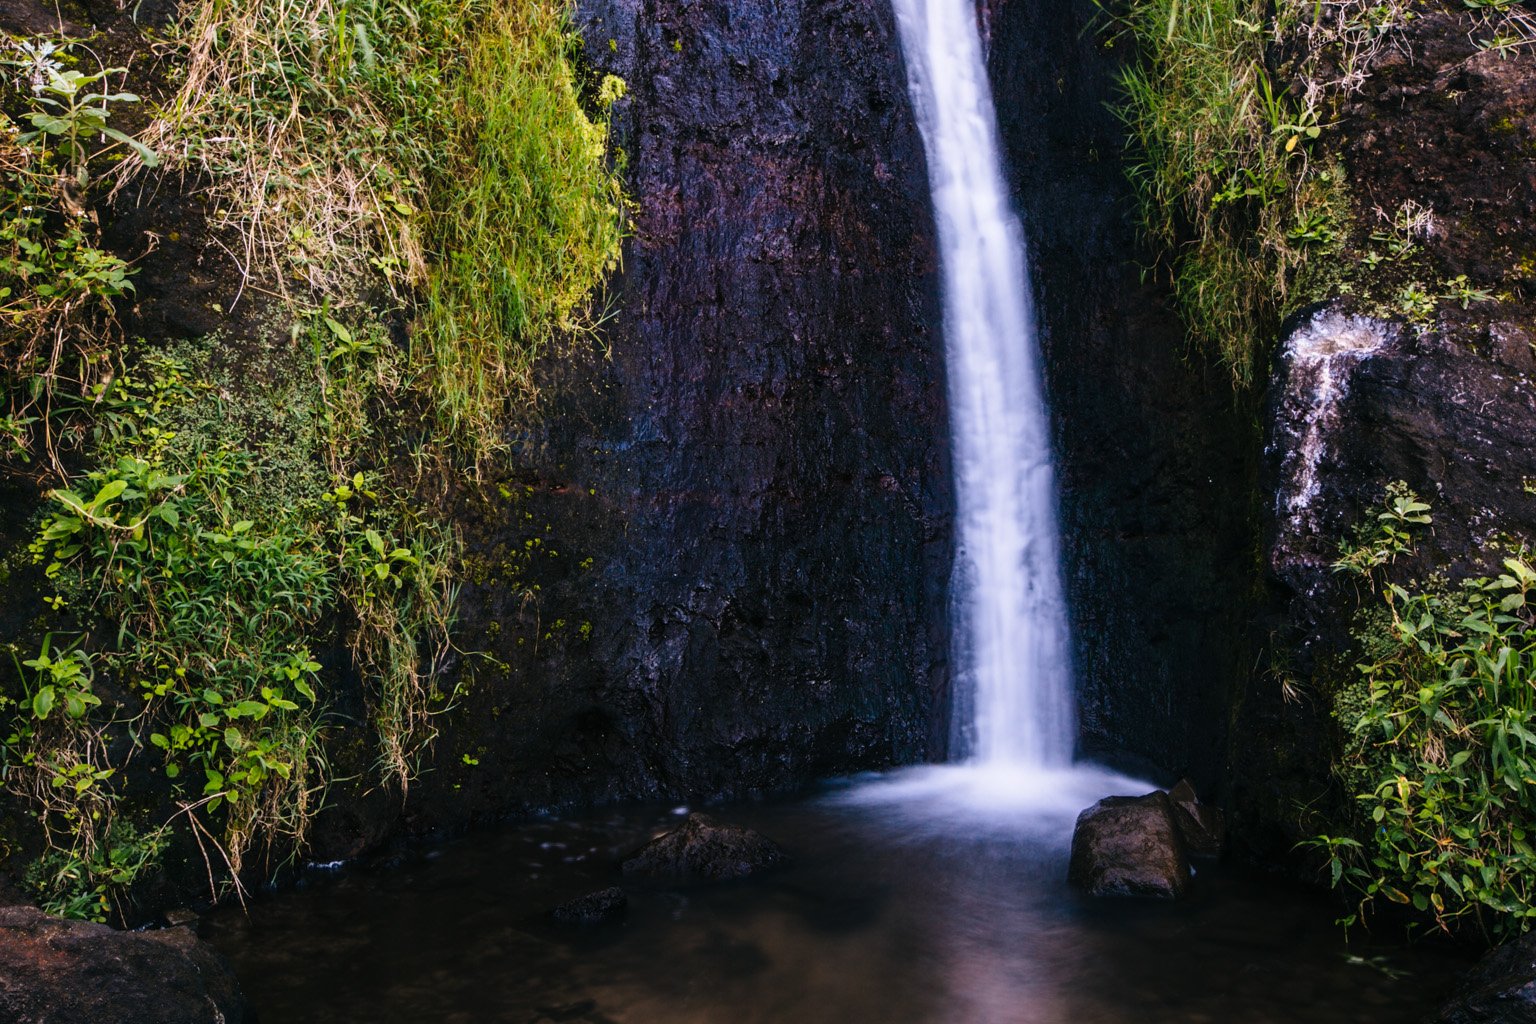
Hanakapi’ai Falls is a 2-mile side trip from here – a great add-on for a day hike, but probably not worth it if you’re going the full 11 miles to Kalalau as there are more (easily accessible) waterfalls to be seen further on.
Hanakapi’ai to Hanakoa (Mile 2-6)
The trail from miles 2-6 runs mostly inland and can be muddy in winter or after rain. It isn’t as scenic as the rest of the trail, so for this reason I’d say that it’s not worth it just to hike to Hanakoa and back. If you don’t have time to hike the full Kalalau Trail, save it for another time and just do the day hike to Hanakapai’ai.
Hanakoa campsite sits at the approximate halfway point (mile 6), but it’s set inland by a stream rather than on a beach – i.e. don’t plan to spend any more time than necessary here. There are camping spots and shelters on either side of the stream, which you’ll need to cross 2 segments of to get to the other side (so leave your boots off after the first one!).
Hanakoa Falls is a 15 minute walk from the campsite and generally said to be well worth a look.
Hanakoa to Kalalau Beach (Mile 6-11)
Do not, under any circumstance, continue on to Kalalau Beach if you are not an experienced and confident hiker. This is NOT the trek for you if you’ve never carried a heavy pack for multiple days on challenging terrain, or are scared of heights.
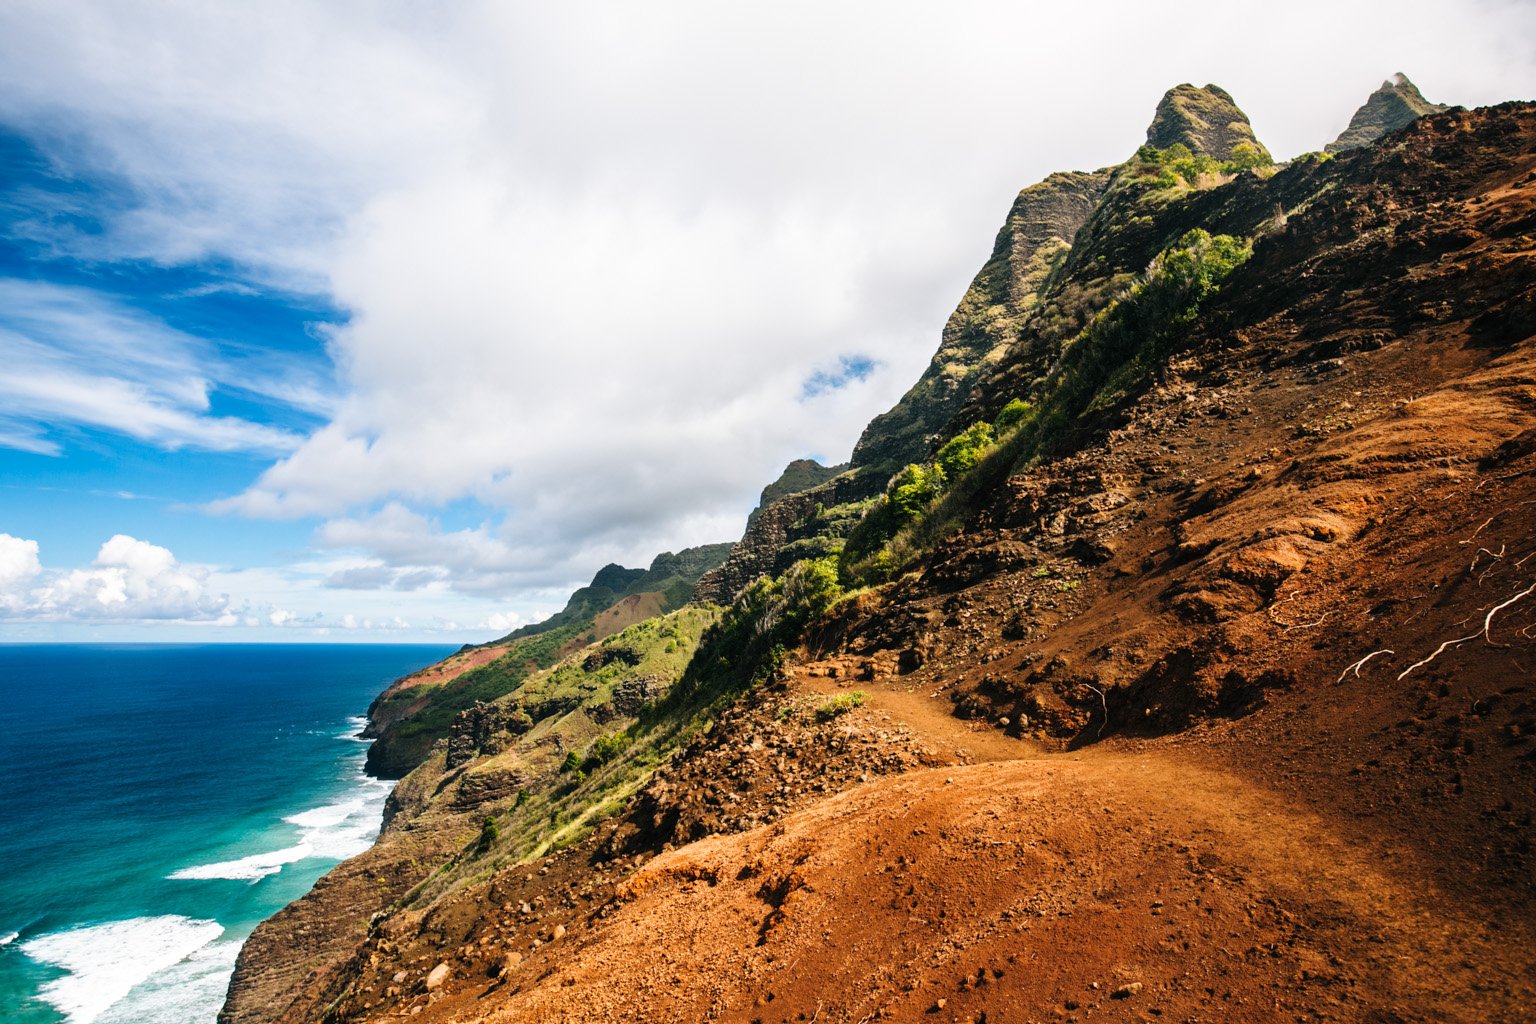
Leaving Hanakoa, the mud party continues. Then after mile 7, a whole new party begins – one you’ll probably wish you hadn’t gone to. This is where the scary cliff walking kicks off, which has you quite literally tiptoeing along a ledge (known here as “Crawlers Ledge”) where the path is sometimes too narrow to fit two feet side by side – and oh yeah, don’t look down because if you misstep, that’s probably where you’ll be heading.
I was sweating buckets the entire time – it was TERRIFYING. I took it super slow and leaned on the mountain with my inside hand (don’t grab the rock – some pieces are loose) and held a trekking pole in my other hand, walking one foot in front of the other. The first part is the worst, but there are a few similar harrowing cliff walks in the mile 7-9 area.
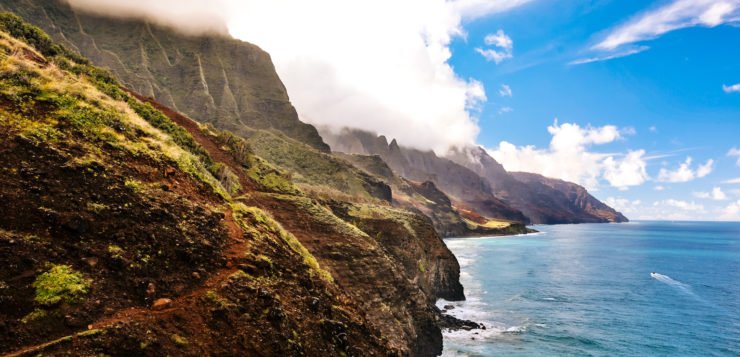
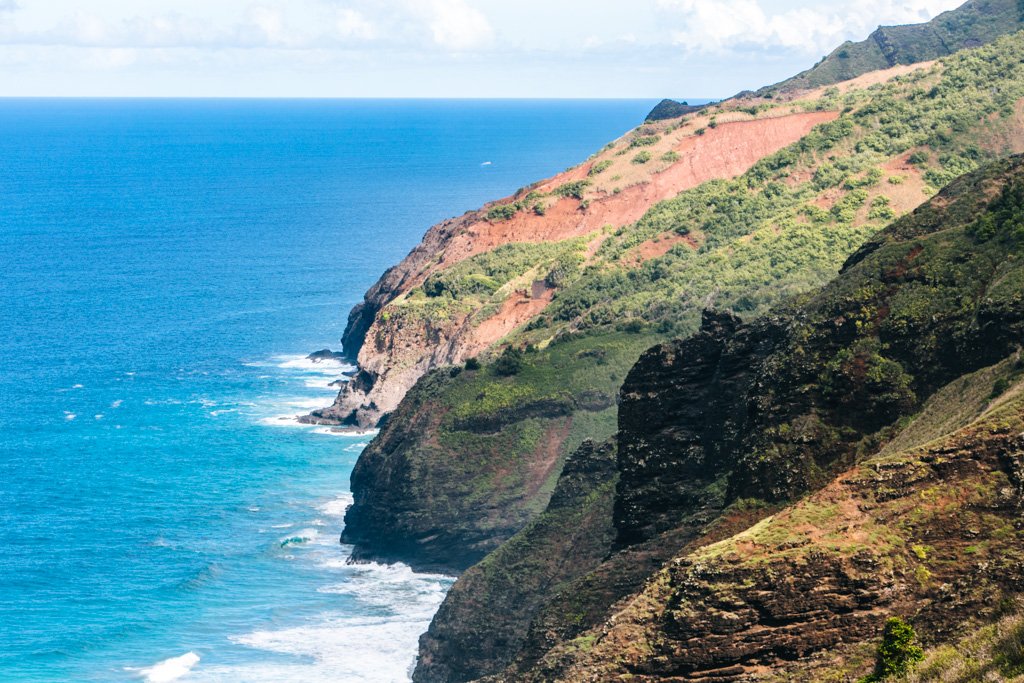
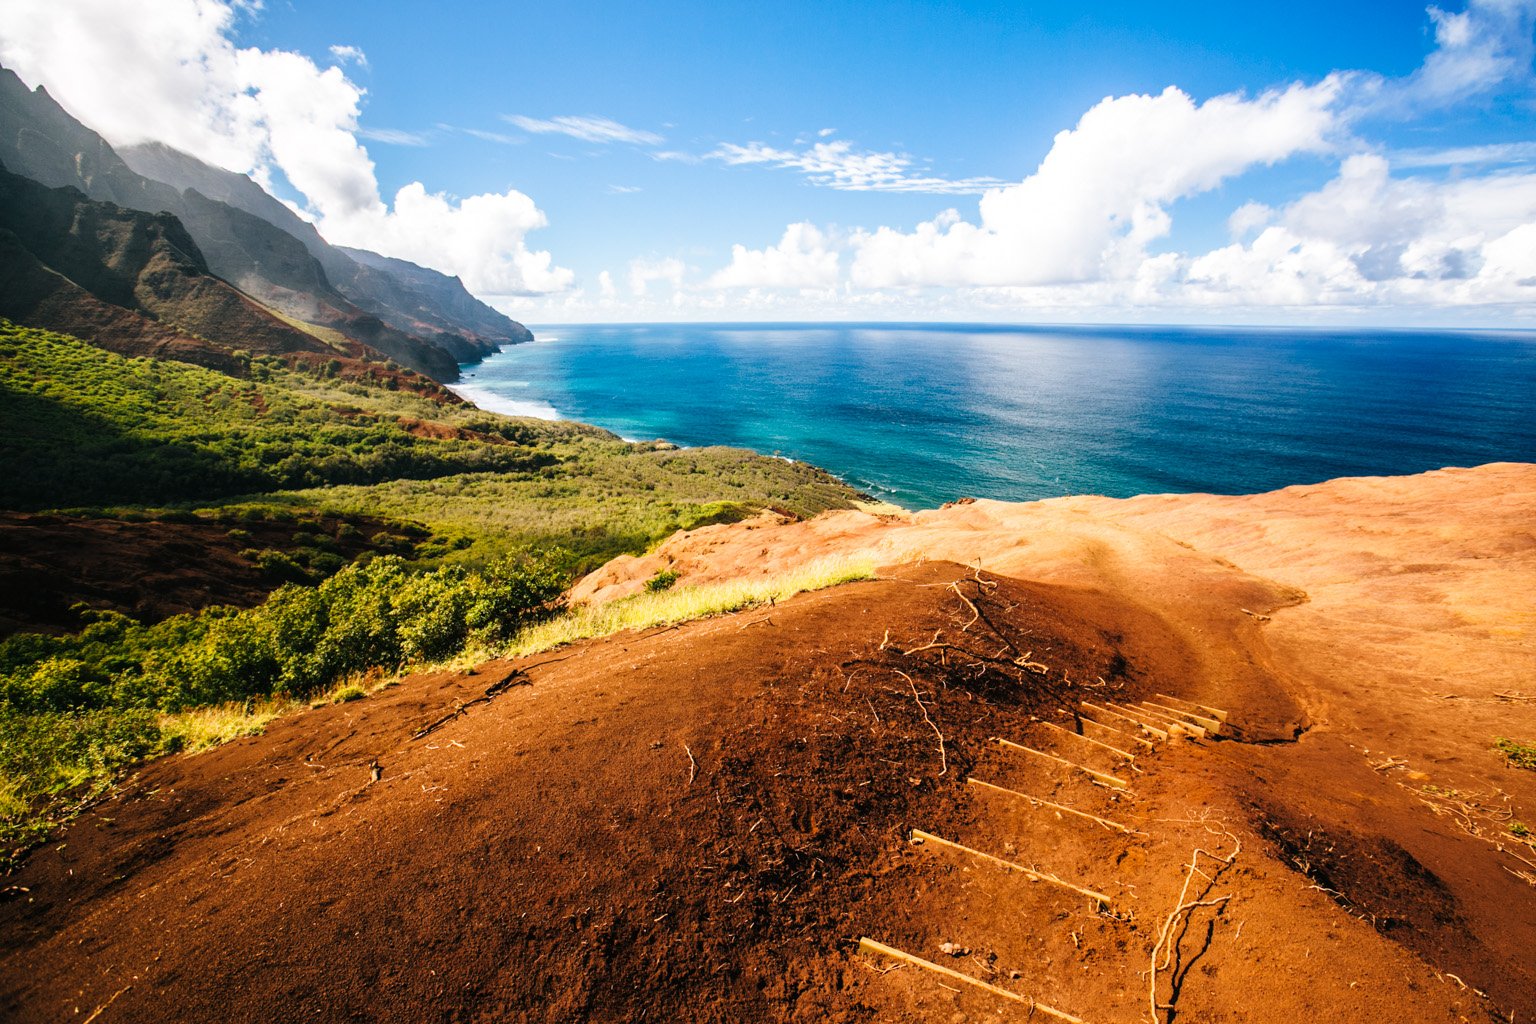
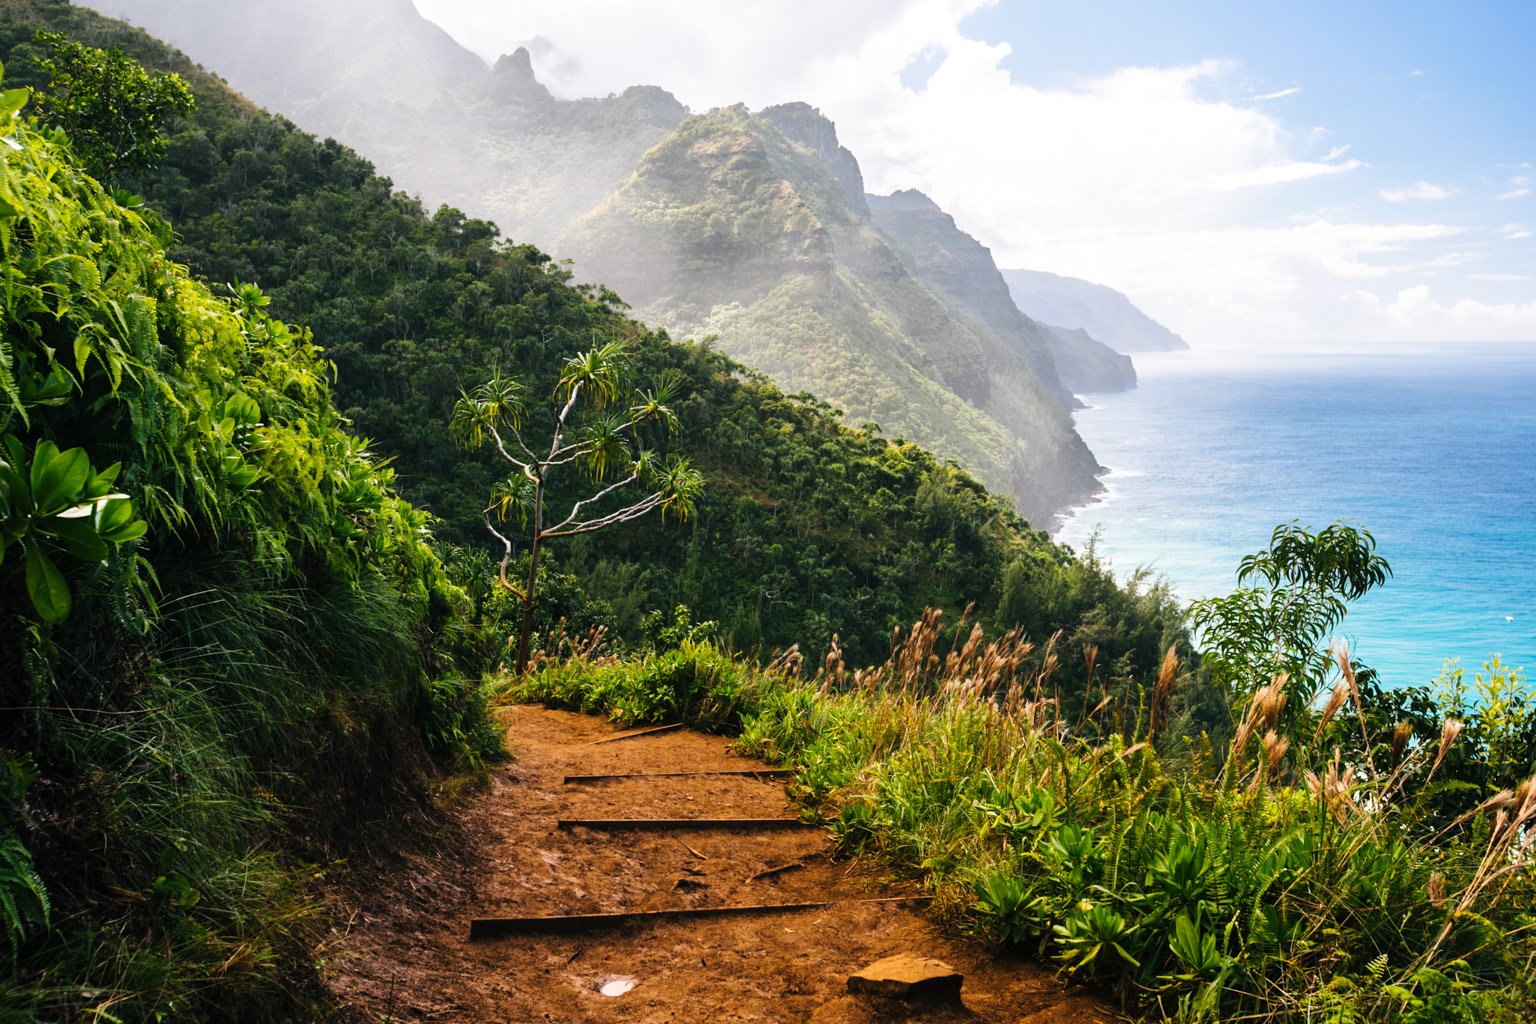
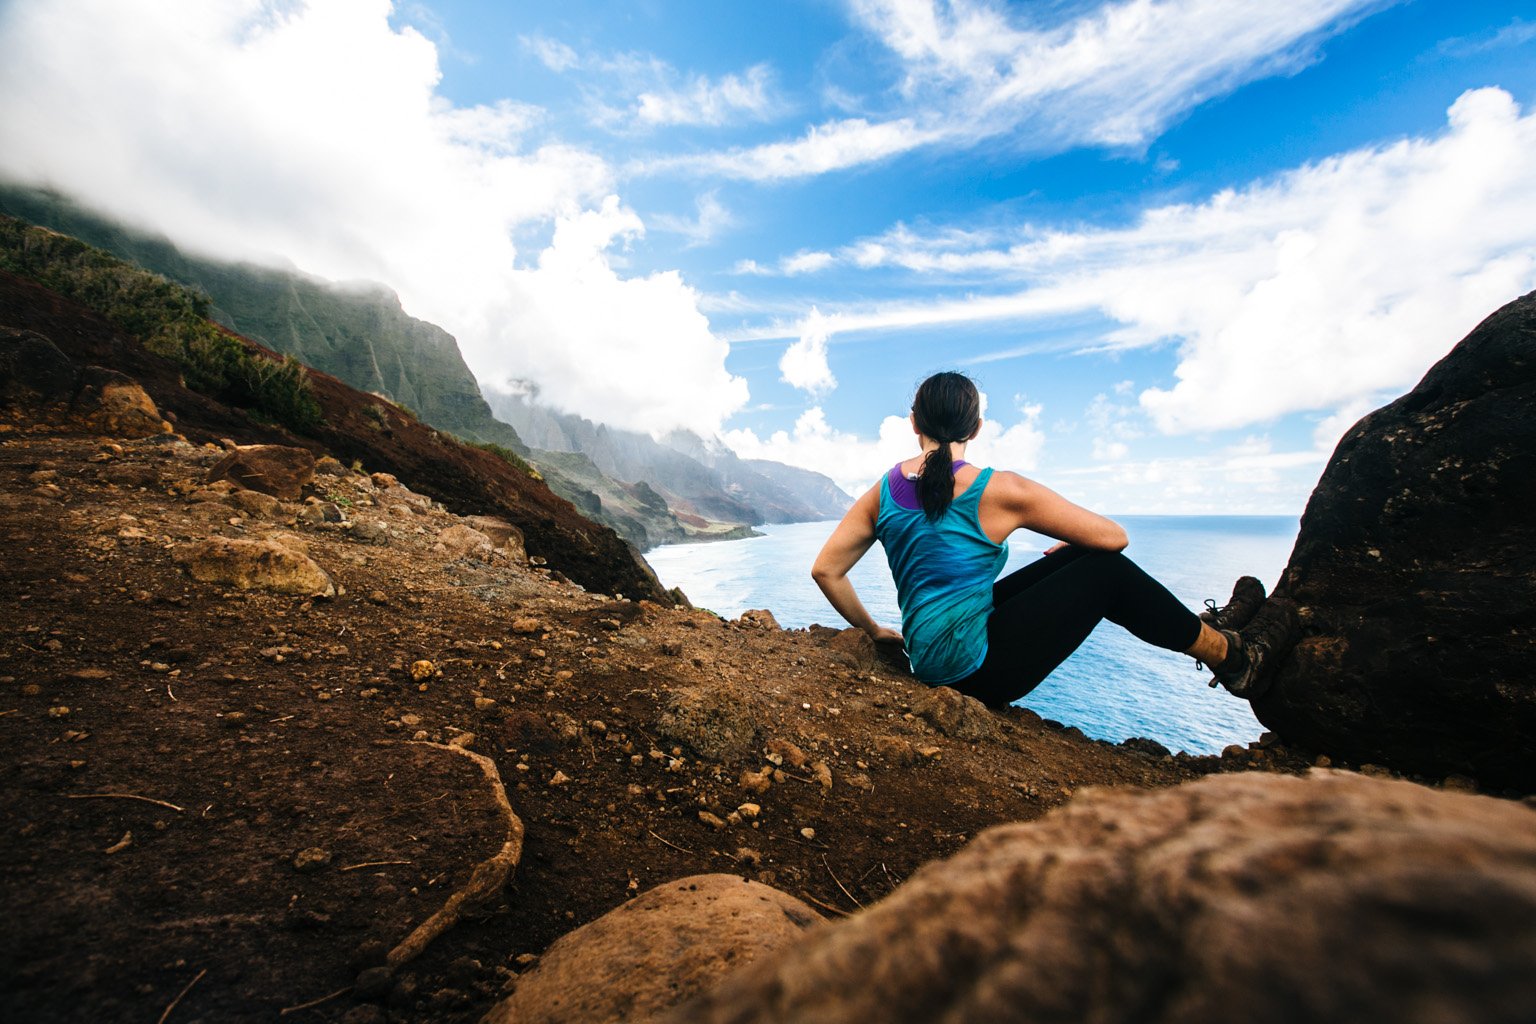
The second half of the Kalalau Trail does have some positives, though. It’s mostly dry with only occasional mud, and offers the most sensational coastal views of the entire trek.
There is one last stream to cross once you make it down to Kalalau Beach. Head right after crossing and follow the path to the beach. If you were to head left instead, you’d be going up into Kalalau Valley (which you should totally explore one day).
At Kalalau Beach, there are dozens of campsites set in the trees all along the beach. It gets more crowded closer to the waterfall at the other end of the beach. Past the waterfall, there are some caves on the beach where some people (illegally) camp.
BOOK ACTIVITIES IN KAUAI:
What Are The Campsites Like At Kalalau?
There are two designated campsites on the Kalalau Trail which you need to book a permit for in advance: Hanakoa and Kalalau. Both campsites have compostable toilets, shelters, and easy access to drinking water (which you must treat before drinking).
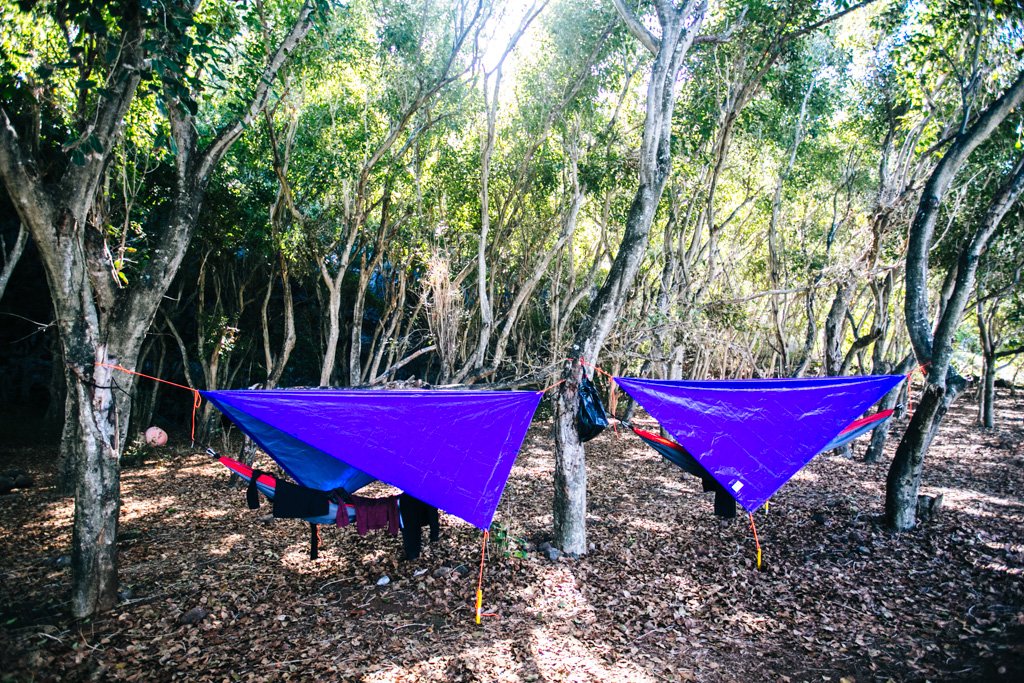
The entirety of Kalalau Beach is lined with loads of camping spots set back in the woods, many of which have fire pits. The sites on the far end of the beach, near the waterfall, are the most popular and have the best views of the beach. Many people opt to camp in hammocks rather than tents: you’ll find plenty of trees fit for hammock hanging here.
Hammocks at Kalalau Beach.
Some people camp in places outside of the designated campsites, such as:
- The sheltered spots in the bluffs within the 1-2 miles before Kalalau Beach which have amazing views of the coast.
- Kalalau Valley, where the locals live.
I’m not sure what exactly happens if you get busted camping outside of the designated campsites, so do so at your own risk!
What To Do At Kalalau Beach
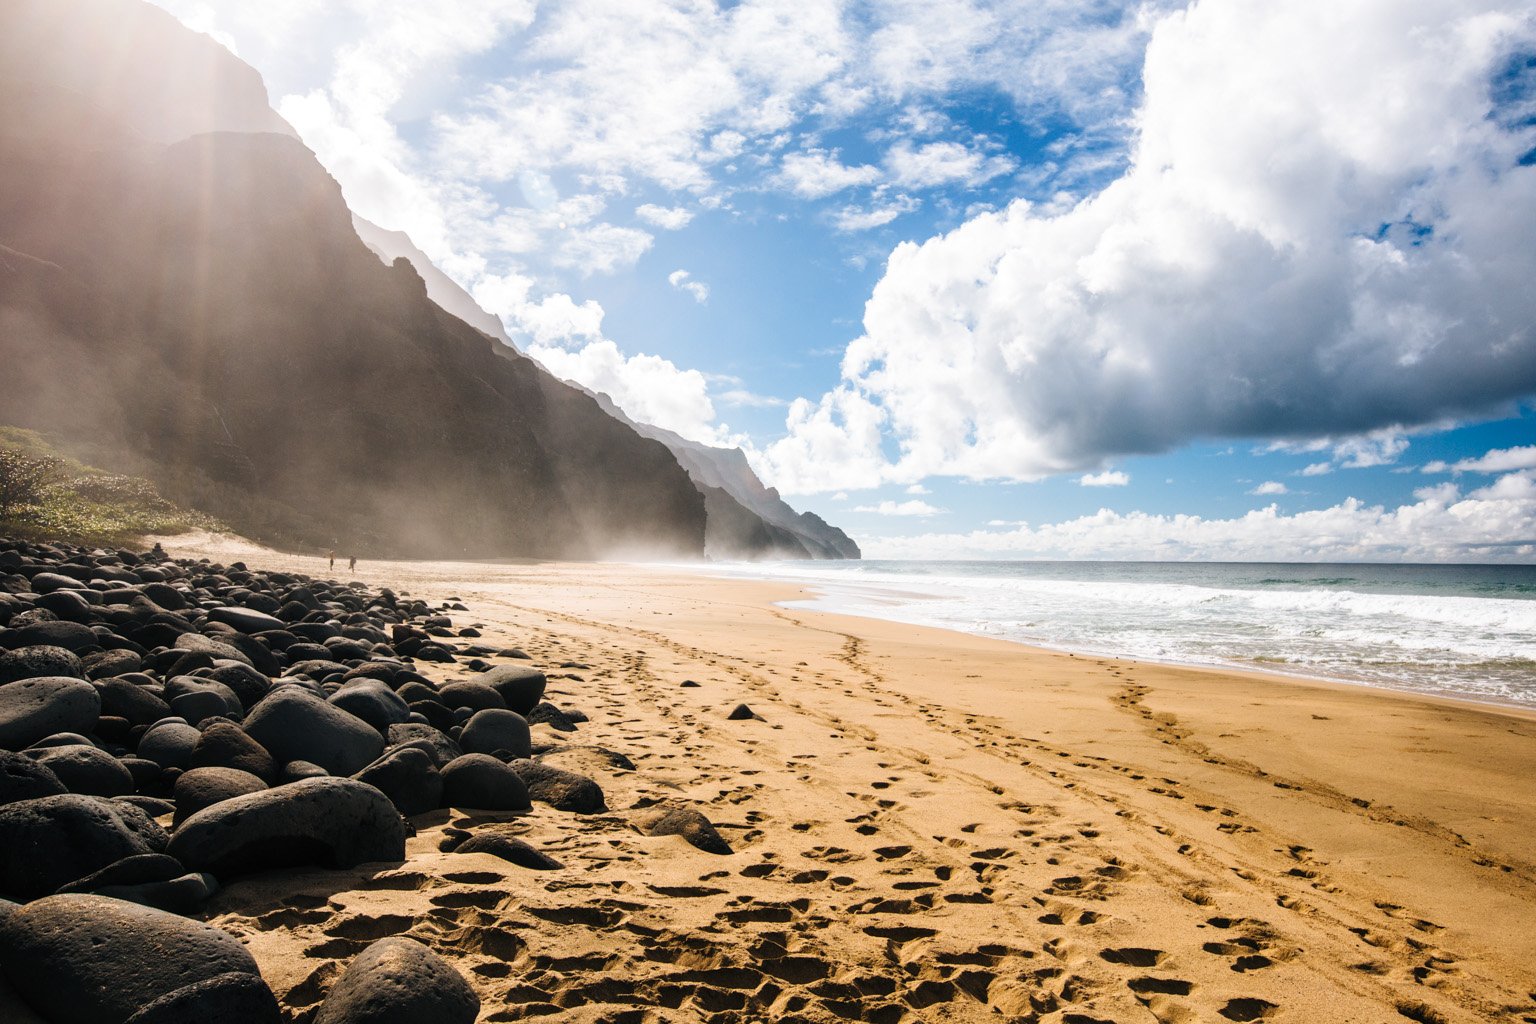
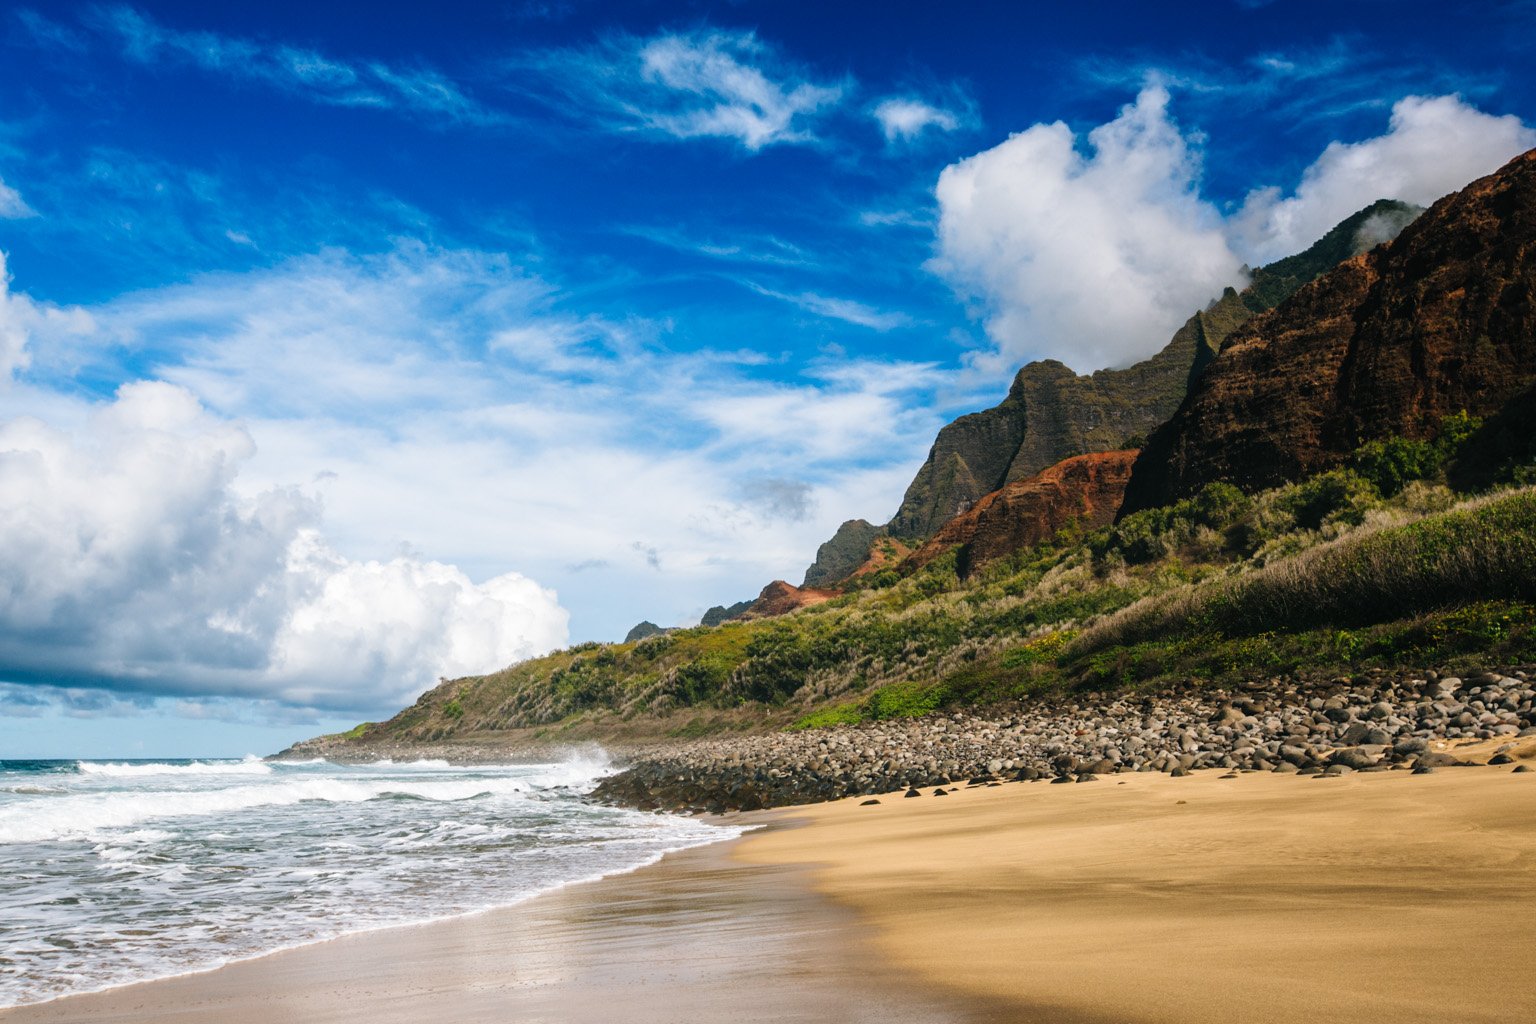
Kalalau Beach is a stunner. Once the sun pops out over the mountain around noon, it’s prime time for sunbathing and swimming. The surf is strong, but the water is shallow enough that you can wade out a bit and swim before the point where the waves crash.
During summer, some people like to swim over to the secluded Honopu Beach – said to be one of the most beautiful beaches in Hawaii and/or the world. This beach is only accessible by swimming as boats are not allowed to land here. Be aware that it is not safe to swim to Honopu Beach during winter when the surf is too strong. If you do decide to go, make sure you swim in a group, have fins on, and return to Kalalau before the midday winds pick up.
When you need a break from the beach, walk upstream into Kalalau Valley where the locals live. You’ll find clusters of hippie encampments with gardens and intricate tarp-homes along the stream and its tributaries. About 2 miles in, there’s a big (natural) pool ideal for swimming.
You can also enjoy fresh passionfruit straight from the trees!
Is The Kalalau Trail Safe?
I felt extremely safe the entire time I was on the trail. Every single person I encountered was kindhearted, adventurous, and some degree of spiritual – this is the sort of person Kalalau attracts. That’s not to say that everyone else feels as safe as I did, but the general consensus seems to be that safety is not an issue.
Think about it: this is not a trail that a casual outsider looking to cause trouble would decide to tackle on a whim. Why hike an extremely challenging 11 miles to rob or assault someone when you could achieve the same thing back in civilization with a lot less effort?
Look at how narrow the trail gets!
Can You Hike The Kalalau Trail Solo?
Technically, yes – I hiked it alone!
However, I do not recommend hiking the Kalalau Trail by yourself. While the trail is safe in terms of crime, there are parts of it that are not very safe in terms of terrain. Miles 7-9 in particular have several dicey segments where one misstep could send you careening off the cliff edge. Having a hiking buddy there to spot you and/or calm you down in case of a freakout is invaluable.
Had I known how dangerous and scary the Kalalau Trail gets in parts, I probably wouldn’t have hiked it solo. There just isn’t enough useful information about the trek online, which is precisely why I created this guide!
Planning a trip to Kauai?
These are the sites I use and recommend for booking travel:
ACCOMMODATION IN KAUAI: I always search on Booking.com for accommodation, as their Genius loyalty program offers 10-20% discounts and free breakfast/upgrades for certain hotels.
FLIGHTS TO KAUAI: When researching flights, I always check Skyscanner first because it pulls in flight options across all airlines and saves you the trouble of searching each airline individually. When booking flights via Skyscanner, I always book directly with the airline rather than one of the third party options.
CAR RENTALS IN KAUAI: When renting a car on your travels, check DiscoverCars.com for the best deals.
ACTIVITIES IN KAUAI: If you’re looking to book tours or other organized activities on your travels, GetYourGuide and Viator both offer myriad options for fun things to do all around the world (think: sailing trips, cooking classes, city walking tours, and more).
TRAVEL INSURANCE FOR USA: Unless you can easily afford to pay for huge unexpected medical bills, DON’T TRAVEL WITHOUT TRAVEL INSURANCE! These days, I usually buy the Safety Wing nomad insurance, as it’s very affordable and caters to digital nomads with a monthly subscription option. I’ve also been a longtime World Nomads user, and will still use them if I need more comprehensive insurance (e.g. for adventure activities) or if I am visiting the US (Americans aren’t eligible for Safety Wing’s US add-on option).
ESIM / SIM CARDS FOR USA: When traveling overseas, I always purchase an eSIM from Simify for the country I’m going to, activate it before I depart, and as soon as I arrive I am automatically connected to the local network and can easily find my way to my accommodation. No need to to buy a local SIM card at the airport; eSIMs are fully electronic and don’t require you to take out your old SIM.
LUGGAGE: I am currently a July luggage girl (July Australia / July US). They offer a lifetime warranty, which I have used multiple times now – and every time, they have sent me a brand new replacement suitcase without hassle. I recommend their Checked Plus if traveling with 32kg/70lb of luggage (note: many airlines do not allow bags this heavy!), the Checked if traveling with 23kg/50lb of luggage, and the Carry On Light (Expanded) which is super lightweight and really helps you stay within the 7kg carry-on limit that many Aussie airlines enforce. Click to read my full review of July luggage.
Kalalau Trail Packing List
If you’ve been on a multi-day trek before, then you should have a good idea of what the essential gear is for this endeavor. A comfortable pack and boots, layers, wool socks, rain gear, etc… you know the drill.
So rather than state the obvious, let me list out the not-so-obvious items that I think you should pack and not pack for the Kalalau Trail:
Things To Pack For The Kalalau Trail
- Wet Wipes – With several days worth of mud and sweat on your body and no showers available, wipe down your skin with these and you’ll feel clean(-ish) after a day of hiking.
- Camelbak – Perfect for easy access to your water supply while on the trail without having to stop and take off your pack.
- Water purification system – The water from all the streams and waterfalls on the trail is not safe to drink unless you sterilize it: try purification tablets, water treatment drops, a Steripen, or a water filter.
- Trekking poles – Do NOT attempt this trek without these! They will save your knees on the downhills and keep you balanced while trekking through mud and along the cliff edges.
- Fire starter – Sticks and kindling are often wet from rain, which makes it hard to light a campfire on the trail. A fire starter should do the trick.
- Either a lightweight tent with a rainfly OR a hammock with a tarp and mosquito net – Lots of people opt to sleep in a hammock because it’s a lot less weight to carry in their pack. There are plenty of trees at Kalalau Beach fit for hammock hanging.
Things NOT To Pack For The Kalalau Trail
- Sleeping bag – It doesn’t get too cold at night on the trail (upper-50’s at the lowest), so instead of a sleeping bag consider buying a cheap sheet and fleece blanket ($20 total at Walmart) or just wear extra layers.
- Sunglasses – You’ll keep taking them off when trekking in the shade and then they’ll get all foggy from sitting on your sweaty head. Better to wear a hat instead, if anything.
- Bathing suit – Why bother when you can just wear your sweaty hiking outfit and rinse it off in the sea or stream, or go skinnydipping as all the hippies there do?
- Lots of water – You don’t need to pack much water, as there are plenty of streams and waterfalls from which to refill your bottle or bladder along the way.
You don’t have to bring absolutely everything from home, though: most everything you need can be bought at Walmart in Lihue for super cheap. Alternatively, you can rent gear from Kayak Kauai.
READ MORE: 25 Epic Photos of Kauai’s Na Pali Coast & Kalalau Trail // 12 Must Dos on a Kauai Road Trip
Frugal Facts
As of August 2018 —
Permits for the Kalalau Trail cost $20/person per night and can be obtained up to 90 days in advance of hiking. Permits can be reserved online here.
It’s very hard to predict the weather on the trail, as it often doesn’t match up to what’s happening on the North Shore… but you can monitor this weather site for an approximate forecast.
Check the DLNR website before setting out on the Kalalau Trail in case it’s been closed due to flooding or construction.
The Kalalau Trail facebook group is worth joining to ask any questions you may have about the trail, and share your photos and experience from the trail upon your return.
