This post was last updated on 2025 October 26
This article on Thorsborne Trail: Hiking Hinchinbrook Island may contain affiliate links. If you click and make a purchase using these links, I will make a small commission at no extra cost to you. Thanks so much for supporting Frugal Frolicker! :)
When I first arrived in Australia over 4 years ago, the Overland Track in Tasmania was on the top of my hiking to-do list. And rightfully so, as it’s pretty renowned for its epic-ness.
A few months after conquering that hike, I got invited by Matador Network and the Queensland Tourism Board in May 2015 to join a group of journalists tackling the Thorsborne Trail on Hinchinbrook Island, a hike and an island I’d never even heard of (which says a lot, given how extensively I’ve researched and traveled around Australia).
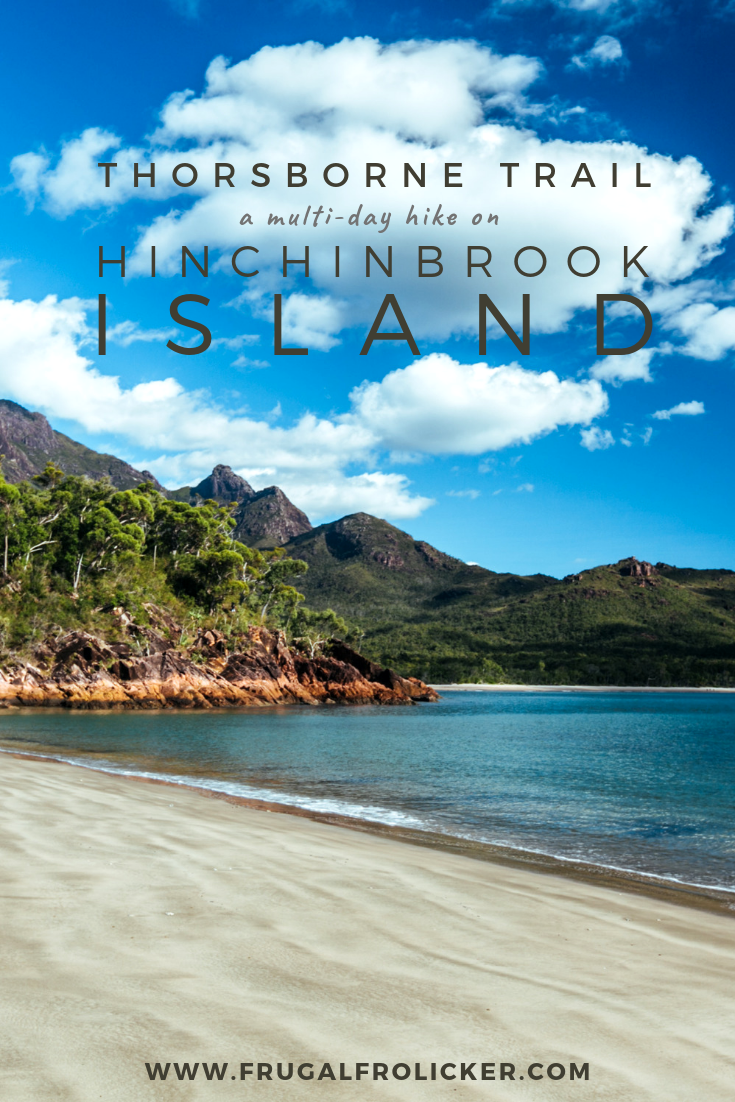
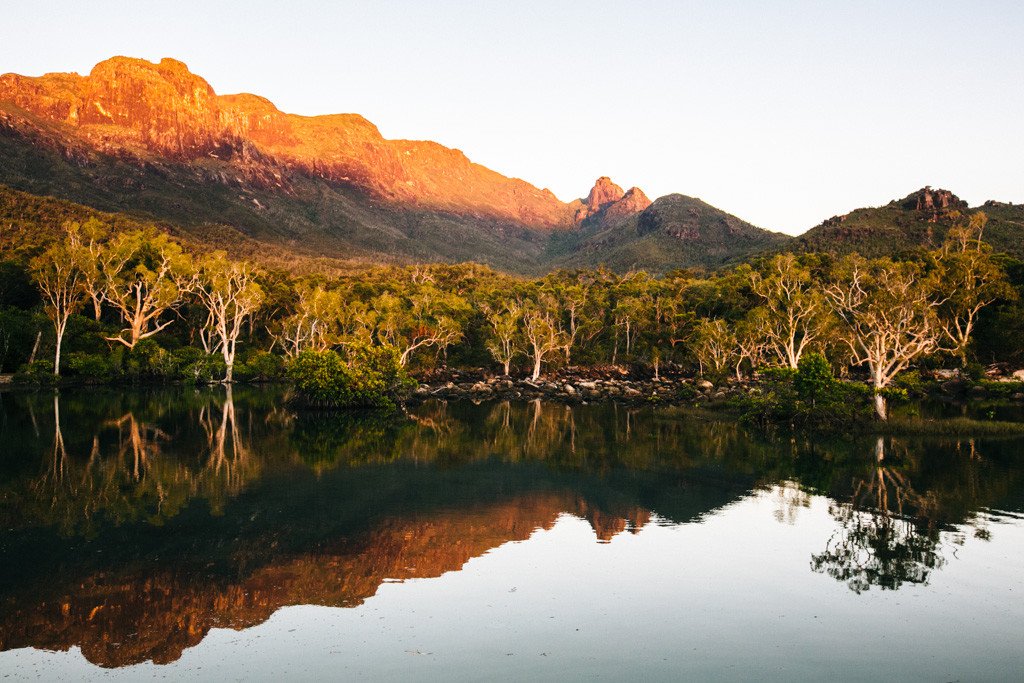
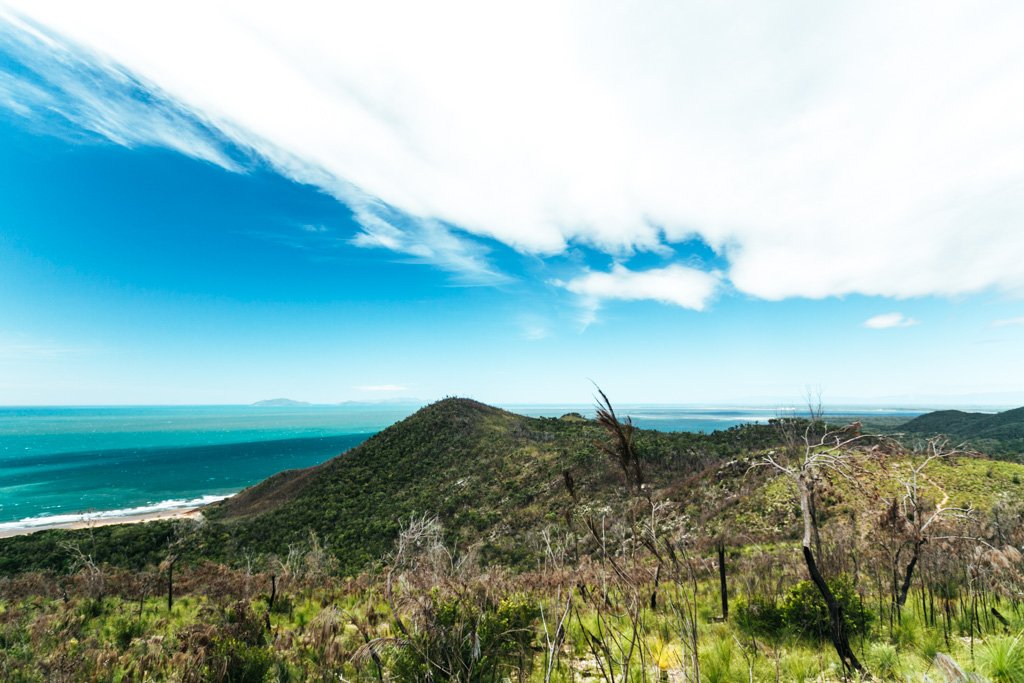
Well, after completing both of these multi-day hikes, I can wholeheartedly say that the Thorsborne Trail deserves just as much hype as the Overland Track does. To be honest, I enjoyed it so much more than the Overland Track – because not only does it take you through rainforest and around mountains, but it also offers ample coastal views and a few beachfront campsites. It’s the perfect blend of beach and bush in one hike. More than that, Hinchinbrook Island feels like a slice of Jurassic Park with its rugged green mountain peaks (which are often clouded in mist).
Let’s not sugarcoat it, though: this Hinchinbrook Island walk is not for the inexperienced or unfit hiker. Out of our group of journalists, 3 of us were seasoned hikers who had no trouble keeping a steady pace (you better believe I pat myself on the back for being one of them!); the majority of the group was reasonably fit but had never done a multi-day hike before and struggled on the first two (most difficult) days; and one person struggled through the first half of the hike before waving the flag and getting picked up by the coastguard on the morning of Day 3 (her account of the hike for The Guardian is absolutely brilliant).
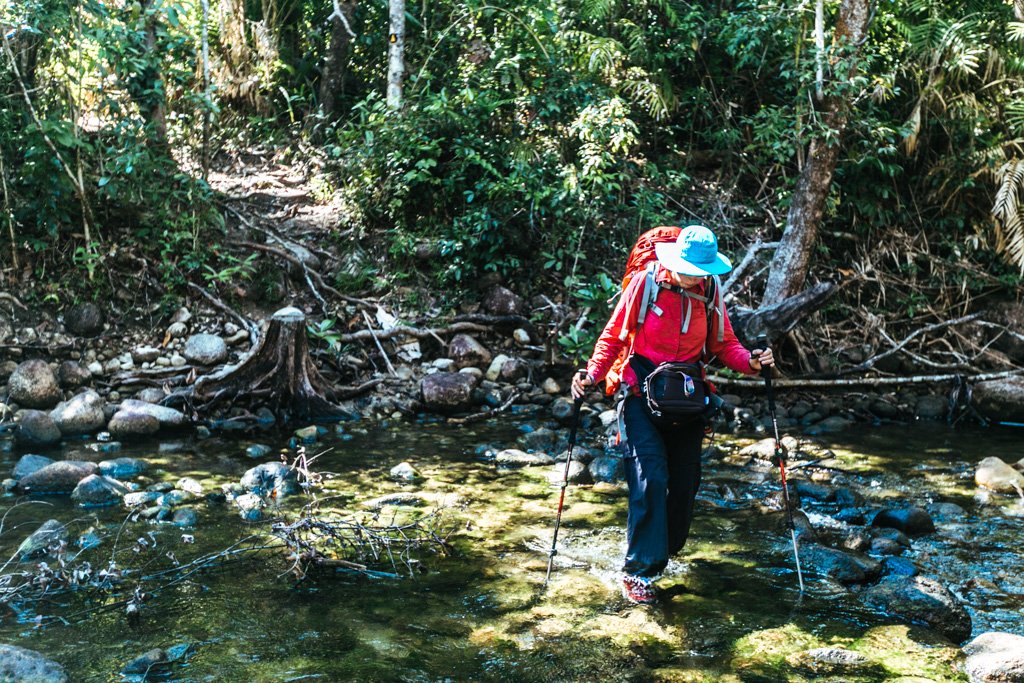
All that to say, there are mountains to climb, rocks to scramble, creeks to cross, and heavy packs to carry – can you handle that for 4 straight days?
If you are, then read on for everything you need to know to hike the Thorsborne Trail on Hinchinbrook Island!
Planning a trip to Australia?
These are the sites I use and recommend for booking travel:
ACCOMMODATION IN AUSTRALIA: I always search on Booking.com for accommodation, as their Genius loyalty program offers 10-20% discounts and free breakfast/upgrades for certain hotels.
FLIGHTS TO AUSTRALIA: When researching flights, I always check Skyscanner first because it pulls in flight options across all airlines and saves you the trouble of searching each airline individually. When booking flights via Skyscanner, I always book directly with the airline rather than one of the third party options.
CAR RENTAL IN AUSTRALIA: When renting a car on your travels, check DiscoverCars.com for the best deals.
ACTIVITIES IN AUSTRALIA: If you’re looking to book tours or other organized activities on your travels, GetYourGuide and Viator both offer myriad options for fun things to do all around the world (think: sailing trips, cooking classes, city walking tours, and more).
TRAVEL INSURANCE FOR AUSTRALIA: Unless you can easily afford to pay for huge unexpected medical bills, DON’T TRAVEL WITHOUT TRAVEL INSURANCE! These days, I usually buy the Safety Wing nomad insurance, as it’s very affordable and caters to digital nomads with a monthly subscription option. I’ve also been a longtime World Nomads user, and will still use them if I need more comprehensive insurance (e.g. for adventure activities) or if I am visiting the US (Americans aren’t eligible for Safety Wing’s US add-on option).
ESIM / SIM CARDS FOR AUSTRALIA: When traveling overseas, I always purchase an eSIM from Simify for the country I’m going to, activate it before I depart, and as soon as I arrive I am automatically connected to the local network and can easily find my way to my accommodation. No need to to buy a local SIM card at the airport; eSIMs are fully electronic and don’t require you to take out your old SIM.
LUGGAGE: I am currently a July luggage girl (July Australia / July US). They offer a lifetime warranty, which I have used multiple times now – and every time, they have sent me a brand new replacement suitcase without hassle. I recommend their Checked Plus if traveling with 32kg/70lb of luggage (note: many airlines do not allow bags this heavy!), the Checked if traveling with 23kg/50lb of luggage, and the Carry On Light (Expanded) which is super lightweight and really helps you stay within the 7kg carry-on limit that many Aussie airlines enforce. Click to read my full review of July luggage.
How To Plan For The Thorsborne Trail
1. Secure a permit
First thing’s first: if you want to hike the Thorsborne Trail, you’ll need to book a permit. You can do this via the Queensland National Parks website. The cost is $6.55 per person per night. If you decide to complete the Thorsborne Trail in 4 days, then you’ll want to book a campsite for 3 nights which is $19.65 total.
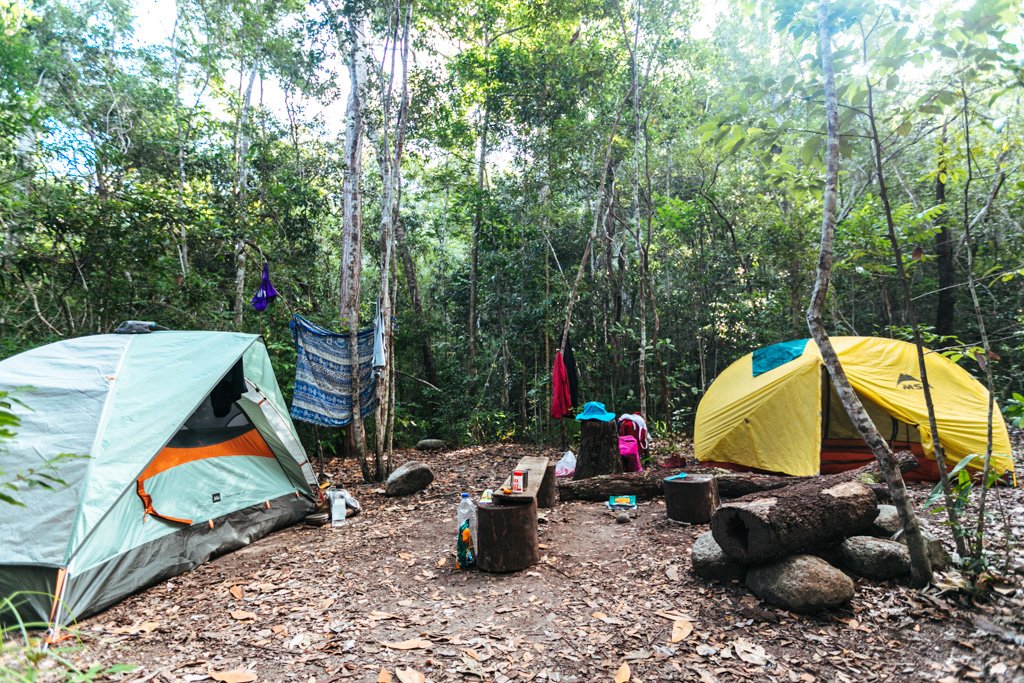
Note that you don’t need to specify which campsite you want to stay at on each night – you just book in for X nights of camping. All campsites have a fresh water source and rat proof steel boxes for storing food overnight.
Only 40 people are allowed in Hinchinbrook Island National Park at any given time, which yields plenty of solitude along the Thorsborne Trail and ample elbow room at the campsites.
FYI the best time of year to visit Hinchinbrook Island National Park is April-September.
Noisy pitta.
2. Arrange transport
Unless you’re a Tropical North Queensland local, you’ll be flying in from elsewhere. The closest airport to Hinchinbrook Island is Townsville; Cairns is only 30 minutes further, so either airport is a viable option for this adventure.
From Townsville, it’s a 2 hour drive to Cardwell and a 1h40m drive to Lucinda, the two towns that serve as a launching-off point to the island.
CLICK TO BOOK A RENTAL CAR TO PICK UP AT THE AIRPORT
In addition to sorting out your flights and rental car, you’ll also want to book your transfers to and from Hinchinbrook Island, as there are no ferries that run on a schedule.
Absolute North Charters offers Thorsborne Trail transfer packages from both Cardwell and Lucinda that allow you to leave your car parked in one of these towns and ensure you return to the town in which you left your car. The cheapest option is to book their Thorsborne Trail transfer service from Lucinda, which includes boat trips from Lucinda to Ramsay Bay on the north side of Hinchinbrook Island, and from George Point on the south side back to Lucinda for $130 per person. If you want to park your car in Cardwell instead, you can opt for their Thorsborne Trail transfer service from Cardwell which is $140 per person.
Hinchinbrook Island Cruises offers Thorsborne Trail transfers primarily from Cardwell, where you can safely leave your car while you’re on the island. Their Hinchinbrook Island ferry from Cardwell to Ramsay Bay and George Point back to Cardwell is $140 per person.
3. Book accommodation
Depending on your travel schedule, you may need to book Hinchinbrook Island accommodation in Cardwell or Lucinda before and/or after the hike.
CLICK TO BOOK ACCOMMODATION IN CARDWELL
CLICK TO BOOK ACCOMMODATION IN LUCINDA
4. Pack your bag
If you’ve been on a multi-day hike before, then you should have a good idea of what to pack for the Thorsborne Trail (e.g. large pack, boots, wool socks, rain gear, etc). Being Tropical North Queensland, you shouldn’t need to worry about packing too many layers – it never gets too cold up here. A light jacket or sweatshirt for evenings at the campsite should suffice.
If you don’t have a lot of gear or don’t want to travel with extra hiking gear, Hinchinbook Hiking offers a gear hire package with everything you’ll need to tackle this Hinchinbrook Island walk – currently priced at $185.
Otherwise, here are the most important items you’ll need to buy and pack for the Thorsborne Trail:
- Large backpack (60L+)
- Sleeping mat – I swear by the Sea to Summit Comfort Plus Insulated Sleeping Pad.
- Sleeping bag – you won’t need one that’s super warm, as Hinchy never gets too cold.
- Silk liner for your sleeping bag – if it’s too warm at night, you can just sleep in this instead of your sleeping bag.
- A small stove – I use and love the MSR Pocket Rocket.
- Wet Wipes – With several days worth of dirt and sweat on your body and no showers available, wipe down your skin with these and you’ll feel clean(-ish) after a day of hiking.
- Camelbak water bladder – Perfect for easy access to your water supply while on the trail without having to stop and take off your pack.
- Water purification system – There are plenty of creeks from which to refill your water bladder, but don’t drink the water without sterilizing it first: try purification tablets, water treatment drops, a Steripen, or a water filter.
- Lightweight tent with a rainfly. It’s worth investing in a tent that is lighter and more compact – remember, you’ll be carrying it on your back for 4 days!
- Bug spray – lots of mozzies and sand flies on Hinchy, you will definitely need this!
The Thorsborne Trail in 4 Days
The 32km Thorsborne Trail is typically hiked in 4 days from north to south. If you hike in this direction, the first two days are slightly more grueling than the last two days.
Of course, if you can afford to spend more time on Hinchy, DO IT and take your time at the swimming holes and beaches along the way. You can break up a couple of the days (e.g. stay at Nina Bay which is between Ramsay and Little Ramsay), or just spend 2 nights at one campsite and relax or explore nearby before hiking onwards.
The Thorsborne Trail guide below is based on a 4 day hike:
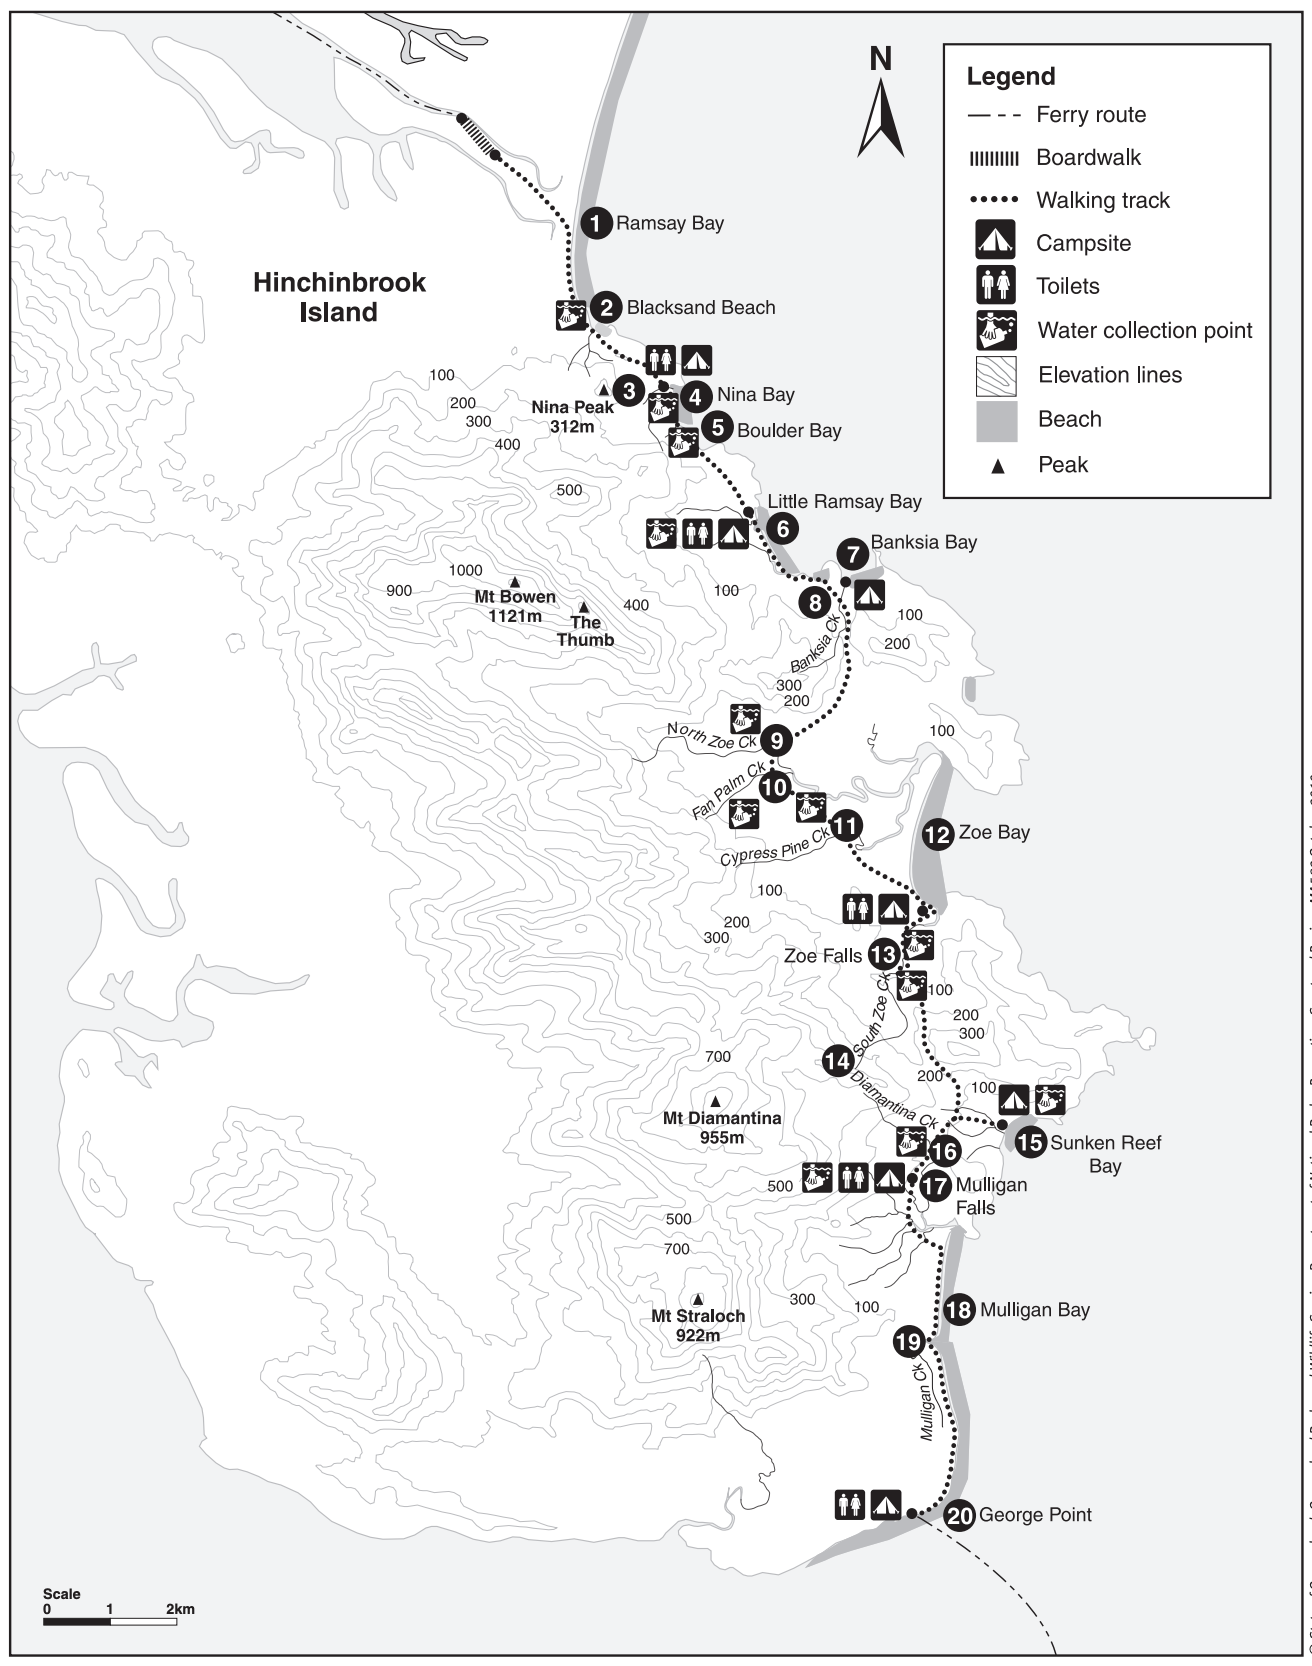
Map via Queensland Government.
Day 1: Ramsay Bay to Little Ramsay Bay (6.5km, 4.5 hours, difficult)
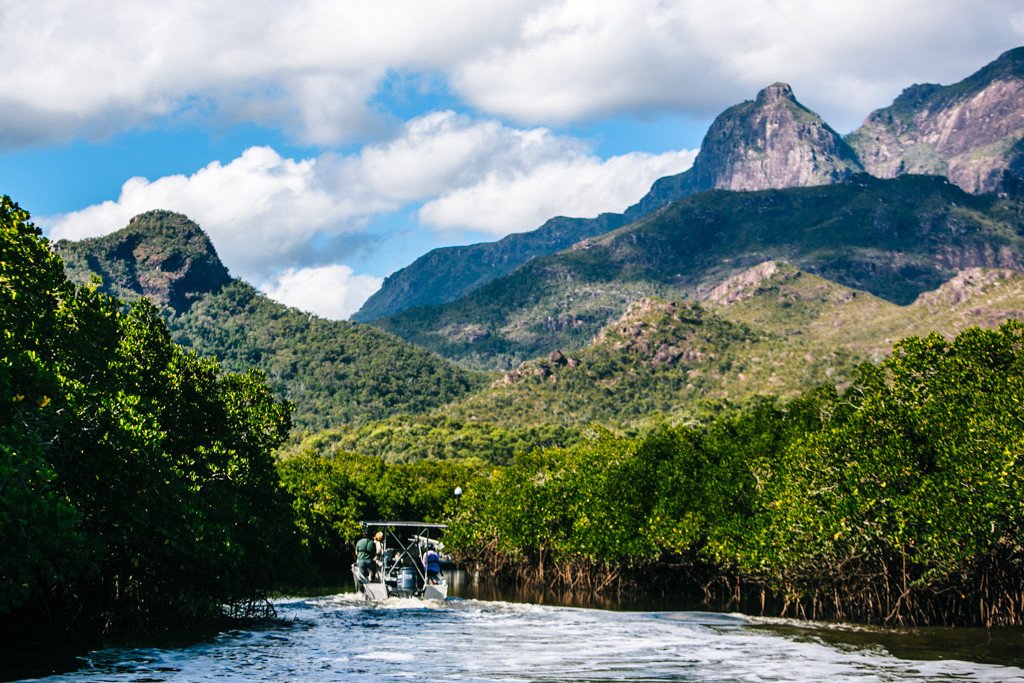
The boat ride through the mangrove estuary to Ramsay Bay is absolutely stunning: it’s Jurassic Park vibes from here on out, so get psyched!
The hike begins on the boardwalk at Ramsay Bay and crosses the beach before heading into the bush. Early on, there’s a little side trail to Nina Peak – you can drop your pack at the turn-off and climb up without it.
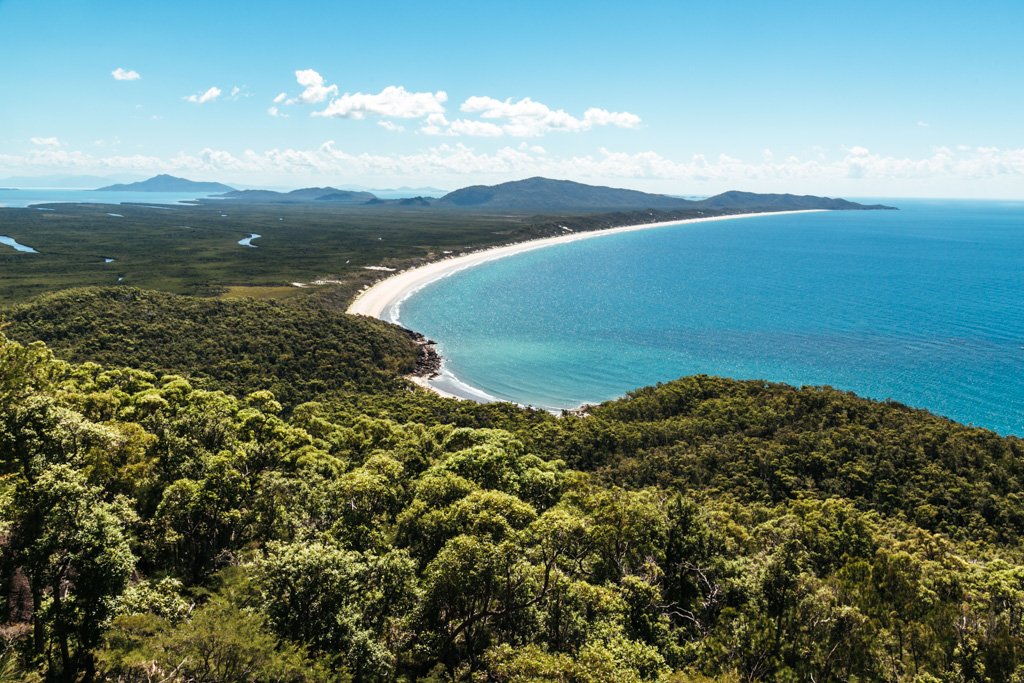
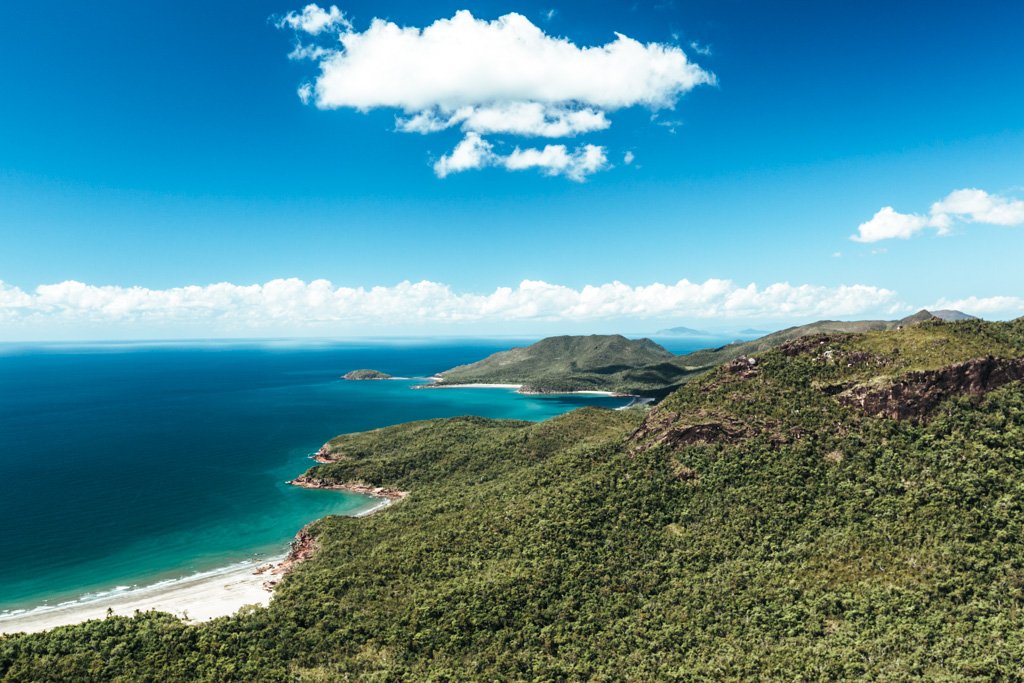
Is it worth the effort? Well, nearly 4 years has passed since I did this hike and I still remember one of my companions blurting out “well f*ck me sideways!” in reaction to the 360-degree view from the top – so I dare say it’s worth it. From the peak, you’ll be able to glimpse the estuaries, the surrounding mountains, and the beaches further down the coast.
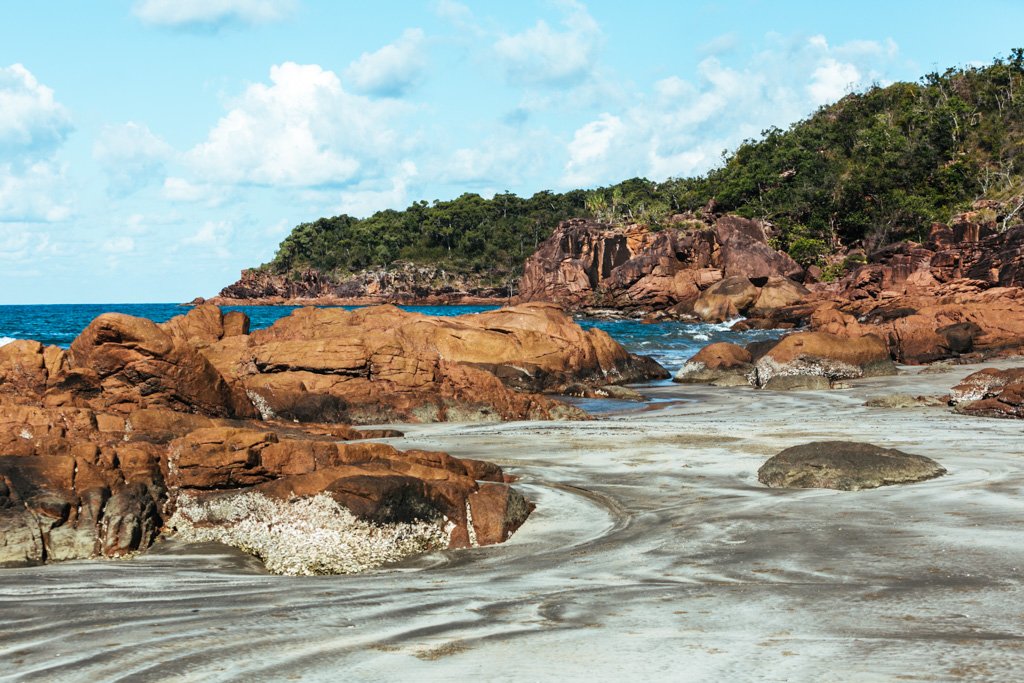
Nina Bay is about 4km into the hike and is an ideal place to stop for lunch. There’s a wall of rocks you’ll need to climb up on the south end of the beach which can be a bit tricky with a big pack on your back. But you’ve got this!
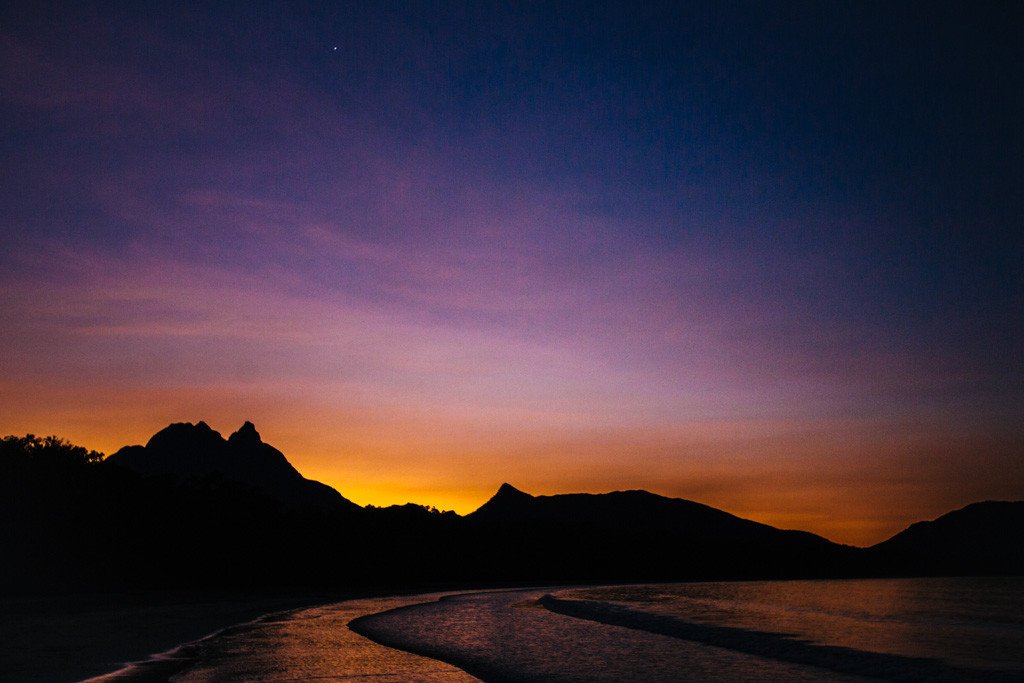
The campsite at Little Ramsay Bay is right next to the beach, so no excuse not to pop out of your tent to watch the stars at night or catch sunrise in the morning.
Day 2: Little Ramsay Bay to Zoe Bay (10.5km, 6 hours, difficult)
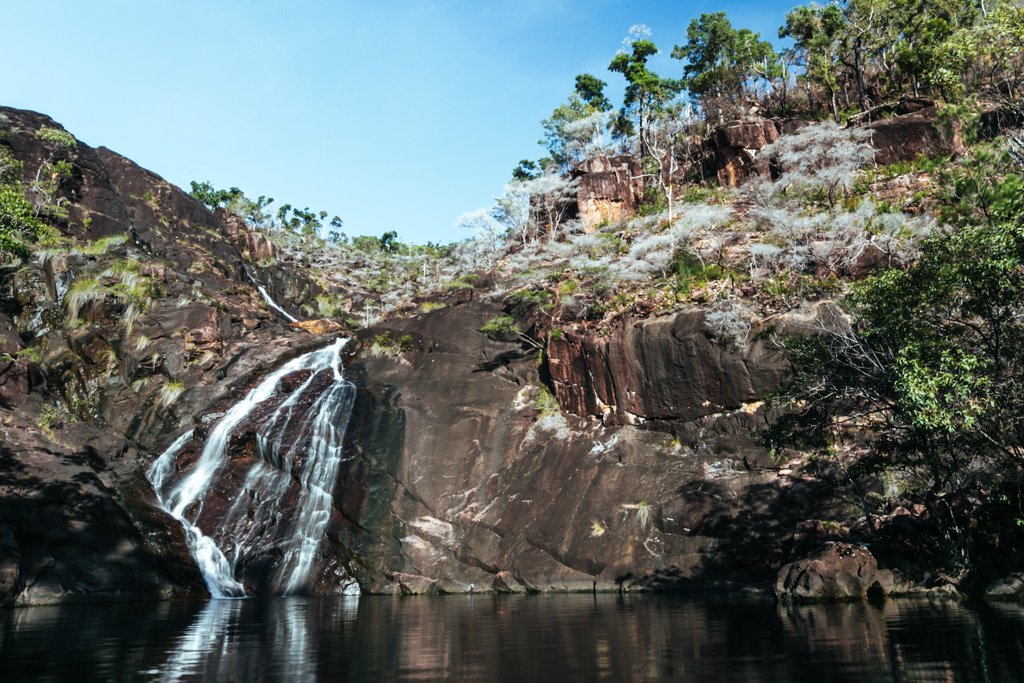
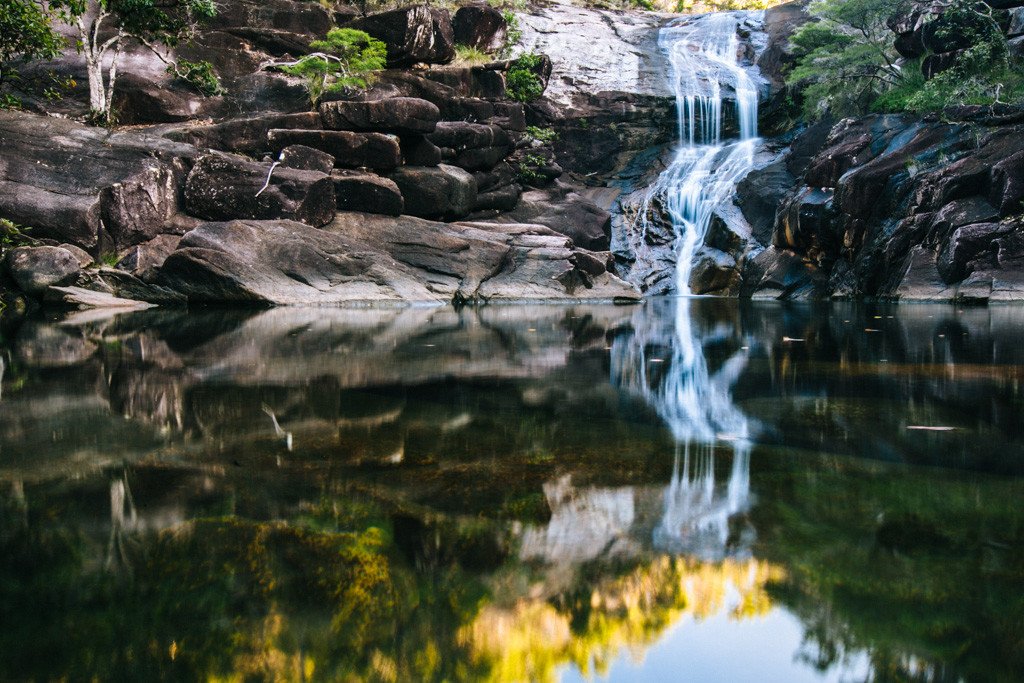
Leaving Little Ramsay, there’s more rock hopping to be done as you make your way around the headland. Much of Day 2 is inland from the coast and can be quite swampy and slippery if there’s been recent rain. Lots of creek crossings, lots of uphill – yep, definitely not the easiest day on the trail, but well worth it when you reach Zoe Falls! This is the perfect place to drop your pack for the day (it’s close to the campsite at Zoe Bay) and cool off with a swim.
Day 3: Zoe Bay to Mulligan Falls (7.5km, 4.5 hours, moderate)
Leaving Zoe Bay, you’ll climb to the top of Zoe Falls and reach one of the highlights of the Thorsborne Trail: the infinity pool! The view from here aint too shabby, either.
Later on in the day you’ll reach a saddle that also happens to be the highest point of the tail. The views from here are spectacular, especially if it’s a clear day and the neighboring islands are visible.
I remember the rest of this hiking day being very rainforest-y. Lots of green, lots of tree cover. You’ll also face off against the trickiest creek crossing of the trail at Diamantina Creek, which can be quite deep if there have been recent rains.
Tonight’s campsite is pretty rad, though – it’s right by Mulligan Falls, which you can hear as you doze off to sleep.
Day 4: Mulligan Falls to George Point (7.5km, 2.5 hours, easy)
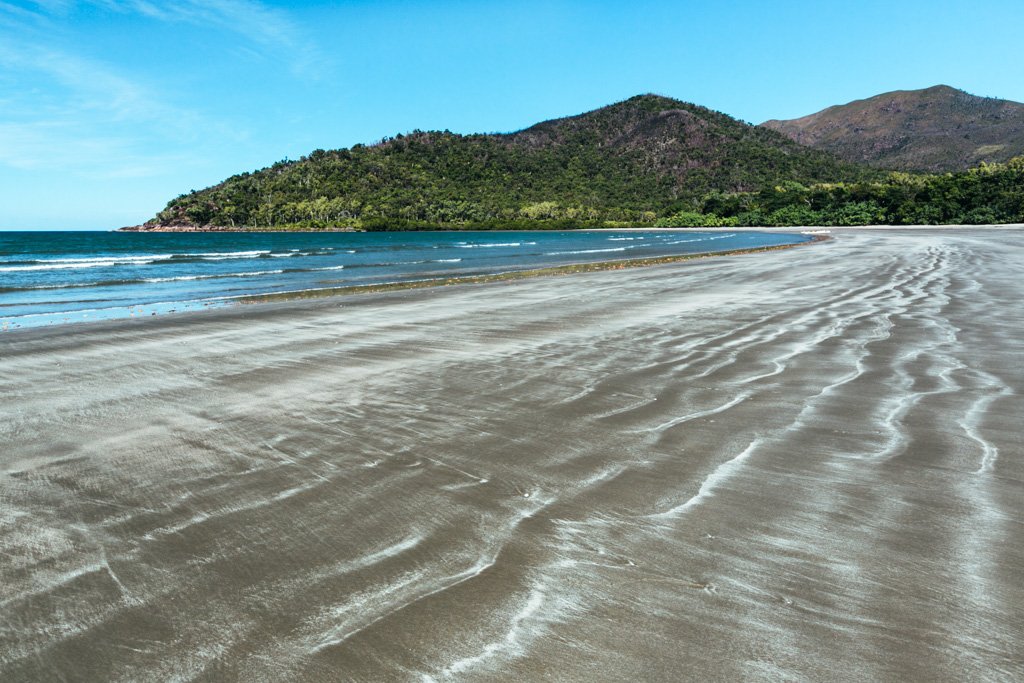
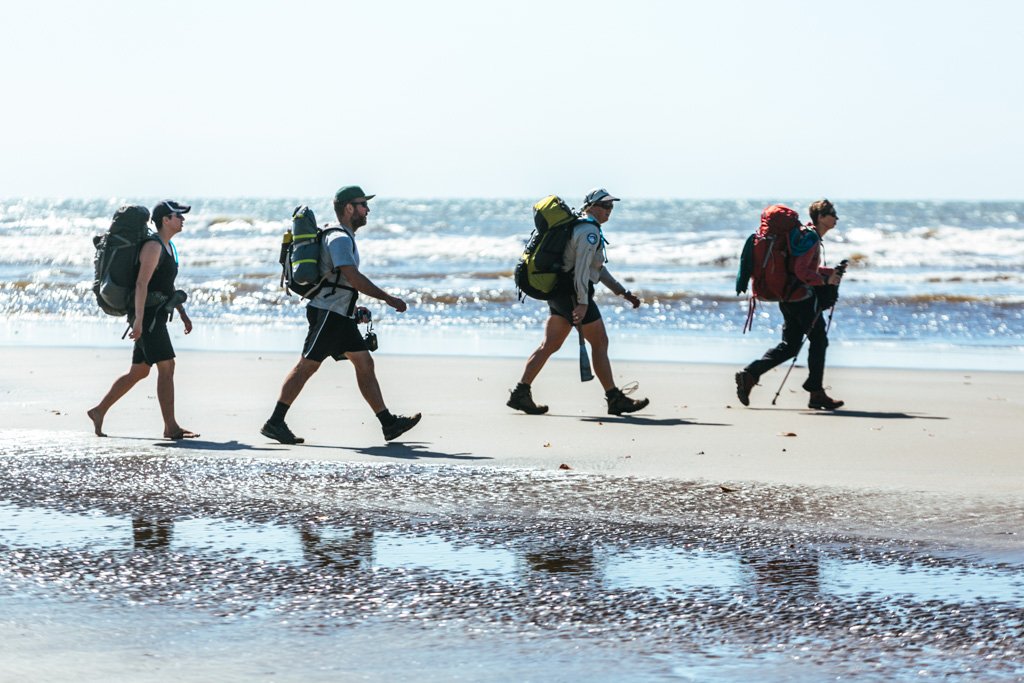
The last day of the hike is quick and easy and will have you mostly walking across the beach at George Point. To be honest, this is the least interesting day of this Hinchinbrook Island walk. I’m all for long walks on the beach, but not with the sun in my face and definitely not with a heavy pack on my back.
Note that the is a creek halfway down the beach that you’ll need to cross, which can only safely be done at low to mid tide. So when you’re planning your hike and booking your boat transfers, you’ll want to ensure it’s low enough tide around midday so that you can cross the creek and get to your transfer at George Point on time (boats tend to leave around 1 or 2pm).
Thank you to Matador Network and TEQ for hosting my stay in Queensland and on Hinchinbrook Island. As always, all opinions expressed here and elsewhere on this blog are my unbiased own, and are uninfluenced by any gifts or incentives I may receive.
Planning a trip to Australia?
These are the sites I use and recommend for booking travel:
ACCOMMODATION IN AUSTRALIA: I always search on Booking.com for accommodation, as their Genius loyalty program offers 10-20% discounts and free breakfast/upgrades for certain hotels.
FLIGHTS TO AUSTRALIA: When researching flights, I always check Skyscanner first because it pulls in flight options across all airlines and saves you the trouble of searching each airline individually. When booking flights via Skyscanner, I always book directly with the airline rather than one of the third party options.
CAR RENTAL IN AUSTRALIA: When renting a car on your travels, check DiscoverCars.com for the best deals.
ACTIVITIES IN AUSTRALIA: If you’re looking to book tours or other organized activities on your travels, GetYourGuide and Viator both offer myriad options for fun things to do all around the world (think: sailing trips, cooking classes, city walking tours, and more).
TRAVEL INSURANCE FOR AUSTRALIA: Unless you can easily afford to pay for huge unexpected medical bills, DON’T TRAVEL WITHOUT TRAVEL INSURANCE! These days, I usually buy the Safety Wing nomad insurance, as it’s very affordable and caters to digital nomads with a monthly subscription option. I’ve also been a longtime World Nomads user, and will still use them if I need more comprehensive insurance (e.g. for adventure activities) or if I am visiting the US (Americans aren’t eligible for Safety Wing’s US add-on option).
ESIM / SIM CARDS FOR AUSTRALIA: When traveling overseas, I always purchase an eSIM from Simify for the country I’m going to, activate it before I depart, and as soon as I arrive I am automatically connected to the local network and can easily find my way to my accommodation. No need to to buy a local SIM card at the airport; eSIMs are fully electronic and don’t require you to take out your old SIM.
LUGGAGE: I am currently a July luggage girl (July Australia / July US). They offer a lifetime warranty, which I have used multiple times now – and every time, they have sent me a brand new replacement suitcase without hassle. I recommend their Checked Plus if traveling with 32kg/70lb of luggage (note: many airlines do not allow bags this heavy!), the Checked if traveling with 23kg/50lb of luggage, and the Carry On Light (Expanded) which is super lightweight and really helps you stay within the 7kg carry-on limit that many Aussie airlines enforce. Click to read my full review of July luggage.

