This post was last updated on 2025 October 27
This article on El Nido: When Travel Dreams Don’t Quite Come True may contain affiliate links. If you click and make a purchase using these links, I will make a small commission at no extra cost to you. Thanks so much for supporting Frugal Frolicker! :)
I’d been lusting over El Nido for YEARS before I finally made my way to the Philippines for a month last September. Epic sunsets over limestone karsts and boat trips to hidden lagoons and secret beaches? I mean for crying out loud, I couldn’t conjure up a more idyllic scene if I tried.
Only thing is I’d be traveling at the tail end of monsoon season (aka not the best time to visit El Nido), which meant the weather would be a complete crapshoot. I tried to stack the odds in my favor by scheduling El Nido in October, thinking that maybe the rain would taper off by then.
Of course I followed along on social media as other travelers made their way to El Nido shortly before I was due to arrive, most of them bemoaning nonstop rain and cutting their time in Palawan short due to the horrendous weather. I had 8 days allotted for El Nido – surely I’d luck out with at least a few decent days, I thought.
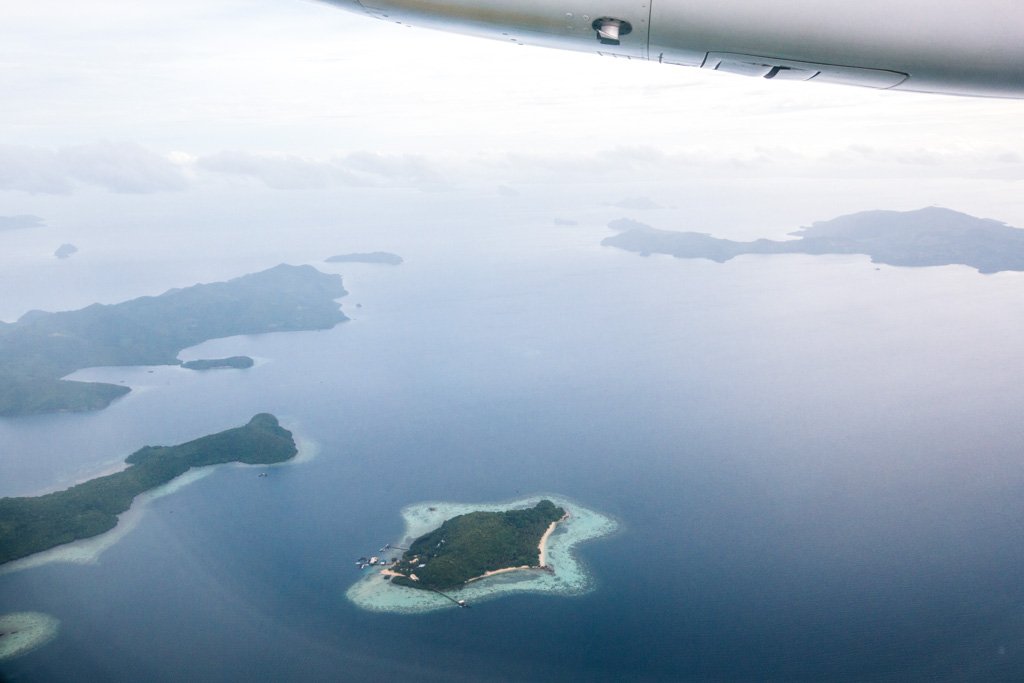
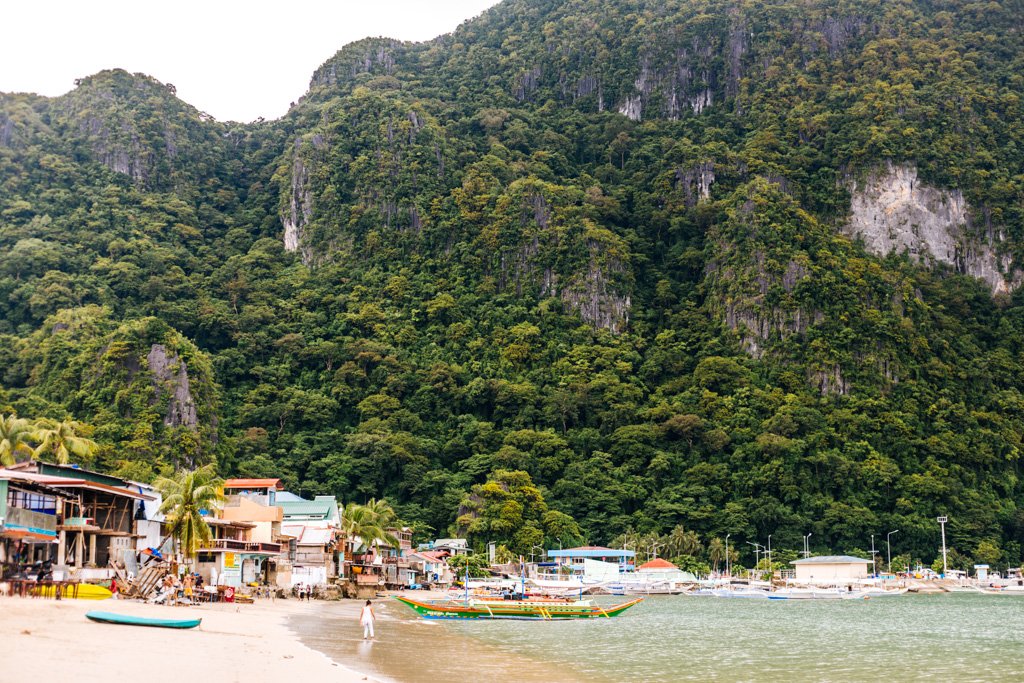
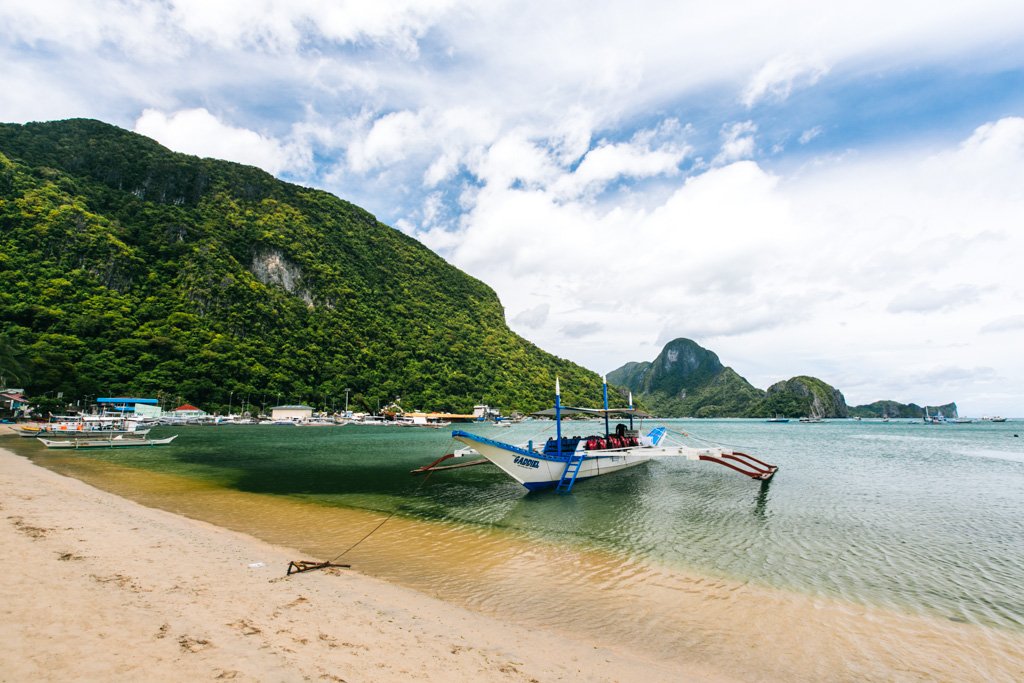
The El Nido weather didn’t look too promising as we flew into the Airport.
Here’s the thing about weather: there’s absolutely nothing you can do to change it. I’ve had plenty of trips dampened (pun intended) by lackluster weather, which of course is not an ideal scenario, but you just have to make the best of it. Yes, even in a place whose main attraction is island hopping tours, and whose scenic beauty is derived from sun-drenched aquatic landscapes.
El Nido Diving
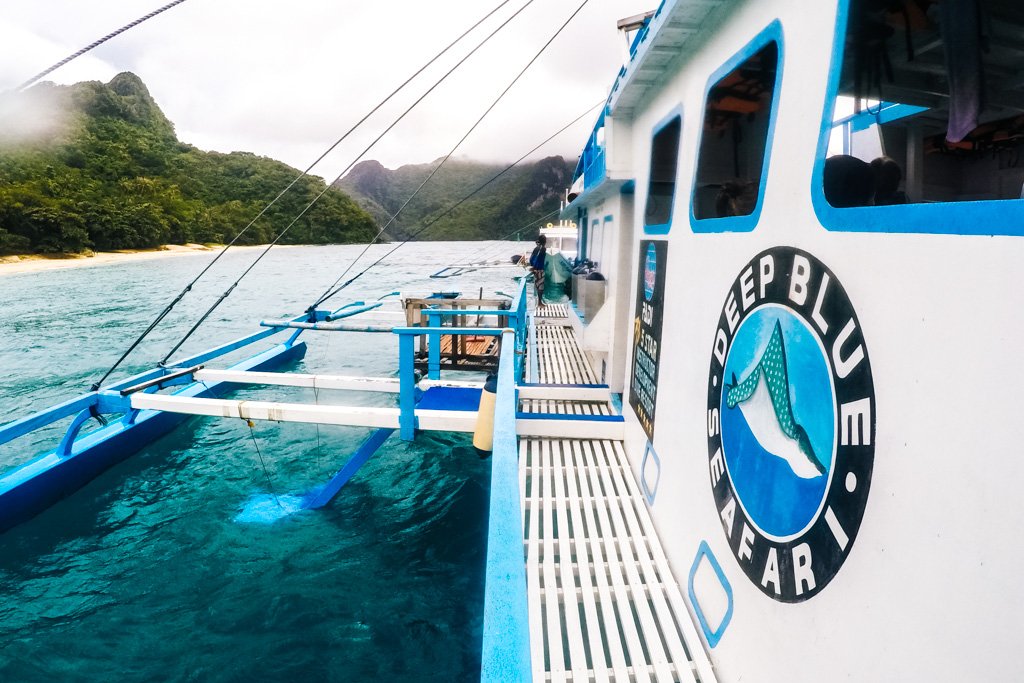
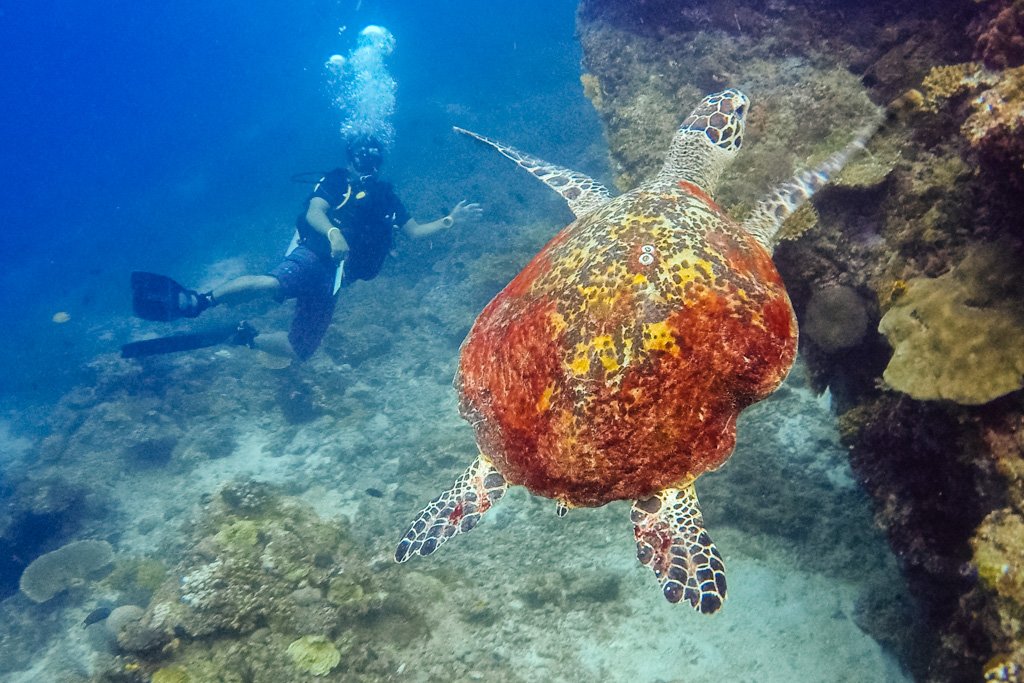
So on a soggy Day 1, I marched into the first dive shop I found and signed up for an El Nido diving trip the following day. No one comes to El Nido to dive, but diving is an excellent rainy day activity so I thought, why not. Would it have been more enjoyable to have our lunch on the top deck of the dive boat, soaking up the sun and the surrounding vistas in-between dives? Absolutely. But hey, I got to swim with a turtle so as far as I’m concerned, the day was a win.
Planning a trip to El Nido / The Philippines?
These are the sites I use and recommend for booking travel:
ACCOMMODATION IN EL NIDO: I always search on Booking.com for accommodation, as their Genius loyalty program offers 10-20% discounts and free breakfast/upgrades for certain hotels.
FLIGHTS TO THE PHILIPPINES: When researching flights, I always check Skyscanner first because it pulls in flight options across all airlines and saves you the trouble of searching each airline individually. When booking flights via Skyscanner, I always book directly with the airline rather than one of the third party options.
PUBLIC TRANSPORT IN THE PHILIPPINES: 12Go is the best site to book transport (buses, trains, ferries) from A to B in a lot of Asian countries.
ACTIVITIES IN EL NIDO: If you’re looking to book tours or other organized activities on your travels, GetYourGuide and Viator both offer myriad options for fun things to do all around the world (think: sailing trips, cooking classes, city walking tours, and more).
TRAVEL INSURANCE FOR THE PHILIPPINES: Unless you can easily afford to pay for huge unexpected medical bills, DON’T TRAVEL WITHOUT TRAVEL INSURANCE! These days, I usually buy the Safety Wing nomad insurance, as it’s very affordable and caters to digital nomads with a monthly subscription option. I’ve also been a longtime World Nomads user, and will still use them if I need more comprehensive insurance (e.g. for adventure activities) or if I am visiting the US (Americans aren’t eligible for Safety Wing’s US add-on option).
ESIM / SIM CARD FOR THE PHILIPPINES: When traveling overseas, I always purchase an eSIM from Simify for the country I’m going to, activate it before I depart, and as soon as I arrive I am automatically connected to the local network and can easily find my way to my accommodation. No need to to buy a local SIM card at the airport; eSIMs are fully electronic and don’t require you to take out your old SIM.
LUGGAGE: I am currently a July luggage girl (July Australia / July US). They offer a lifetime warranty, which I have used multiple times now – and every time, they have sent me a brand new replacement suitcase without hassle. I recommend their Checked Plus if traveling with 32kg/70lb of luggage (note: many airlines do not allow bags this heavy!), the Checked if traveling with 23kg/50lb of luggage, and the Carry On Light (Expanded) which is super lightweight and really helps you stay within the 7kg carry-on limit that many Aussie airlines enforce. Click to read my full review of July luggage.
What To Do In El Nido When It’s Raining
The next few days I hedged my bets and held off on signing up for an El Nido island hopping tour. I’m optimistic AF, but when the forecast predicts 100% chance of rain, I feel like there is no possible way the day’s going to turn out sunny. Partly cloudy at best maybe, but definitely not great for beach bumming all day.
Instead, I holed up at El Nido Boutique and Art Cafe with my laptop to work and drink smoothies all day (note to digital nomads: this is one of the few places in town with wifi, but it’s shit-tastic). It felt like half of the town had the same idea – nearly every table was occupied all day long with friends drinking beers, nibbling on snacks, and staring despondently out at the torrential rain.
And so it went for 4 days straight.
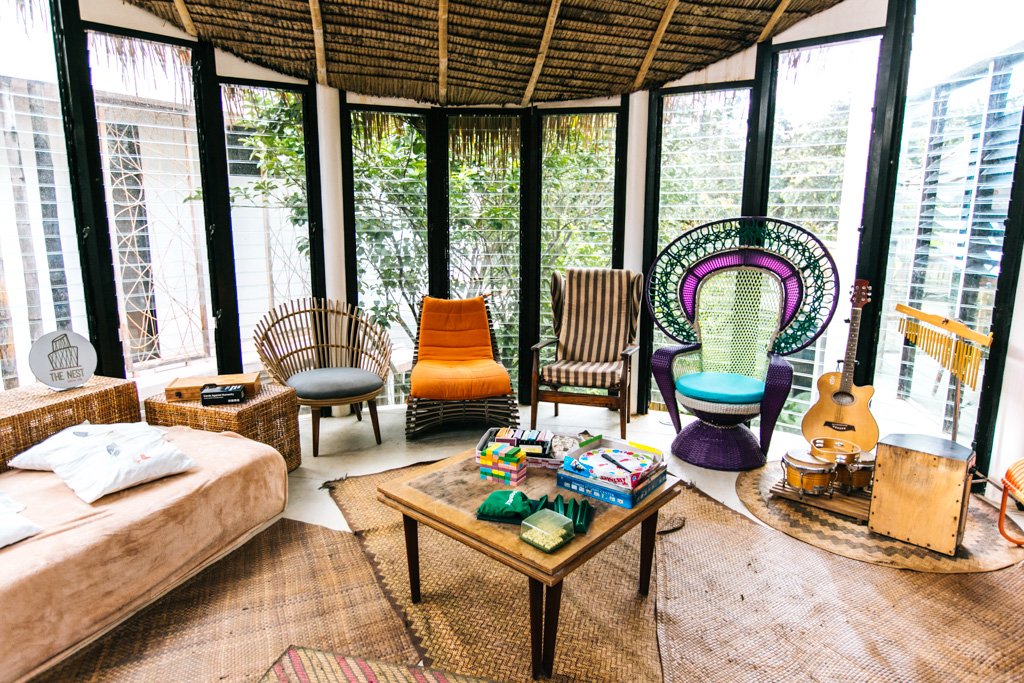
Spin Designer Hostel in El Nido.
What to do in El Nido when it’s raining? Not much, my friends, aside from diving, drinking, and hanging out in cafes. I’ll tell you what, though: I got so much work and writing done during these rainy days. There wasn’t much in the way of distractions to keep me from being productive.
I was also far more social than I normally am while traveling: instead of being out all day adventuring and in all night reading and writing, I went super stir crazy and was in dire need of some stimulation outside of my screens.
In very un-Lindsay-like fashion, one night I played drinking games in a hostel with some backpackers I’d met on my diving trip and then hit up Reggae Bar (aka Pukka Bar), the so-called hotspot in town. I also – gasp! – made friends with people in my hostel dorm room! You know, normal things for most backpackers. (I never claimed to be normal though, now did I?)
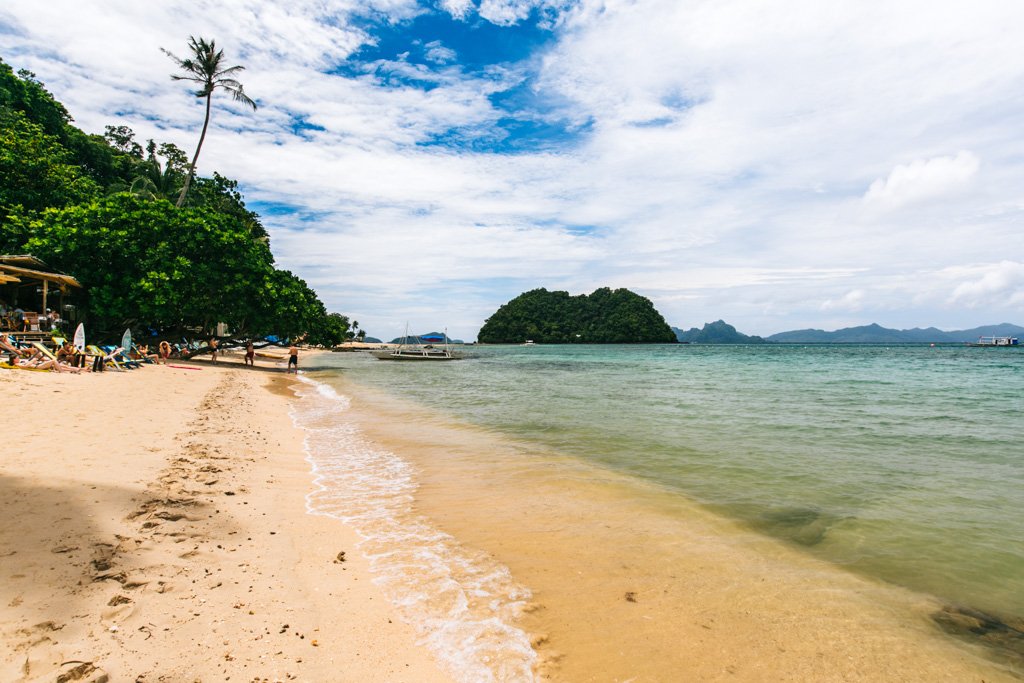
At the first sign of sun (well, more like dryness), I hopped in a habal-habal with my new travel blogging friends Amy and Mike of A Nomadic Existence and we headed to nearby Las Cabanas Beach. We had maybe a half hour of sun before the clouds returned, but at least we got to lay out in the sand for a bit.
Nacpan Beach is the one I’d really wanted to visit, but apparently it takes over an hour to reach and we only had a tiny window of sunshine in which to venture out.
There’s actually a zip line that runs from this beach to that little island.
El Nido Island Hopping Tour
The first half of my time in El Nido washed out with the rain, but I refused to leave without doing the thing I (and everyone else) came here to do: an El Nido island hopping tour.
The forecast looked a bit less depressing during the second half of my trip, so with fingers crossed I signed up for two El Nido island hopping tours with El Nido Boutique & Art Cafe: Tour A and Tour C. These are the two most popular El Nido island hopping tours, and I along with most every other online resource out there recommend that you book these if you can only do 1 or 2 island hopping trips in El Nido. There are numerous vendors across town and they all offer the same tours with little-to-no variation.
Sorry guys, I had every intention of going off the beaten path and taking Tour B and Tour D as well, but there wasn’t much point doing them in the rain and I had to prioritize the few dry-ish days I had.
El Nido Tour A
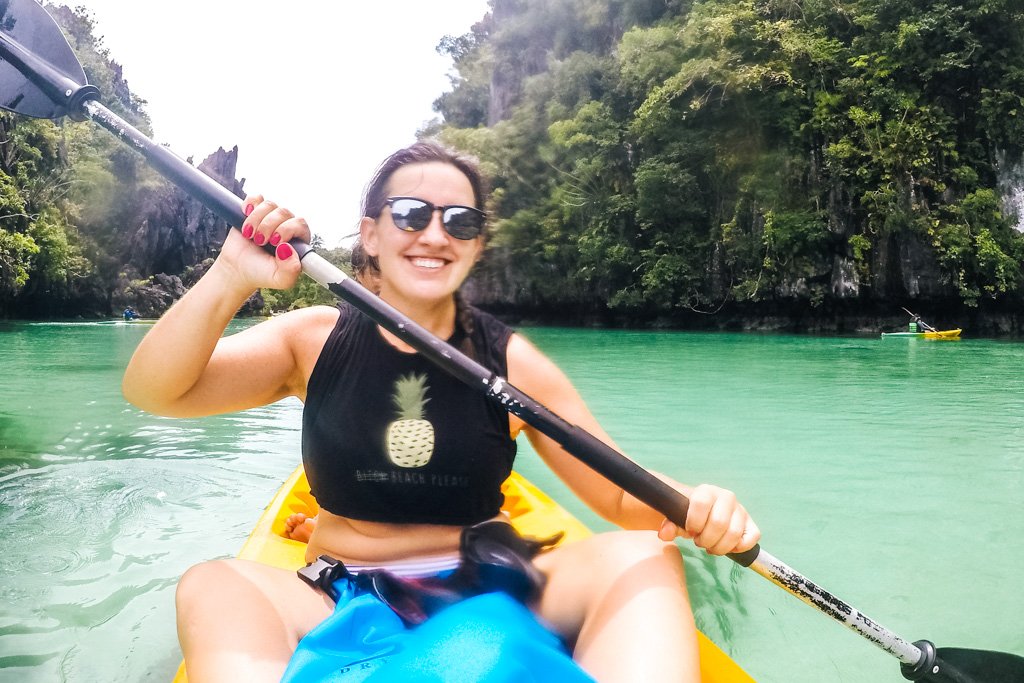
El Nido Tour A is all about kayaking in the lagoons. I’d highly recommend reserving a kayak to use at the time you book this tour, but if you don’t you can probably rent one from the locals when you reach the first lagoon. Personally, I preferred to have my kayak all ready to go the second we arrived so that I could get into the lagoon before the rest of the tour groups, rather than waste precious time mucking around with the rental onsite.
The kayaks are meant for two people, so I got paired up with another solo traveler who was keen to stay ahead of the pack and paddle swiftly to and between the lagoons. It worked out perfectly.
CLICK TO BOOK EL NIDO ISLAND HOPPING TOUR A
It didn’t matter so much that we were kayaking in mostly cloudy conditions because thankfully the lagoon water was vibrant even without the sun.
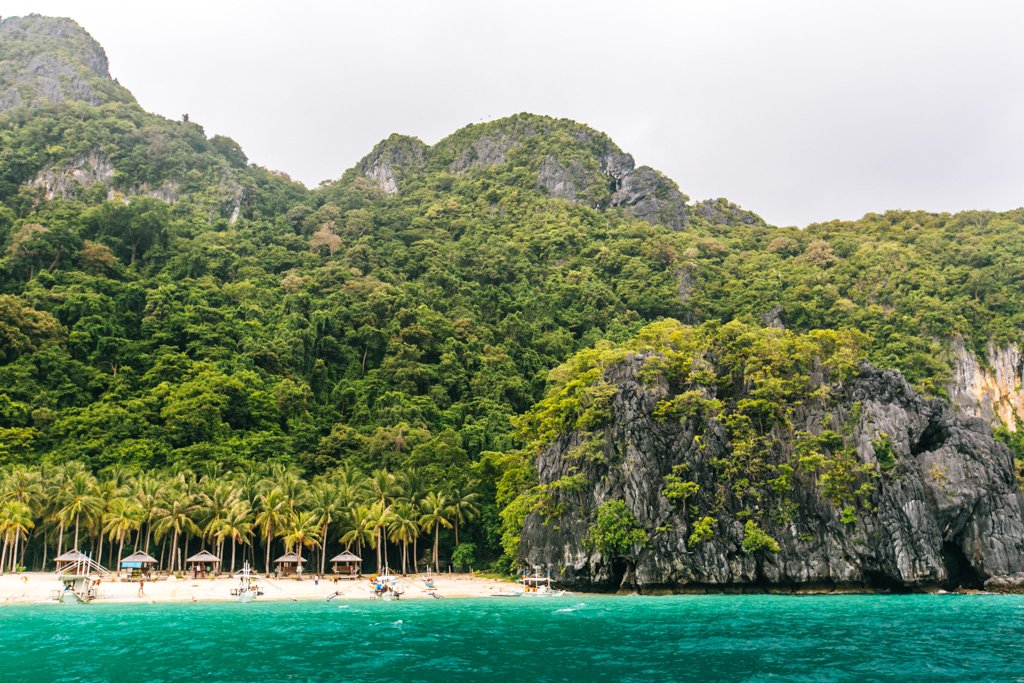
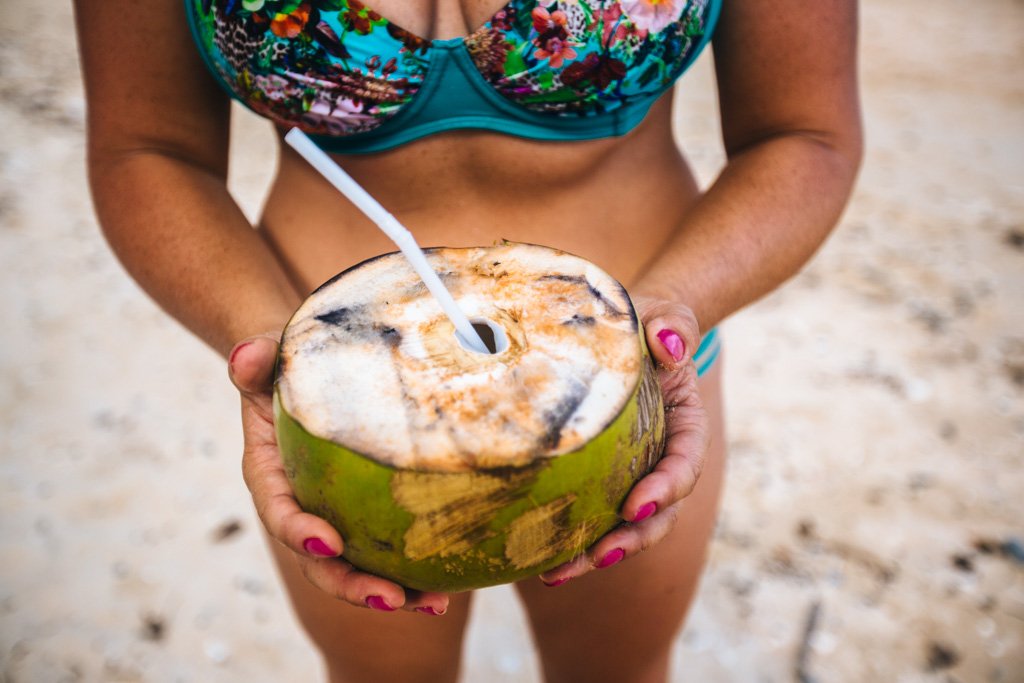
The beaches we stopped at on this El Nido island hopping tour, however… not so photogenic in these conditions. It rained while we were at the last beach, which I felt made for an opportune time to sip on fresh coconut water spiked with rum.
El Nido Tour C
El Nido Tour C is all about islands and beaches. This one’s heavy on snorkeling, so definitely either bring your snorkel gear or rent it from anywhere in town the morning of your tour.
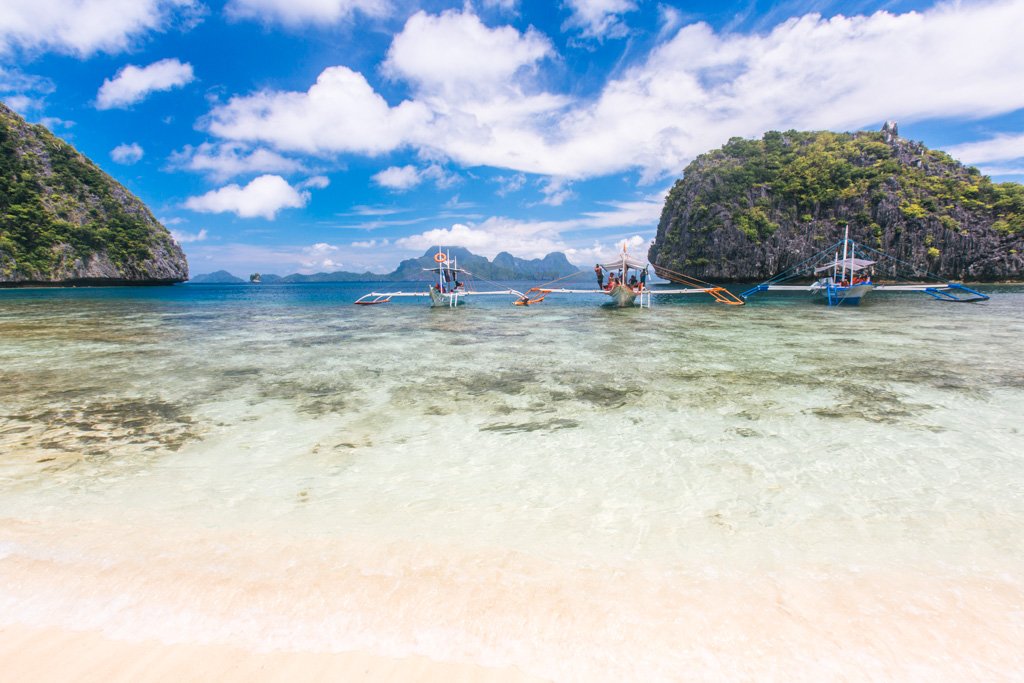
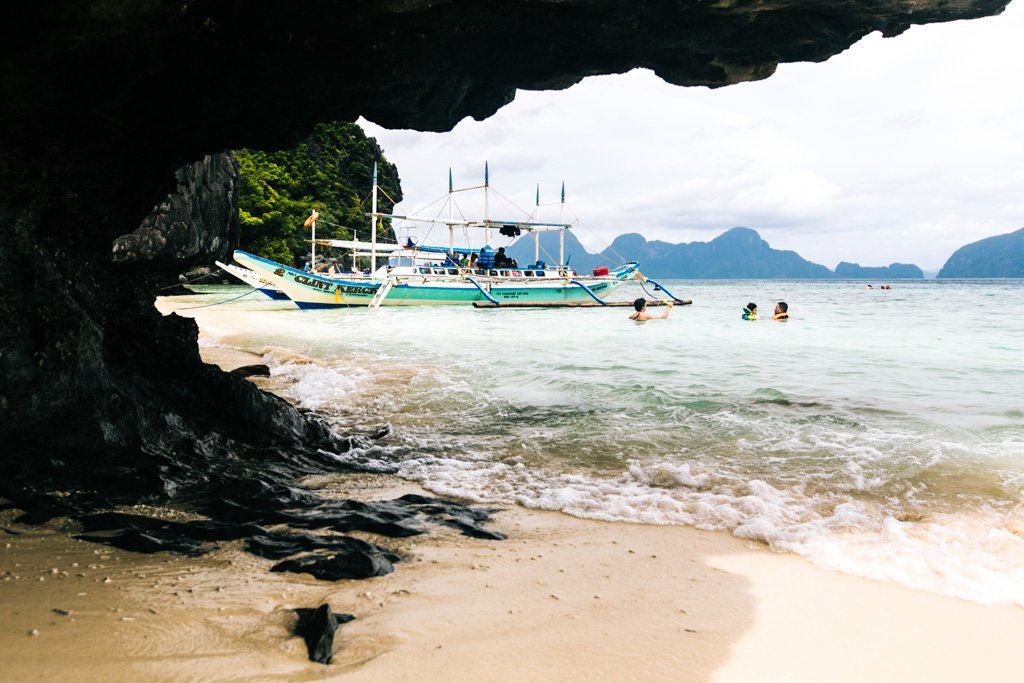
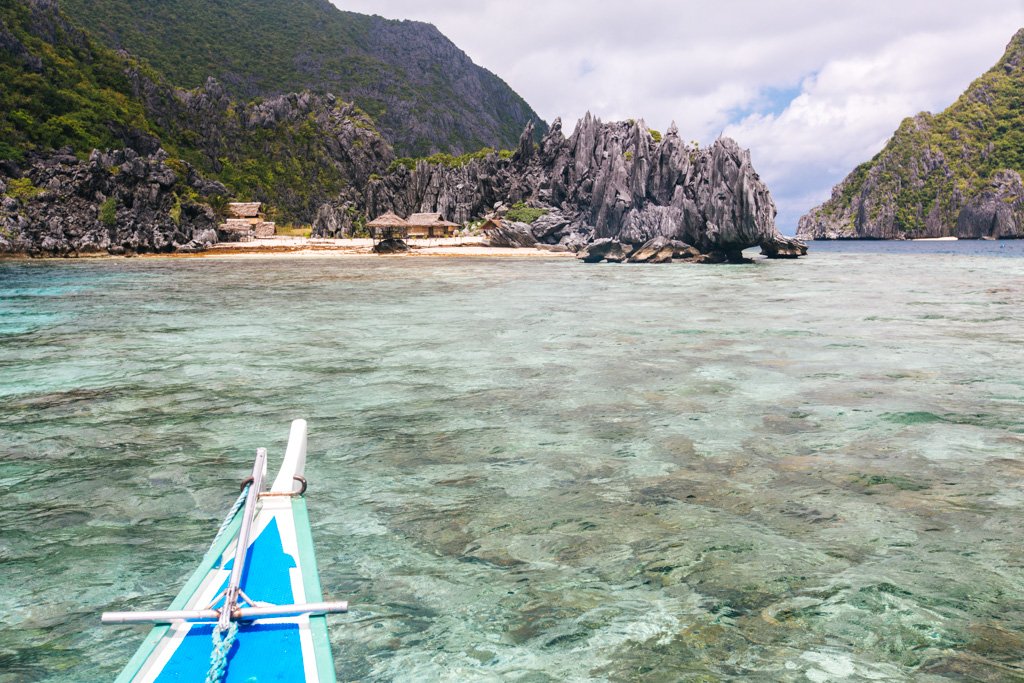
I’d also strongly recommend renting some reef shoes for this El Nido island hopping tour as well, as you might have to make your way from the boat to shore on foot when the tide’s low. Having reef shoes let me prance straight from boat to beach before everyone else, who had to gingerly step over dead reef and rocks while barefoot. I still can’t believe I got this shot without anyone inside!
CLICK TO BOOK EL NIDO ISLAND HOPPING TOUR C
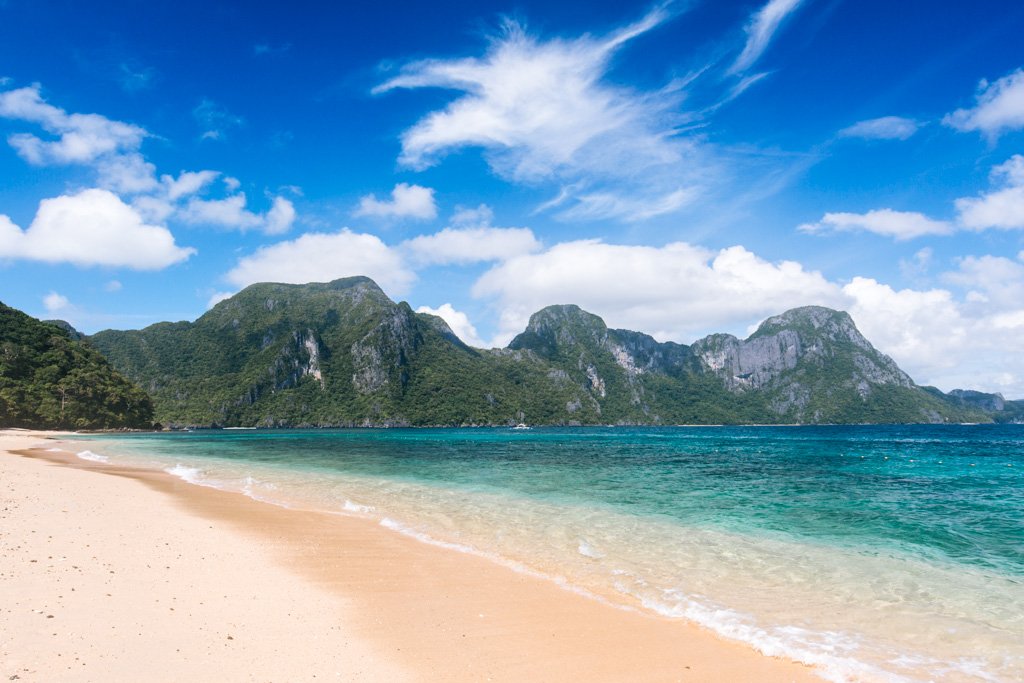
I got so, so lucky with the ONE sunny day of the 8 I spent here coinciding with the most beautiful scenery I’d see in Palawan. We had a great group on this trip, too – it was me with Amy and Mike, plus two girls I’d recruited from my hostel.
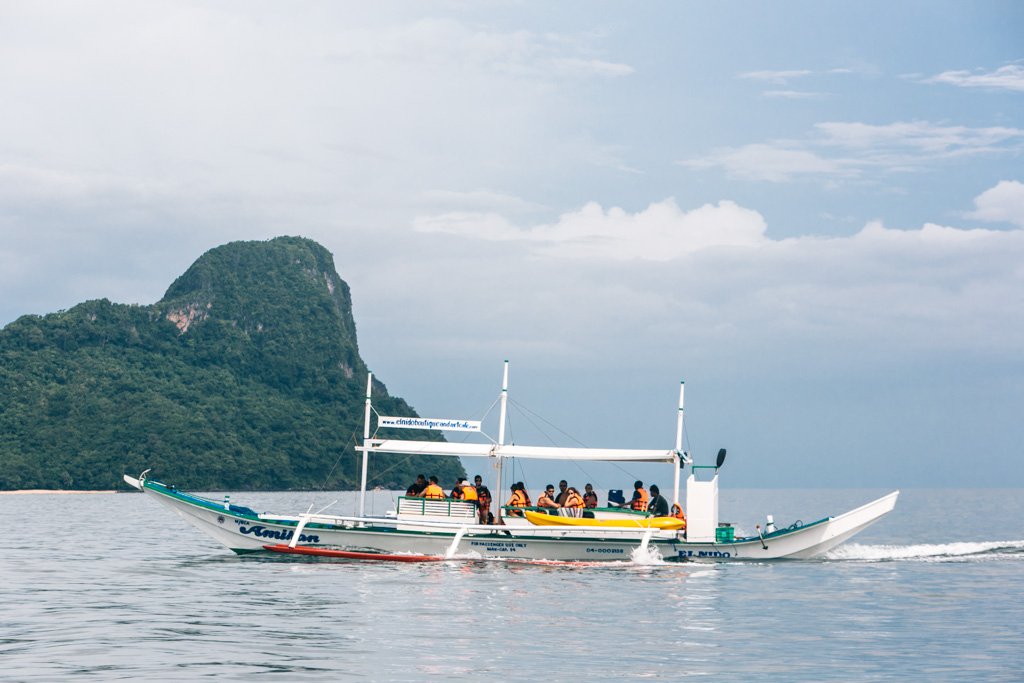
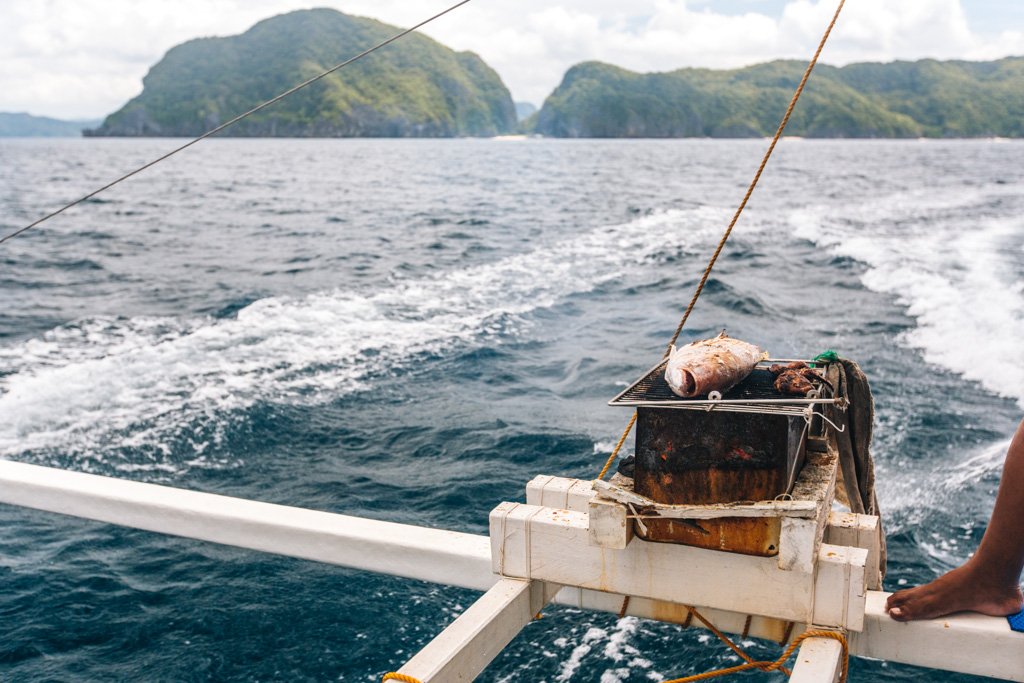
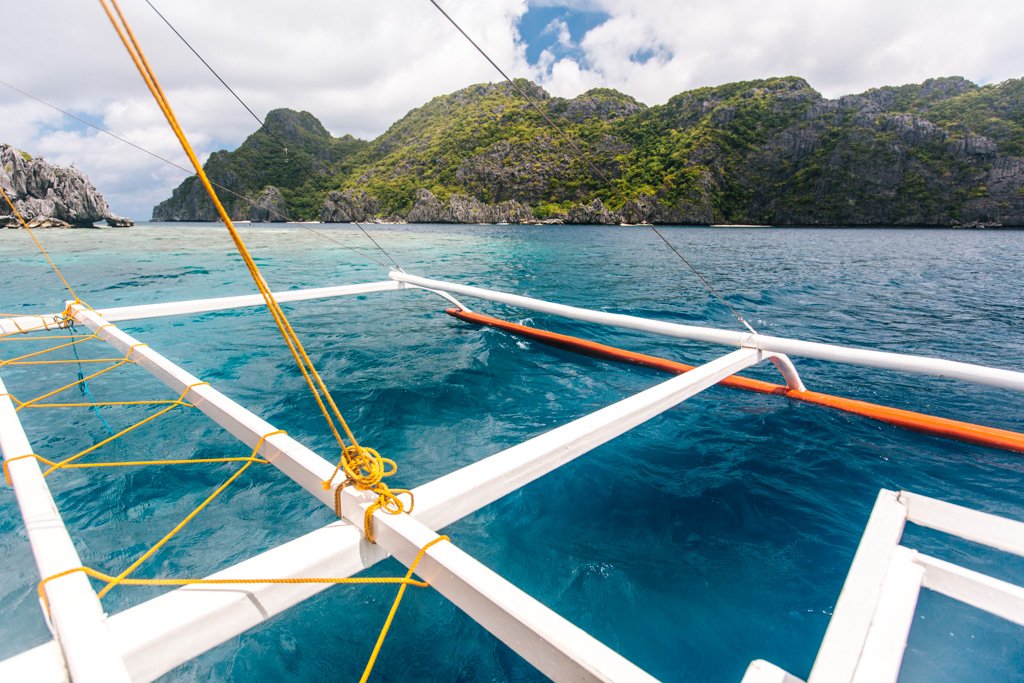
It was such a magical day! We snorkeled, sunbathed, had little photoshoots on the bangka boat, and finally got our postcard-worthy photos of this sensational corner of the world. It was easily one of the best days of my entire month in the Philippines.
Planning a trip to El Nido / The Philippines?
These are the sites I use and recommend for booking travel:
ACCOMMODATION IN EL NIDO: I always search on Booking.com for accommodation, as their Genius loyalty program offers 10-20% discounts and free breakfast/upgrades for certain hotels.
FLIGHTS TO THE PHILIPPINES: When researching flights, I always check Skyscanner first because it pulls in flight options across all airlines and saves you the trouble of searching each airline individually. When booking flights via Skyscanner, I always book directly with the airline rather than one of the third party options.
PUBLIC TRANSPORT IN THE PHILIPPINES: 12Go is the best site to book transport (buses, trains, ferries) from A to B in a lot of Asian countries.
ACTIVITIES IN EL NIDO: If you’re looking to book tours or other organized activities on your travels, GetYourGuide and Viator both offer myriad options for fun things to do all around the world (think: sailing trips, cooking classes, city walking tours, and more).
TRAVEL INSURANCE FOR THE PHILIPPINES: Unless you can easily afford to pay for huge unexpected medical bills, DON’T TRAVEL WITHOUT TRAVEL INSURANCE! These days, I usually buy the Safety Wing nomad insurance, as it’s very affordable and caters to digital nomads with a monthly subscription option. I’ve also been a longtime World Nomads user, and will still use them if I need more comprehensive insurance (e.g. for adventure activities) or if I am visiting the US (Americans aren’t eligible for Safety Wing’s US add-on option).
ESIM / SIM CARD FOR THE PHILIPPINES: When traveling overseas, I always purchase an eSIM from Simify for the country I’m going to, activate it before I depart, and as soon as I arrive I am automatically connected to the local network and can easily find my way to my accommodation. No need to to buy a local SIM card at the airport; eSIMs are fully electronic and don’t require you to take out your old SIM.
LUGGAGE: I am currently a July luggage girl (July Australia / July US). They offer a lifetime warranty, which I have used multiple times now – and every time, they have sent me a brand new replacement suitcase without hassle. I recommend their Checked Plus if traveling with 32kg/70lb of luggage (note: many airlines do not allow bags this heavy!), the Checked if traveling with 23kg/50lb of luggage, and the Carry On Light (Expanded) which is super lightweight and really helps you stay within the 7kg carry-on limit that many Aussie airlines enforce. Click to read my full review of July luggage.
Thoughts On El Nido
There’s no way around it: the terrible weather I got handed had a negative impact on my enjoyment of El Nido.
For me, photos are everything on a trip. I intuitively know that the most important thing is being present and enjoying every moment and every experience as it unfolds, but I can’t seem to shake the idea that the entire photo-taking process is a core component of my overall travel experience. So when I’m not able to shoot due to crap weather, or end up with a collection of photos in varying light conditions that look like I took 10 separate trips to one location, I’m bummed. Super bummed.
I spent so much time trying to edit these photos into what I’d envisioned El Nido would look like in real life, but then I decided that was silly. Most days while I was there, El Nido looked nothing like a postcard. So guess what, we’ve got a big ol’ mismatched white balance party going on up in here.
Lackluster photos aside, I missed out on a few of my top things to do in El Nido because of the rain. I didn’t get to climb Taraw Cliff for an aerial view over town, or get that shot between the two bays at Nacpan Beach. I never witnessed one of those famously stunning El Nido sunsets over Bacuit Bay. And considering I’d allotted EIGHT DAYS to enjoy this destination, I couldn’t help but feel frustrated, and like I’d wasted a small chunk of my limited time in the Philippines stuck inside staring at the rain.
But like I said at the start, it’s pointless fretting about the weather or anything else that’s out of your control. I do feel like I made the most out of the foul weather cards I was dealt… I’m just also a bit disappointed that the whole experience didn’t live up to what I guess were my lofty expectations. October just isn’t the best time to visit El Nido.
In short: I’m glad I went to El Nido, it just wasn’t my favorite part of the Philippines like I imagined it would be.
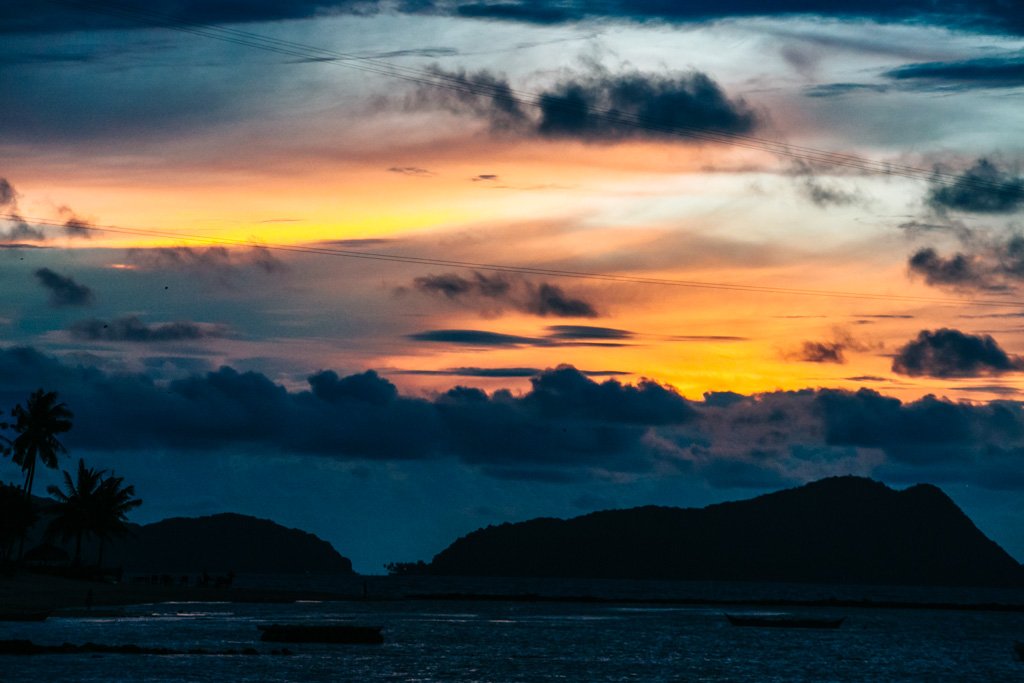
The only decent sunset I got at El Nido.
SEARCH FOR ACCOMMODATION IN EL NIDO:
Frugal Facts
As of October 2016 —
To reach El Nido, you can fly to Puerto Princesa and take a 5 hour bus ride to El Nido (click here to book). I took a shuttle van for 500PHP (US$10), but a coach bus should be slightly cheaper. This route used to be notoriously bumpy and borderline dangerous, but it’s vastly improved now – so much so that I didn’t get motion sick at all (which I usually do when a ride isn’t smooth).
Alternatively, you can fly directly to El Nido Airport and hop in a habal-habal (I paid 100PHP / US$2) that’ll take you into El Nido town in about 15 minutes… though these flights tend to be pricier and less frequent, which is why most visitors enter/exit from Puerto Princesa.
I booked two fun dives with Deep Blue Seafari for 3600PHP (US$77).
I booked my island hopping tours with El Nido Boutique & Art Cafe. Tour A costs 1200PHP (US$24), with an additional 700PHP (US$14) for kayak rental. Tour C costs 1400PHP (US$28), with an additional 100PHP (US$2) for mask and snorkel. Both tours include lunch.
I stayed at Spin Designer Hostel, which I absolutely LOVED and enthusiastically recommend despite the slightly higher price point – it is a super nice, modern, and clean hostel. Click here to book a stay at Spin: beds in a dorm room start at 1000PHP (US$20) per night. If you’re on an extreme budget, look at the beloved Our Melting Pot hostel instead.
