This post was last updated on 2025 October 27
This article on Biking in Tulum may contain affiliate links. If you click and make a purchase using these links, I will make a small commission at no extra cost to you. Thanks so much for supporting Frugal Frolicker! :)
I’m a bit weird when it comes to renting a car on my travels. On one hand, there’s nothing (literally nothing) that makes me happier than a good road trip; but on the other, I almost never rent a car when I’m traveling solo because it’s flippin’ expensive. More importantly: I’ve been spending most of my time in countries that drive on the left side of the road and don’t yet feel comfortable operating a vehicle where everything is switched around inside.
But Mexico… well, Mexico’s a horse of a different color. They drive on the right, and if you book your rental car far in enough in advance it’ll cost you just a few dollars a day (seriously). However, multiple sources told me that police bribes are rampant and that it’s all too common to get pulled over and fined for no reason.
I don’t scare easily so ordinarily that wouldn’t have deterred me from doing something I really, truly wanted to do – but for some reason, it just didn’t feel right. That, and I realized that most of the things I wanted to see and do could be easily reached on bike – no motor needed.
SEARCH FOR ACCOMMODATION IN TULUM:
Booking.com
And so this blog post idea was born!
Biking is hugely popular in Tulum, primarily because it makes getting around town and going between town and the beach a whole lot easier. If you travel to Tulum, you can snag a bike from a Tulum bike rental shop and use it to reach some really cool spots nearby: for example, the beaches, the ruins, and a few cenotes are all within a few miles of the town center.
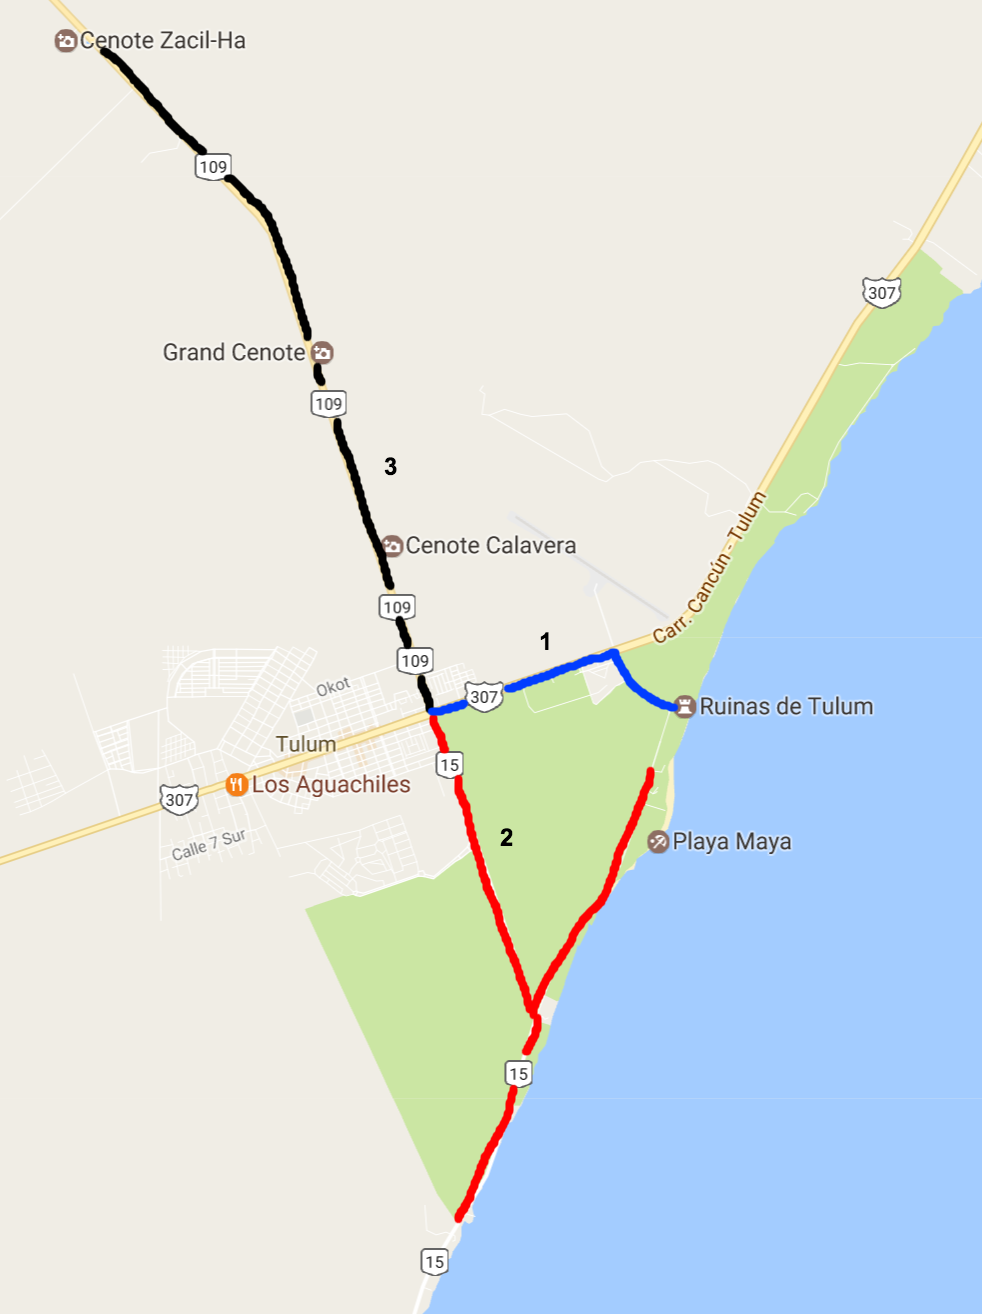
I’ve mapped out three different routes you can take with your bike rental in Tulum, all of which make for the perfect morning excursion. And yes, this night owl did say morning – because a lot of these spots get crazy-crowded by mid-to-late morning, and because the heat is a little more bearable early in the day.
So get your ass out of bed early, hit those pedals, and explore some of Tulum’s finest attractions.
Note: When I refer to “main intersection”, I mean where these 3 paths meet.
Where To Find A Bike Rental In Tulum
Many hotels and hostels in Tulum offer bikes to their guests, but if yours doesn’t – fear not. Here are a few Tulum bike rental shops:
- Kelly Bike – on the NW corner of the main intersection in town, 100 MXP (US$5)/day, open 9am-8pm
- iBike – on Ave. Coba, open 9-5:30 Mon-Sat
- Iguana Bike Shop – at Satelite Sur and Andromeda Ote. 4
- Center Bike – near the ADO bus station
Planning a trip to Tulum?
These are the sites I use and recommend for booking travel:
HOTELS IN TULUM: I always search on Booking.com for accommodation, as their Genius loyalty program offers 10-20% discounts and free breakfast/upgrades for certain hotels.
FLIGHTS TO MEXICO: When researching flights, I always check Skyscanner first because it pulls in flight options across all airlines and saves you the trouble of searching each airline individually. When booking flights via Skyscanner, I always book directly with the airline rather than one of the third party options.
CAR RENTALS IN TULUM: When renting a car on your travels, check DiscoverCars.com for the best deals.
ACTIVITIES IN TULUM: If you’re looking to book tours or other organized activities on your travels, GetYourGuide and Viator both offer myriad options for fun things to do all around the world (think: sailing trips, cooking classes, city walking tours, and more).
TRAVEL INSURANCE FOR MEXICO: Unless you can easily afford to pay for huge unexpected medical bills, DON’T TRAVEL WITHOUT TRAVEL INSURANCE! These days, I usually buy the Safety Wing nomad insurance, as it’s very affordable and caters to digital nomads with a monthly subscription option. I’ve also been a longtime World Nomads user, and will still use them if I need more comprehensive insurance (e.g. for adventure activities) or if I am visiting the US (Americans aren’t eligible for Safety Wing’s US add-on option).
ESIM / SIM CARDS FOR MEXICO: When traveling overseas, I always purchase an eSIM from Simify for the country I’m going to, activate it before I depart, and as soon as I arrive I am automatically connected to the local network and can easily find my way to my accommodation. No need to to buy a local SIM card at the airport; eSIMs are fully electronic and don’t require you to take out your old SIM.
LUGGAGE: I am currently a July luggage girl (July Australia / July US). They offer a lifetime warranty, which I have used multiple times now – and every time, they have sent me a brand new replacement suitcase without hassle. I recommend their Checked Plus if traveling with 32kg/70lb of luggage (note: many airlines do not allow bags this heavy!), the Checked if traveling with 23kg/50lb of luggage, and the Carry On Light (Expanded) which is super lightweight and really helps you stay within the 7kg carry-on limit that many Aussie airlines enforce. Click to read my full review of July luggage.
Where To Bike In Tulum
1. Tulum Ruins
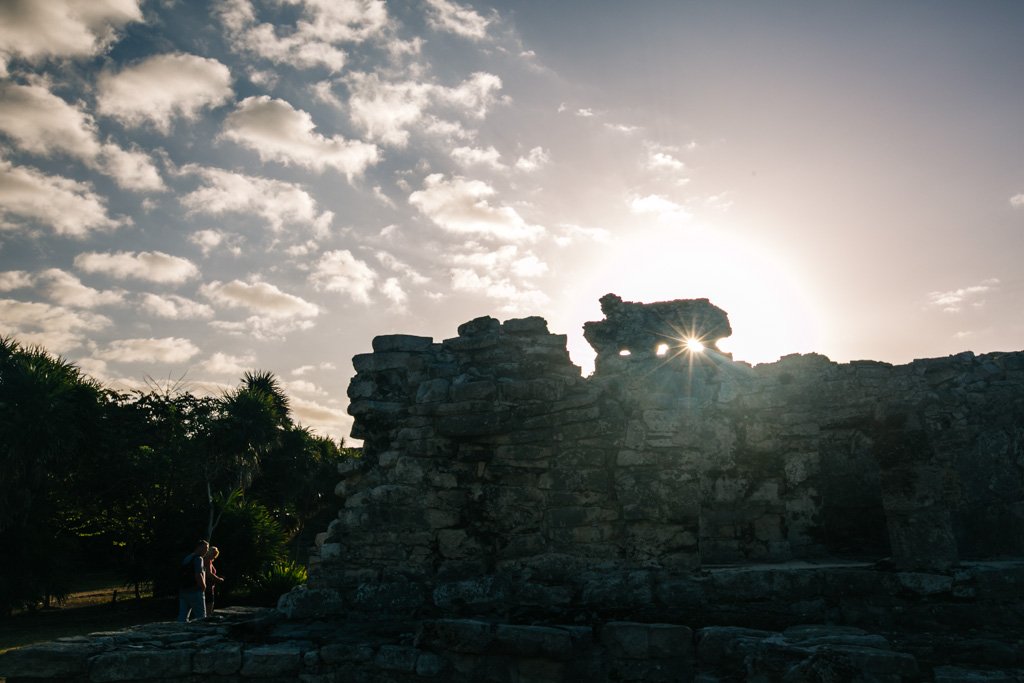
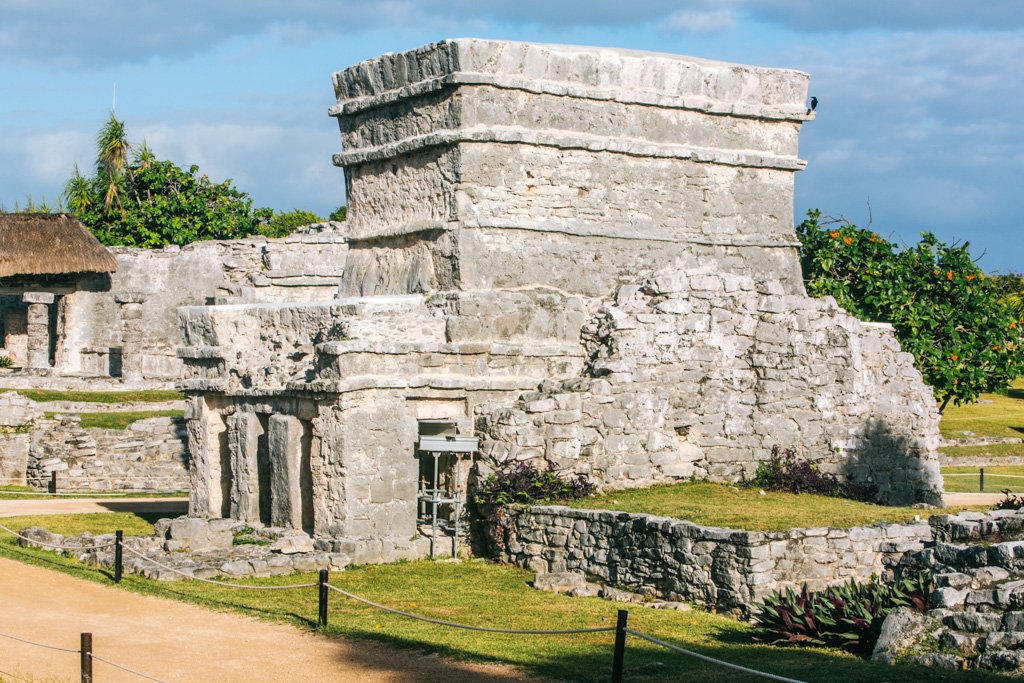
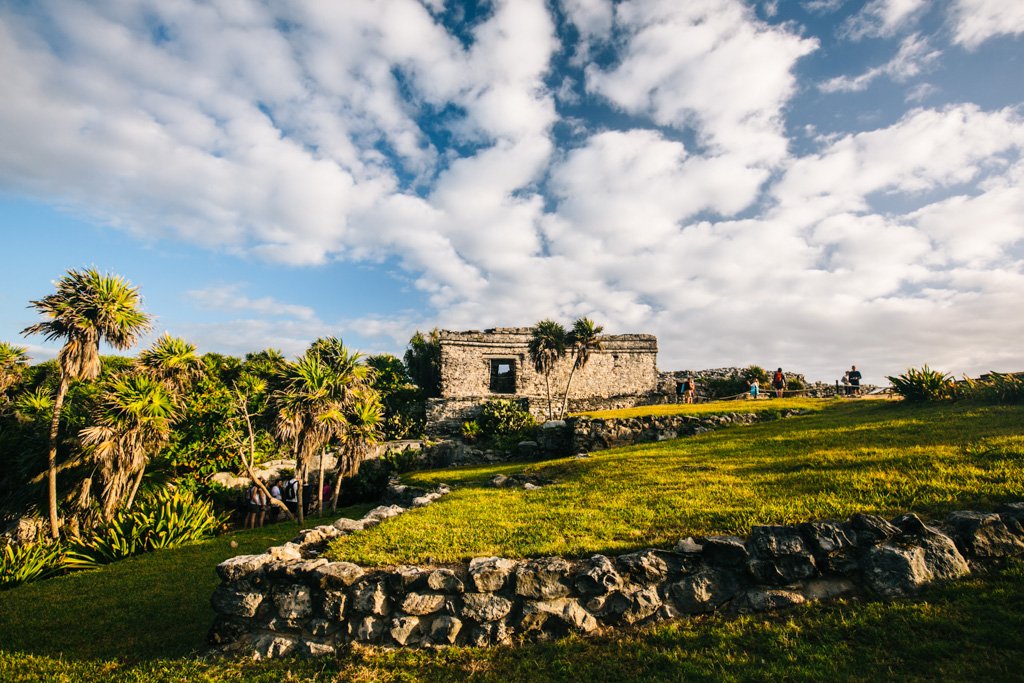
The Tulum Ruins are a quick bike ride 1.7 miles from town, mostly on a bike path that’s separate from traffic. Unless your idea of fun times is shuffling through a tourist site with hoards of other visitors (namely tour groups), be sure to arrive around 8am when it opens. Admission is 70 MXP (US$3.80).
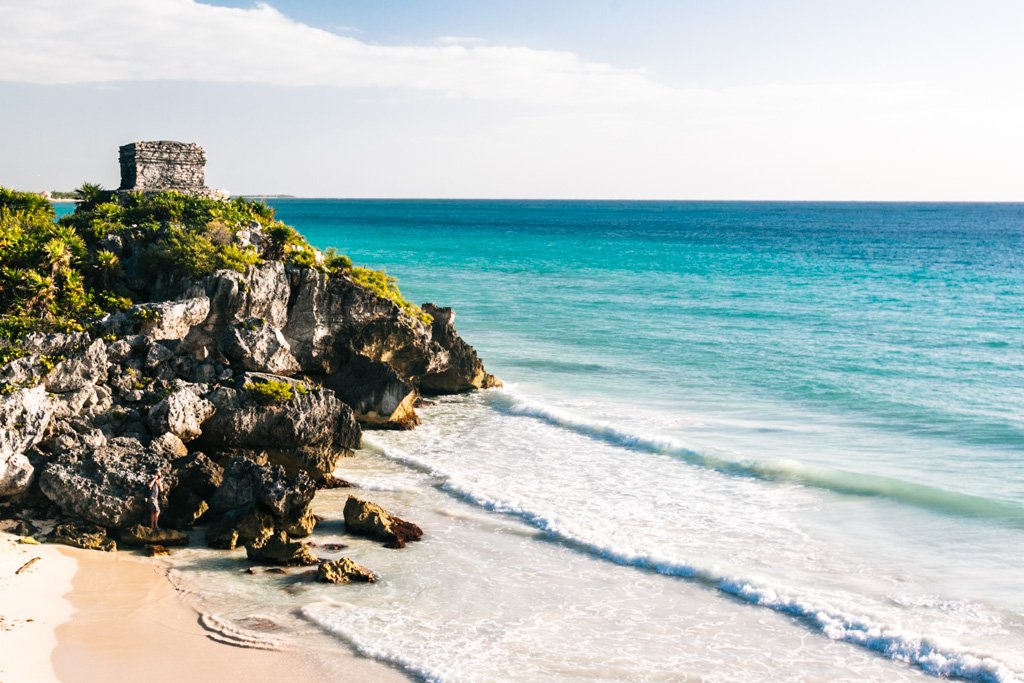
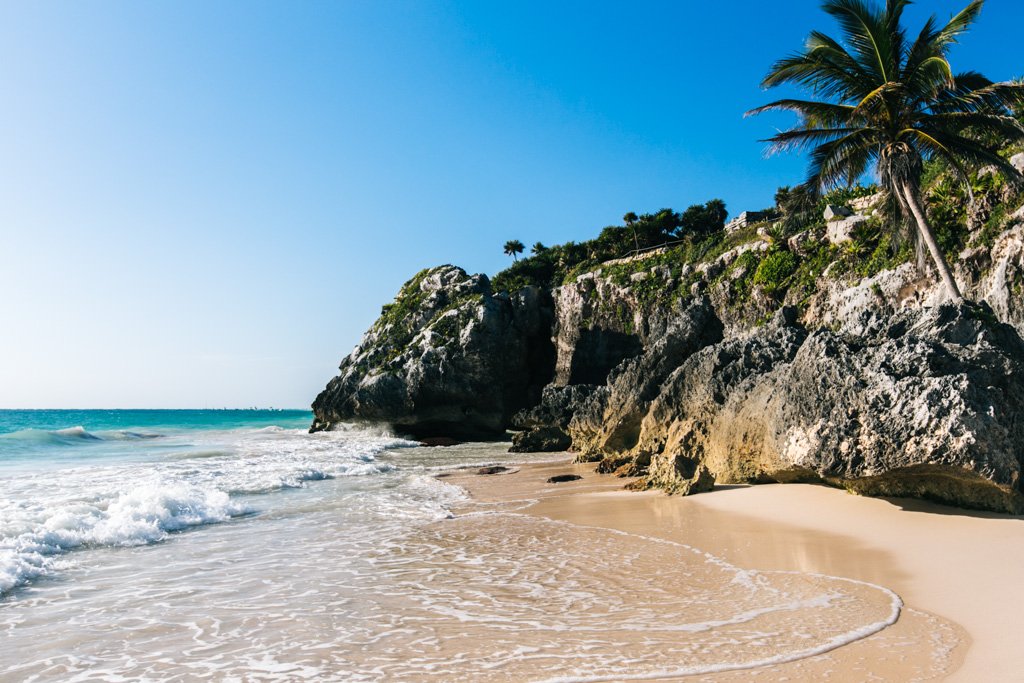
The ruins are fascinating to explore, but beaches are my bae (Whoa, did I really just use that term? Did I use it correctly? Also: send help) – so I won’t lie, I pretty much rushed through the ruins to get to the beach that you see in all those photos of Tulum.
The conditions weren’t quite right for the photo I had in mind, but oh well.
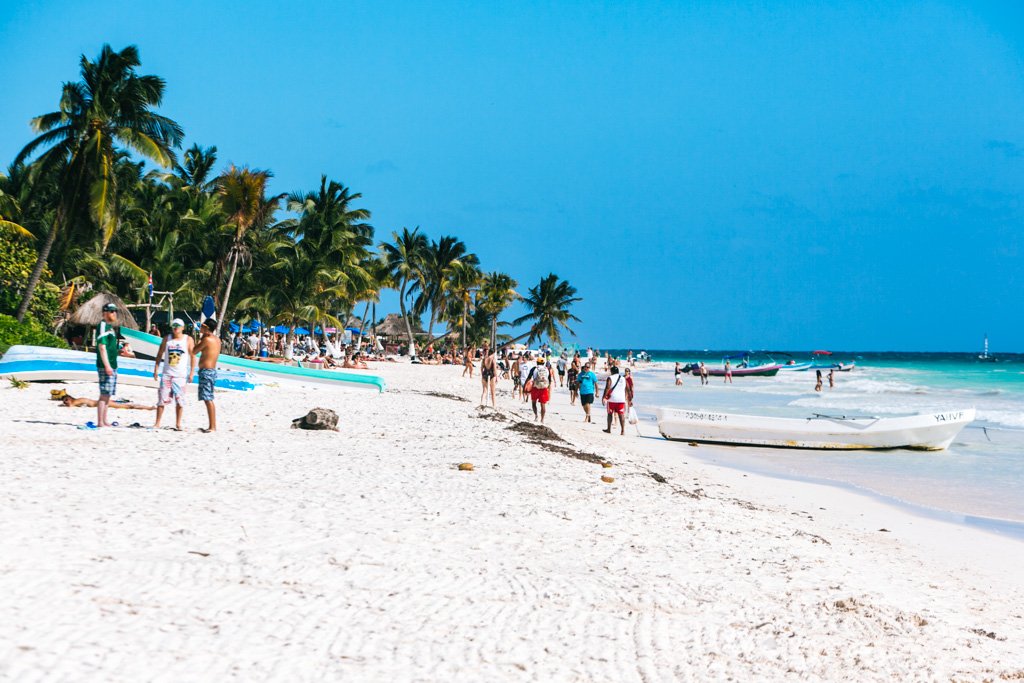
There’s another beach just south of this viewpoint that’s ace for a quick swim or sunbathing session, but it was absolutely swarming by 9am when I was there.
Not pictured: the main part of the beach with ALL THE PEOPLE.
2. Tulum Beaches
There is a colectivo (shared taxi van) that runs between Tulum town and the beaches approximately every hour, but they are mostly meant for locals who rely on them for transport to work at the resorts and are often full. Thus, if you’re staying in town rather than in the beach area, the best way to get to the beaches is to bike Tulum.
From town, there’s the Tulum bike path that runs all the way down Avenida Coba. It’s about a 2 mile ride from Tulum’s main street (Highway 307) to the end of Av. Coba, at which point you can turn left or right. You’ll find plenty of tempting beachfront either way, but the right side has more options and is more commercialized.
Head left, and eventually you’ll reach the Tulum Ruins. You don’t have to go that far to find some good beaches though. One of the first spots to pull off is near the national park entrance – you can’t miss it with all of the parked bikes there.
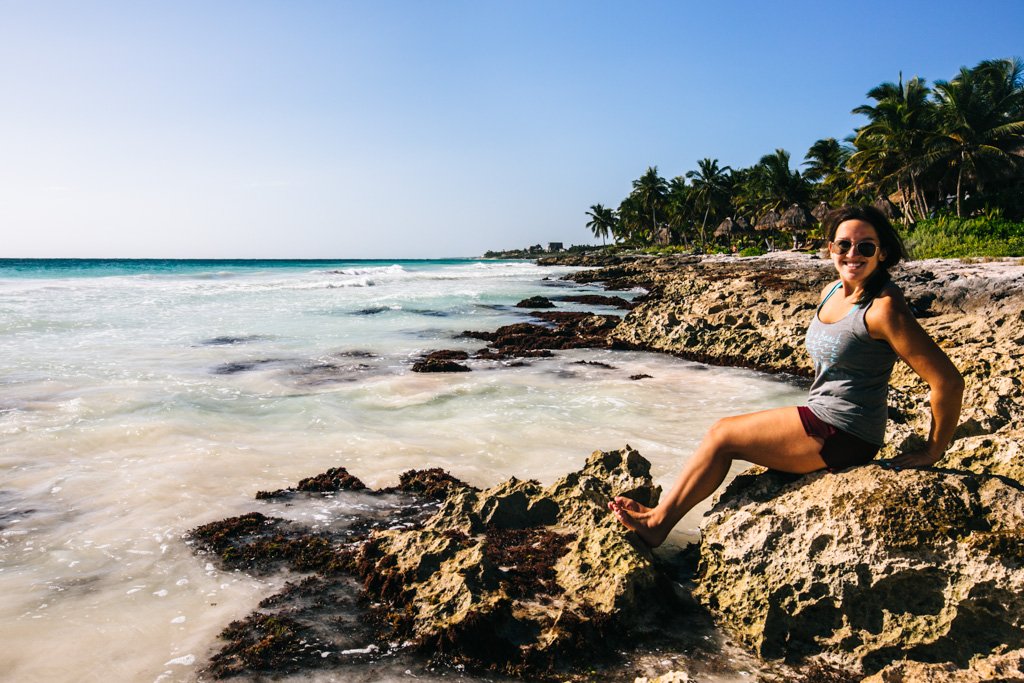
Further down the road (towards the ruins), there are other places to park and walk in to the beach. Though you can barely walk a stretch of sand that isn’t lined with resort property, it doesn’t feel super touristy or overcrowded anywhere along the beach. Highly recommend hitting the Tulum beaches in the morning, though, if you’re anything like me and prefer to soak up glorious landscapes with as few people around as possible.
If you head to the right at the end of Av. Coba instead, the Tulum bike path continues for some time before you have to ride in the street with vehicular traffic. There are loads of restaurants, bars, and shops down this end. I struggled to find any entrance to the beaches down this way that weren’t through the resorts, so you may have to sneak through or pony up and buy a drink at the resort bar if you want to hang on their beachfront.
Taco Tip: The veg-friendly tacos at Charly’s Vegan Tacos and fish tacos at Mateos are PHENOMENAL.
3. Cenotes Near Tulum
Did you know that there are a few cenotes close enough to Tulum that you don’t need to rent a car or take a tour to get to? You can DIY it by hitting up a bike rental in Tulum and riding down Av. Coba (Rte 109) in the opposite direction from the beach. I’d also recommend renting some snorkel gear to use in the cenotes and taking it with you, as rentals are pricier if you wait til you get to them.
Starting from the main intersection in town (Av. Coba and Highway 307), head north on Av. Coba. I’ve listed the cenotes in the order in which you’ll pass them, but based on my experience I’d advise hitting Gran Cenote first as it’s extremely popular and tends to get crowded shortly after opening. If you’re up for all of these cenotes (and a 10 mile bike trip, roundtrip), continue on to Zacil-Ha and Carwash, and then hit Calavera on your way back into town.
Cenote Calavera
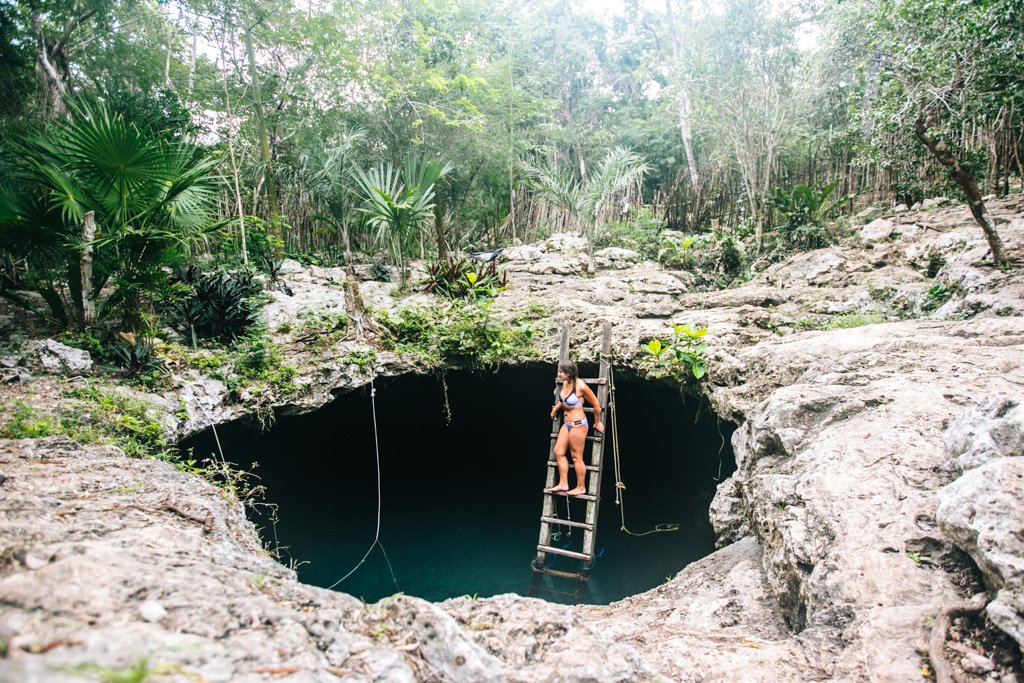
About a mile from the main intersection, you’ll hit Cenote Calavera. This one is small and tends to be more popular for diving rather than swimming/snorkelling, but it’s just too darn cool to miss.
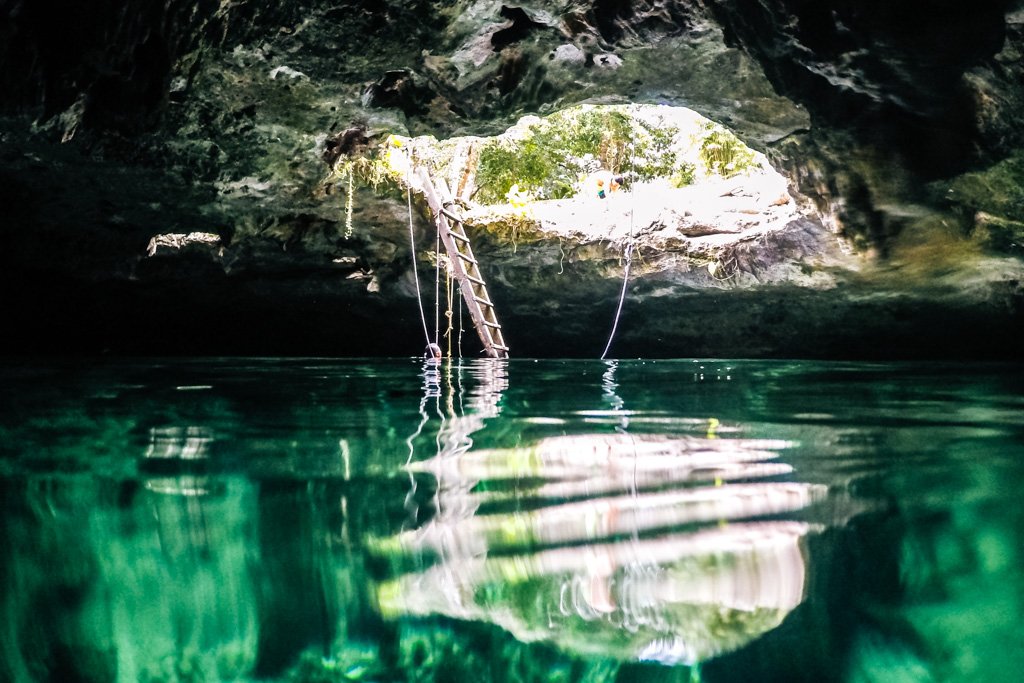
Cenote Calavera is essentially a big hole in the ground that you can climb down a ladder to get into. Or if you’re diving, you just jump right in off the edge. I wouldn’t say it’s the best snorkeling spot, but definitely drop inside – it’s super peaceful down there.
I’m not too sure what time it opens, but I had it all to myself at 9:30am. Admission is 100 MXP (US$5).
Gran Cenote
About 2.3 miles from the main intersection (and 1.3 miles beyond Cenote Calavera), you’ll find Gran Cenote: one of the most popular cenotes around Tulum. For this reason, I highly urge you to get there as soon as it opens at 8am. I had it all to myself for all of 5 minutes when I did this, but they were 5 exceptionally magical minutes and well worth the effort of waking up early.
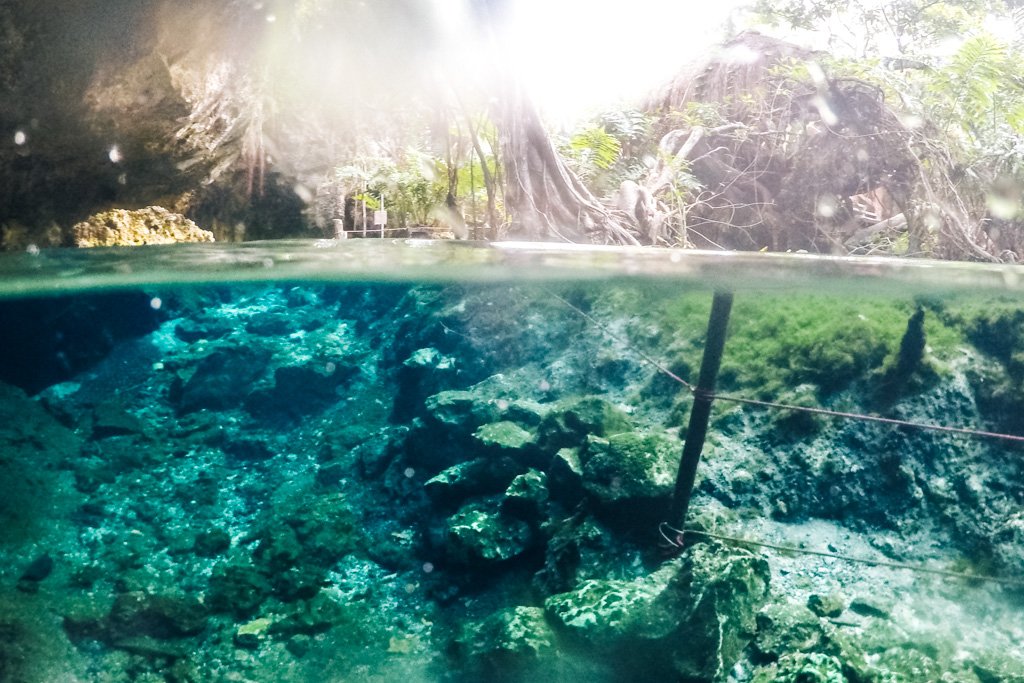
Gran Cenote has a couple of caves you can swim into, and crystal-clear water in which you may be able to spot some little turtles. Admission is 150MXP (US$7.50).
Cenote Aktun Ha (Carwash)
About 4.8 miles from the main intersection (and 2.5 miles beyond Gran Cenote) is the cenote known as Carwash, which was at one time used to wash taxis. I didn’t make it here, but if you’re up for more biking in the Tulum heat I hear it’s well worth the trek. You’ll be able to spot fish, turtles, submerged trees, and deep caves while snorkeling.
Cenote Carwash opens at 9am and admission is 50 MXP (US$2.70).
Cenote Zacil-Ha
About 5 miles from the main intersection (and 2.7 miles beyond Gran Cenote) is Cenote Zacil-Ha. I don’t know much about it, but it’s so close to Carwash that you may as well do them both in one trip. This cenote opens at 10am and admission is 80 MXP (US$4.30).
SEARCH FOR ACCOMMODATION IN TULUM:
Planning a trip to Tulum?
These are the sites I use and recommend for booking travel:
HOTELS IN TULUM: I always search on Booking.com for accommodation, as their Genius loyalty program offers 10-20% discounts and free breakfast/upgrades for certain hotels.
FLIGHTS TO MEXICO: When researching flights, I always check Skyscanner first because it pulls in flight options across all airlines and saves you the trouble of searching each airline individually. When booking flights via Skyscanner, I always book directly with the airline rather than one of the third party options.
CAR RENTALS IN TULUM: When renting a car on your travels, check DiscoverCars.com for the best deals.
ACTIVITIES IN TULUM: If you’re looking to book tours or other organized activities on your travels, GetYourGuide and Viator both offer myriad options for fun things to do all around the world (think: sailing trips, cooking classes, city walking tours, and more).
TRAVEL INSURANCE FOR MEXICO: Unless you can easily afford to pay for huge unexpected medical bills, DON’T TRAVEL WITHOUT TRAVEL INSURANCE! These days, I usually buy the Safety Wing nomad insurance, as it’s very affordable and caters to digital nomads with a monthly subscription option. I’ve also been a longtime World Nomads user, and will still use them if I need more comprehensive insurance (e.g. for adventure activities) or if I am visiting the US (Americans aren’t eligible for Safety Wing’s US add-on option).
ESIM / SIM CARDS FOR MEXICO: When traveling overseas, I always purchase an eSIM from Simify for the country I’m going to, activate it before I depart, and as soon as I arrive I am automatically connected to the local network and can easily find my way to my accommodation. No need to to buy a local SIM card at the airport; eSIMs are fully electronic and don’t require you to take out your old SIM.
LUGGAGE: I am currently a July luggage girl (July Australia / July US). They offer a lifetime warranty, which I have used multiple times now – and every time, they have sent me a brand new replacement suitcase without hassle. I recommend their Checked Plus if traveling with 32kg/70lb of luggage (note: many airlines do not allow bags this heavy!), the Checked if traveling with 23kg/50lb of luggage, and the Carry On Light (Expanded) which is super lightweight and really helps you stay within the 7kg carry-on limit that many Aussie airlines enforce. Click to read my full review of July luggage.
