This post was last updated on 2025 October 27
This article on Vivid Sydney may contain affiliate links. If you click and make a purchase using these links, I will make a small commission at no extra cost to you. Thanks so much for supporting Frugal Frolicker! :)
There’s a particularly magical time of year in Sydney, just before the weather takes a turn for the cold, when the city quite literally lights up: Vivid Sydney.
For about three weeks (this year it’s 26 May – 17 June), each night from 6-11pm there are colorful light projections splashed onto various buildings and landmarks around the city, with other vibrant art installations and displays spread throughout the CBD and surrounds.
And if that’s not enough, there are ticketed concerts and talks you can attend as well. Basically, there’s something at Vivid Sydney for everyone with more than a few creative cells in their body.
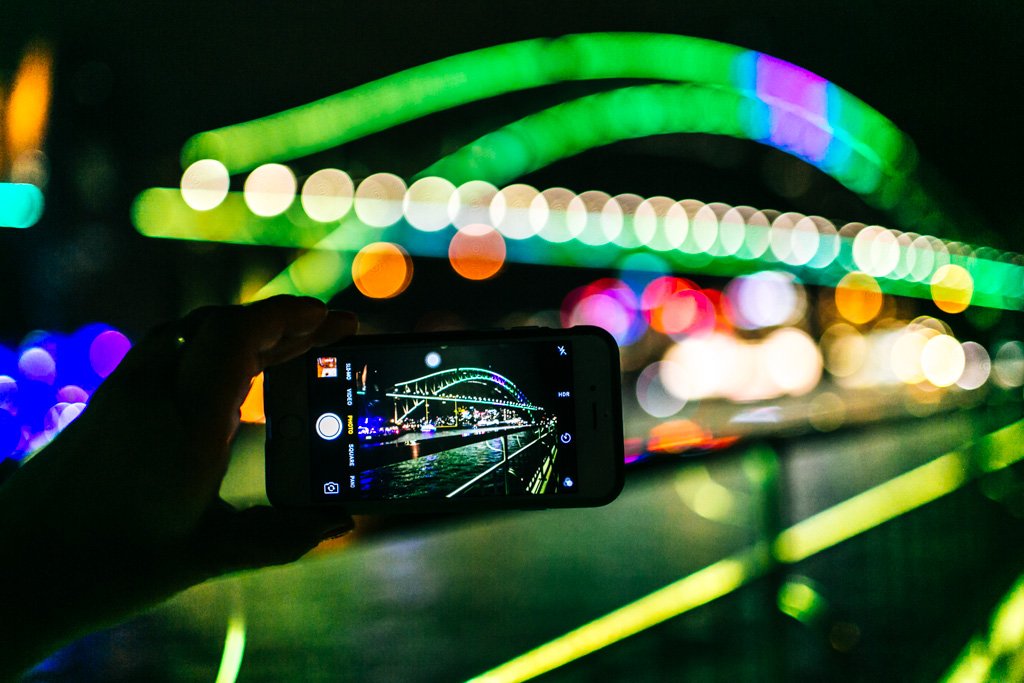
Personally, just the lights portion of Vivid Sydney is more than enough to turn me into a semi-permanent heart-eyed emoji. I derive so much joy from wandering around with my camera and capturing my city looking extra pretty with its temporary makeover.
If you’re lucky enough to visit Sydney during the Vivid festival, here are my best recommendations for catching the light installations around Sydney Harbour.
Planning a trip to Sydney?
These are the sites I use and recommend for booking travel:
ACCOMMODATION IN SYDNEY: I always search on Booking.com for accommodation, as their Genius loyalty program offers 10-20% discounts and free breakfast/upgrades for certain hotels.
FLIGHTS TO SYDNEY: When researching flights, I always check Skyscanner first because it pulls in flight options across all airlines and saves you the trouble of searching each airline individually. When booking flights via Skyscanner, I always book directly with the airline rather than one of the third party options.
CAR RENTAL IN SYDNEY: When renting a car on your travels, check DiscoverCars.com for the best deals.
ACTIVITIES IN SYDNEY: If you’re looking to book tours or other organized activities on your travels, GetYourGuide and Viator both offer myriad options for fun things to do all around the world (think: sailing trips, cooking classes, city walking tours, and more).
TRAVEL INSURANCE FOR AUSTRALIA: Unless you can easily afford to pay for huge unexpected medical bills, DON’T TRAVEL WITHOUT TRAVEL INSURANCE! These days, I usually buy the Safety Wing nomad insurance, as it’s very affordable and caters to digital nomads with a monthly subscription option. I’ve also been a longtime World Nomads user, and will still use them if I need more comprehensive insurance (e.g. for adventure activities) or if I am visiting the US (Americans aren’t eligible for Safety Wing’s US add-on option).
ESIM / SIM CARDS FOR AUSTRALIA: When traveling overseas, I always purchase an eSIM from Simify for the country I’m going to, activate it before I depart, and as soon as I arrive I am automatically connected to the local network and can easily find my way to my accommodation. No need to to buy a local SIM card at the airport; eSIMs are fully electronic and don’t require you to take out your old SIM.
LUGGAGE: I am currently a July luggage girl (July Australia / July US). They offer a lifetime warranty, which I have used multiple times now – and every time, they have sent me a brand new replacement suitcase without hassle. I recommend their Checked Plus if traveling with 32kg/70lb of luggage (note: many airlines do not allow bags this heavy!), the Checked if traveling with 23kg/50lb of luggage, and the Carry On Light (Expanded) which is super lightweight and really helps you stay within the 7kg carry-on limit that many Aussie airlines enforce. Click to read my full review of July luggage.
The Vivid Climb With BridgeClimb Sydney
I cross bridges any chance I get, including the stunning Sydney Harbour Bridge. But until recently, I hadn’t done the thing that SO MANY people come to Sydney to knock off their bucket list: BridgeClimb.
I took this on the pedestrian path, but it’s a similar view to the one at the start of BridgeClimb.
Let’s be honest: BridgeClimb is a pricey adventure to have in Sydney. Tickets range from around AU$250-350 depending on what time of day you climb, so this is something you really have to budget for and then have zero guilt splurging on.
That said, if you want to get the absolute best value BridgeClimb experience, book a Vivid Climb. Not only are night climbs the cheapest option, but if you book it during Vivid you get the added bonus of being able to catch the light show from high above Sydney Harbour. This is precisely why I intentionally waited until now to climb the bridge.
There are a few photo stops on the climb – you can purchase the digital images afterwards.
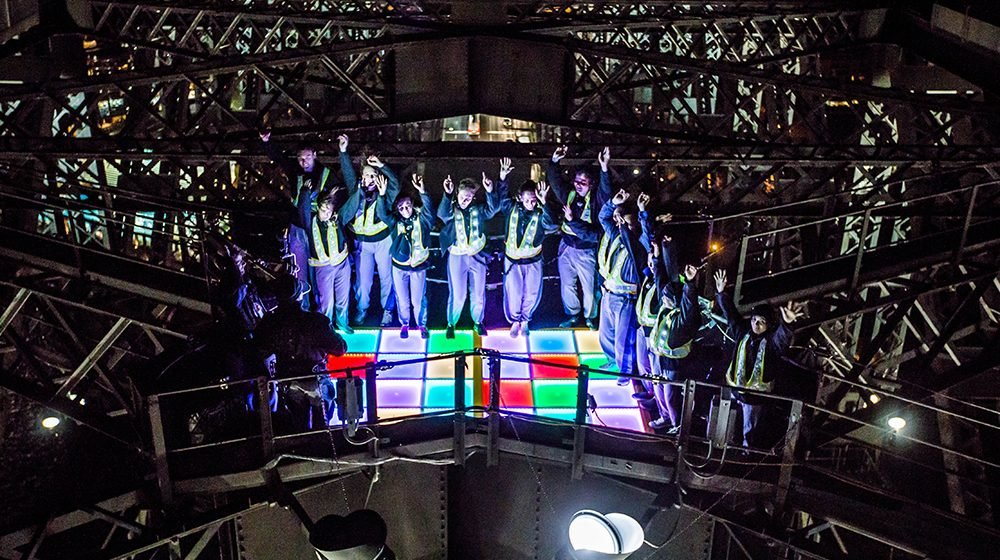
There’s a rainbow dance floor at the summit during Vivid. Photo via BridgeClimb.
Without going into too much detail on the BridgeClimb experience (saving that for a future post!), I will say that the whole process is extremely safe, efficient, and exhilarating. At no point did I feel even a little bit scared or regretful that I’d booked this climb.
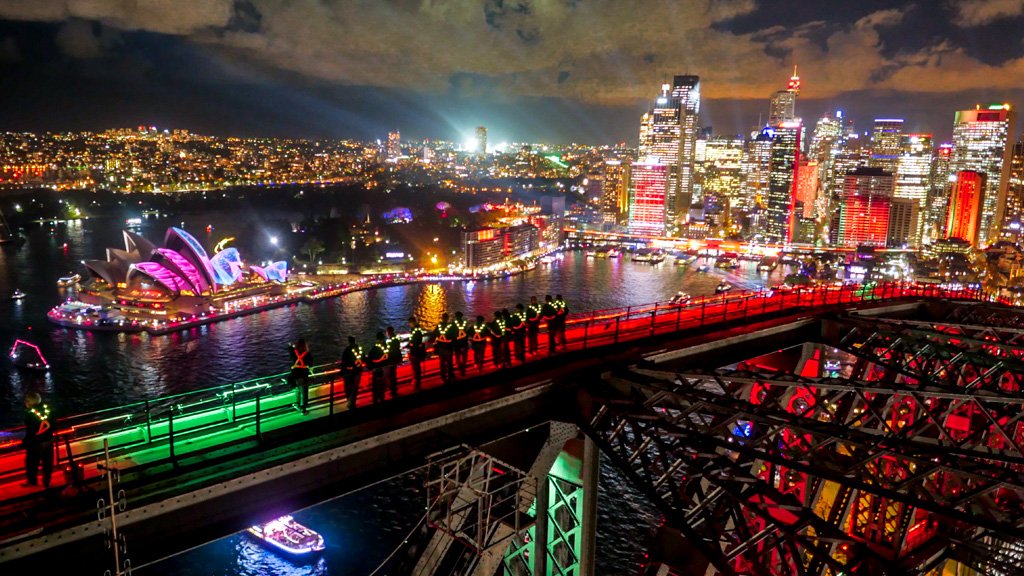
One thing that really surprised me is how much time we had to slow down and enjoy the views. There’s this image still seared in my brain from when I was standing at the summit: the top-most layer of the bridge before me all lit up and curving downwards to converge with the line of traffic below; the skyline and Sydney Opera House to my left flashing all sorts of colorful light projections. You’re not allowed to bring cameras or phones on the climb so unfortunately all I’ve got is this beautiful memory… but if you imagine that you’re standing where the people are in the photo below, and facing the right, that’s what I’m talking about.
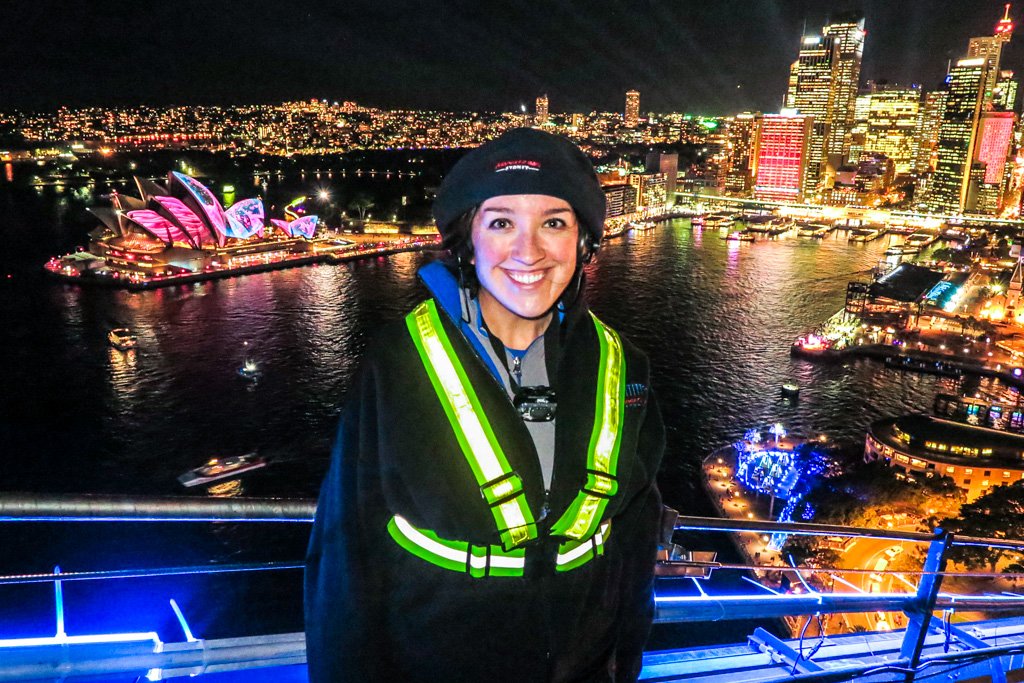
They had us wear neon yellow vests with flashing lights during the Vivid Climb, so we could be part of the show!
Photo via BridgeClimb.
In my semi-professional opinion, doing BridgeClimb during Vivid is one of the top experiences you can have in Sydney. Simply put, it was downright magical. Vivid Climbs run through June 17th, so you’ve still got two weeks to book one if you’re in Sydney during this time.
Vivid Cruise
If you’ve ever wanted to cruise Sydney Harbour with a glass of bubbly in hand and a light show unfolding all around you, book yourself onto one of the many many Vivid cruises around the harbour.
There are currently over 20 deals on Vivid cruises on Groupon, ranging from $20-40 or so. They all tend to last 1.5-2 hours and vary in terms of how many drinks they offer and whether a buffet dinner or canapes are served.
We did a 1.5 hour trip with Constellation Cruises for $20, which included a free drink. The boat took us from Darling Harbour to Circular Quay and the other side of the Opera House, and back. It was a pretty relaxing way to take in the lights without having to deal with a crowd.
Exploring Vivid Sydney On Foot
Whatever you do, make sure you wander around the city on foot to take in the lights during Vivid.
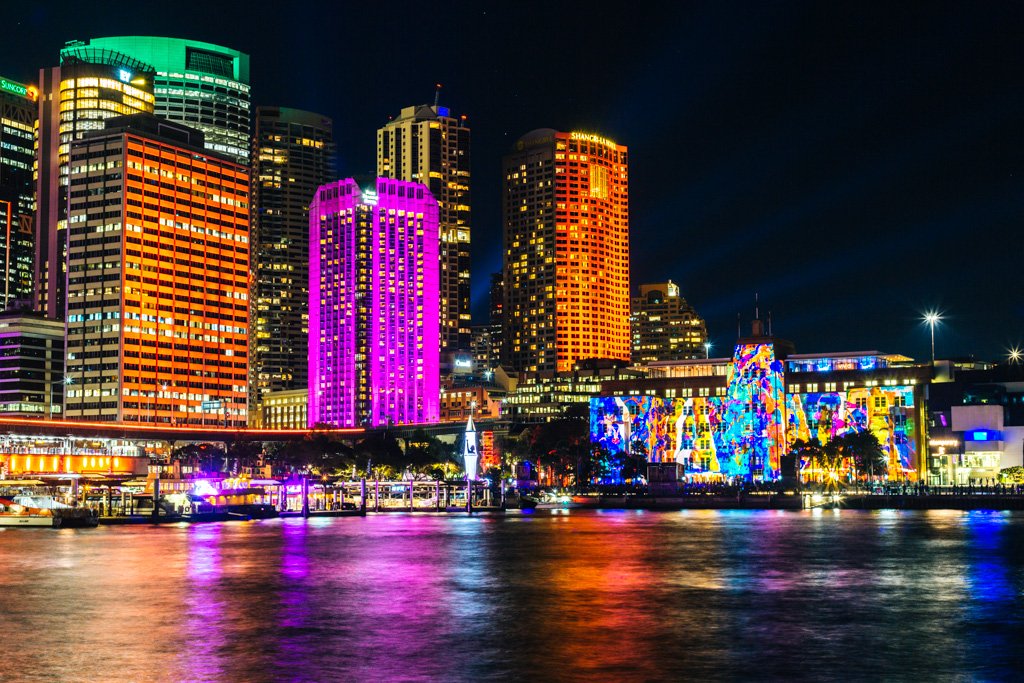
If you have limited time, focus on exploring Circular Quay and the Royal Botanic Garden. This is the best area for glimpsing Sydney’s two most famous architectural landmarks bathed in rainbow colors. A walk across the Sydney Harbour Bridge will also yield some fantastic views of the Sydney Opera House and Circular Quay from above.
If you’ve got more time to enjoy the lights, there are also light installations and projections nearby in The Rocks and Barangaroo, Darling Harbour, and Martin Place. To escape the crowds, head northside to Chatswood and the Taronga Zoo. Check the official Vivid Sydney map for more details.
I haven’t hit every Vivid hotspot yet, but I’ve got heaps of photos to share from the ones I’ve wandered around thusfar:
Circular Quay
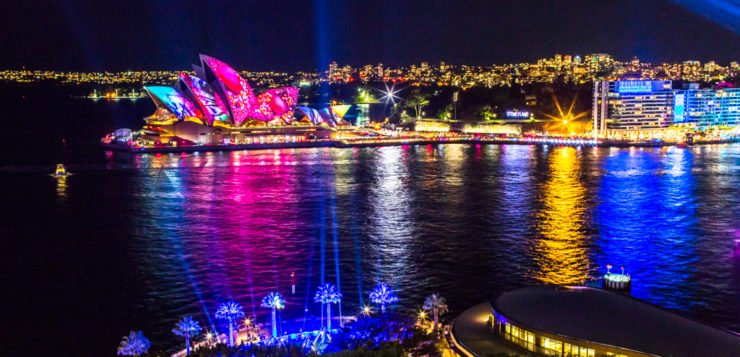
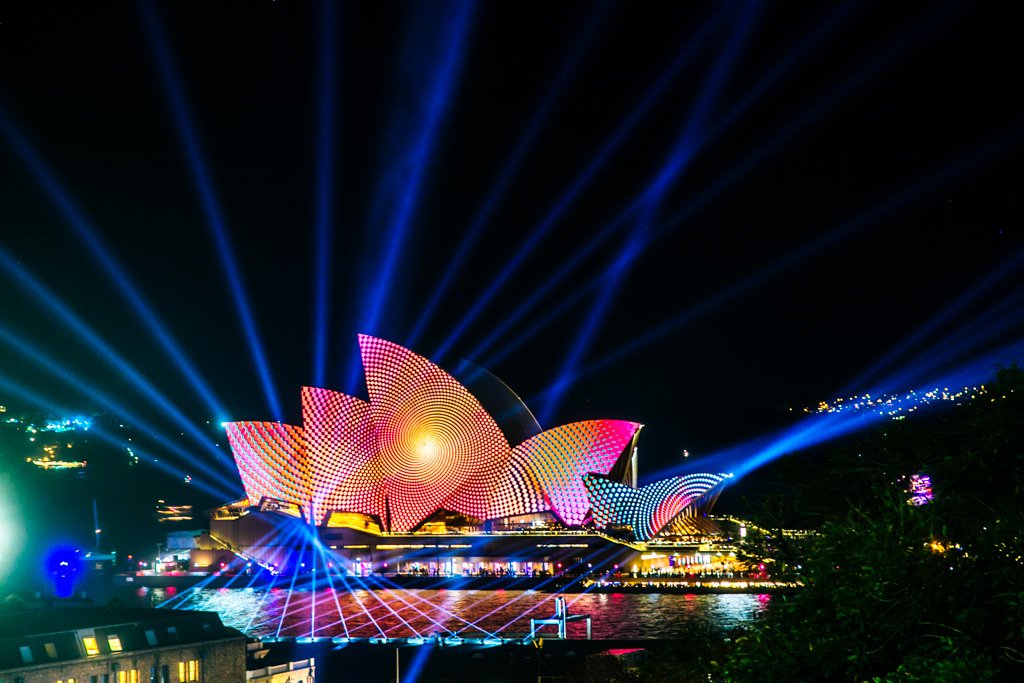
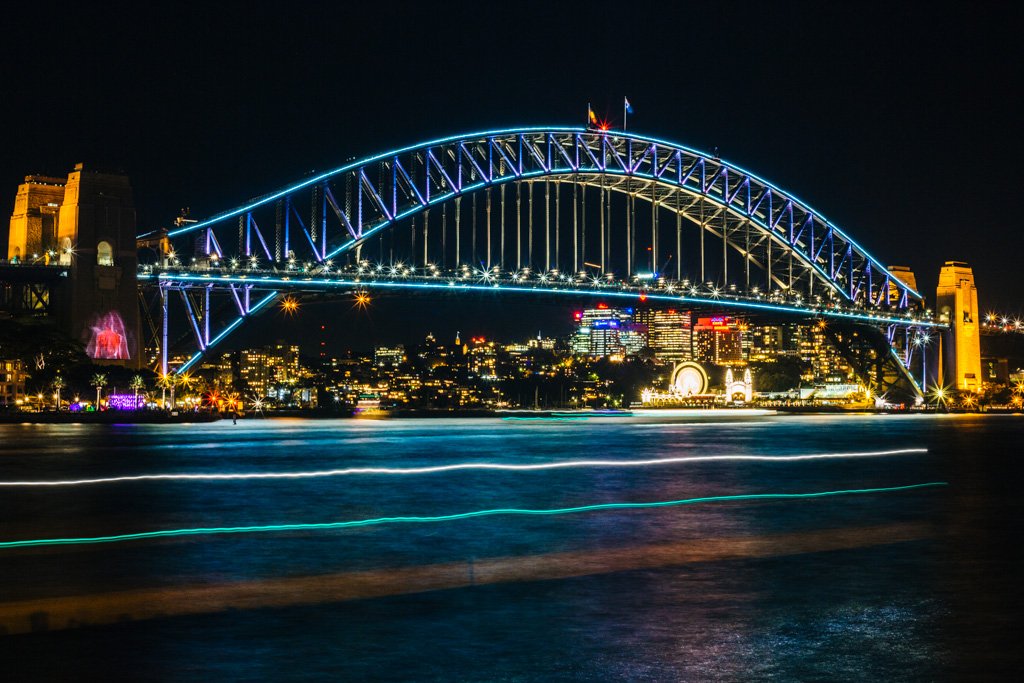
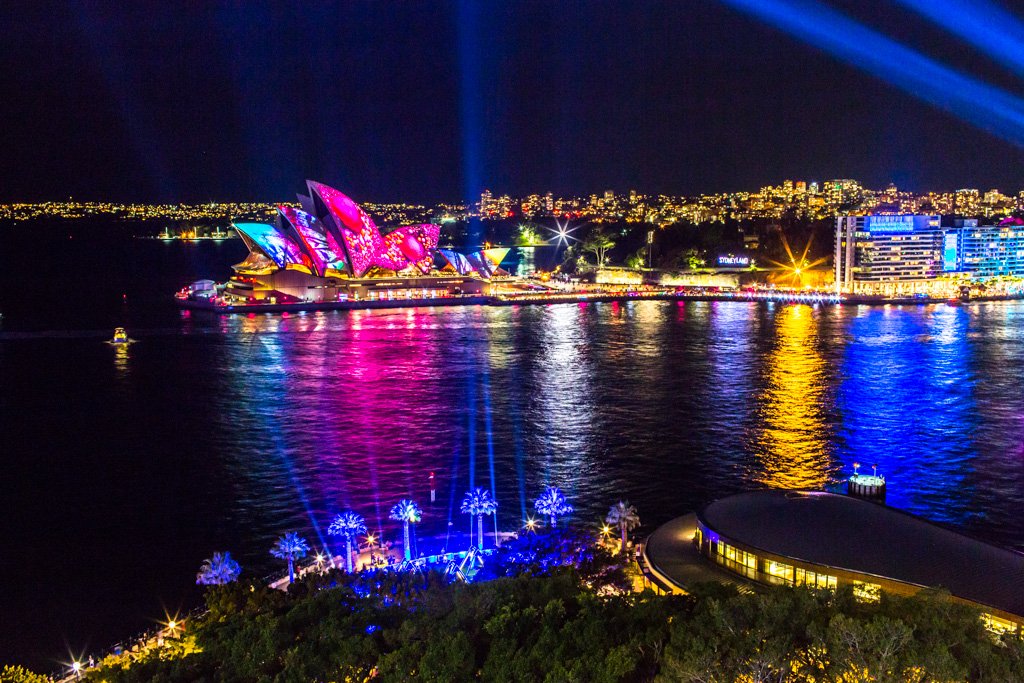
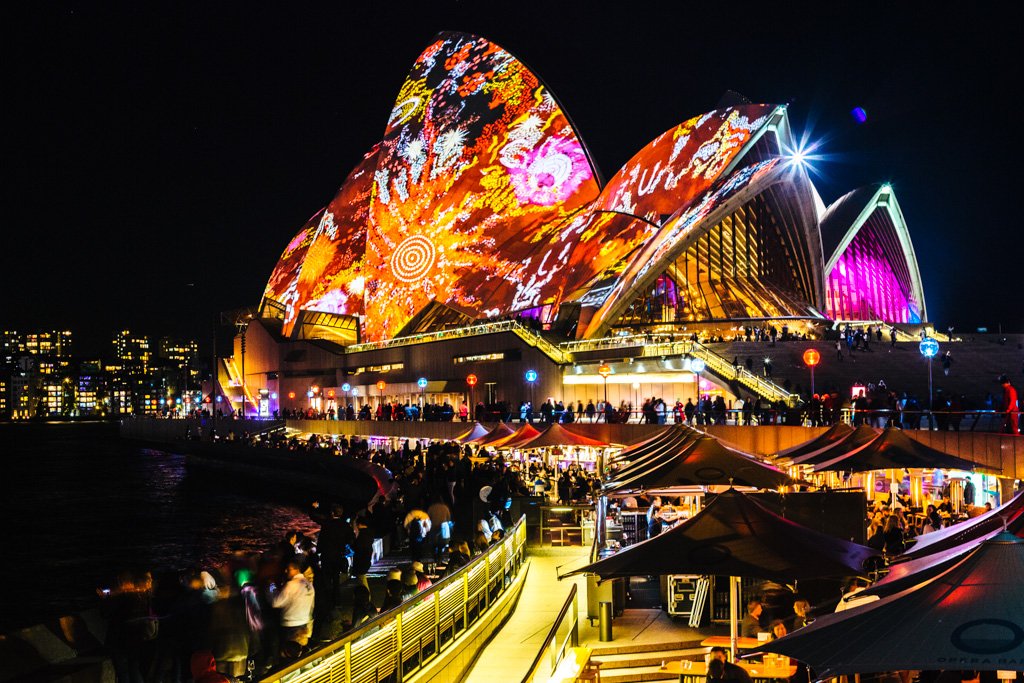
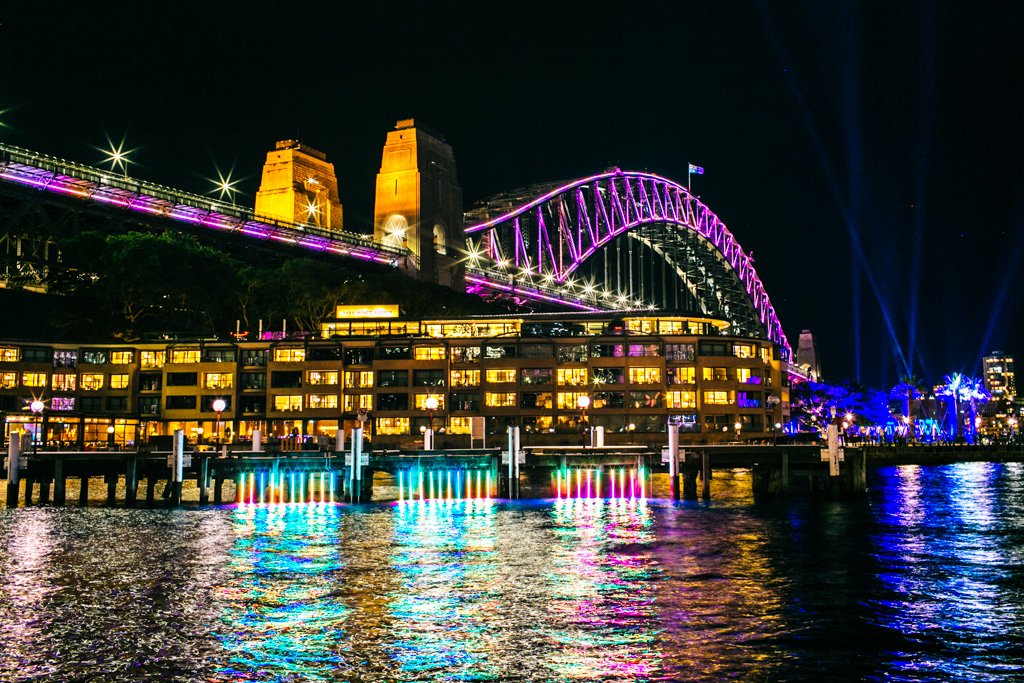
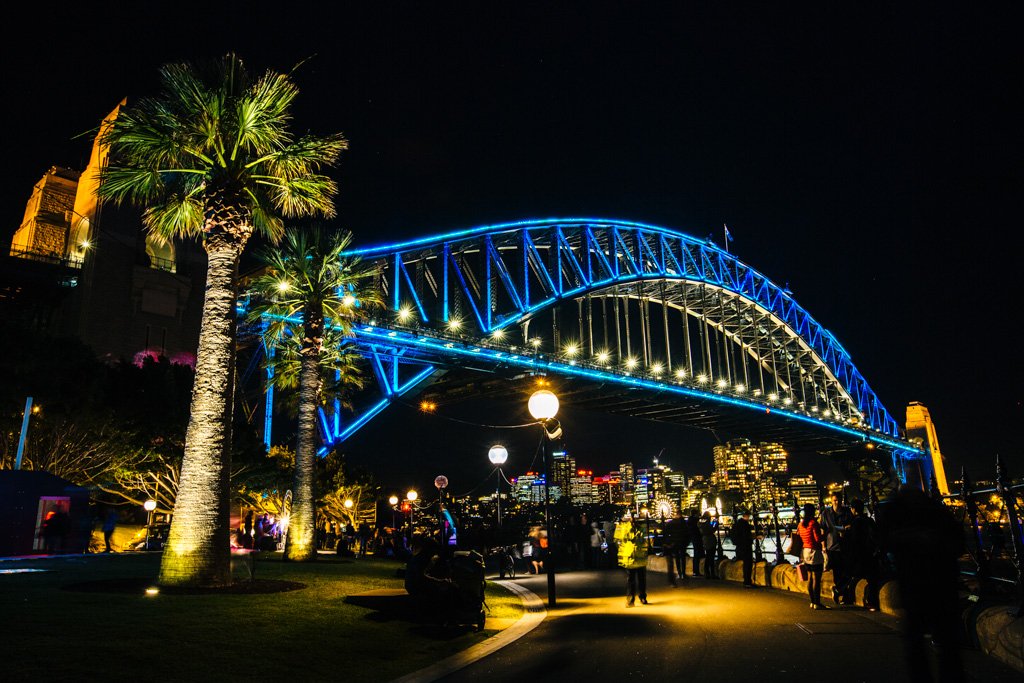
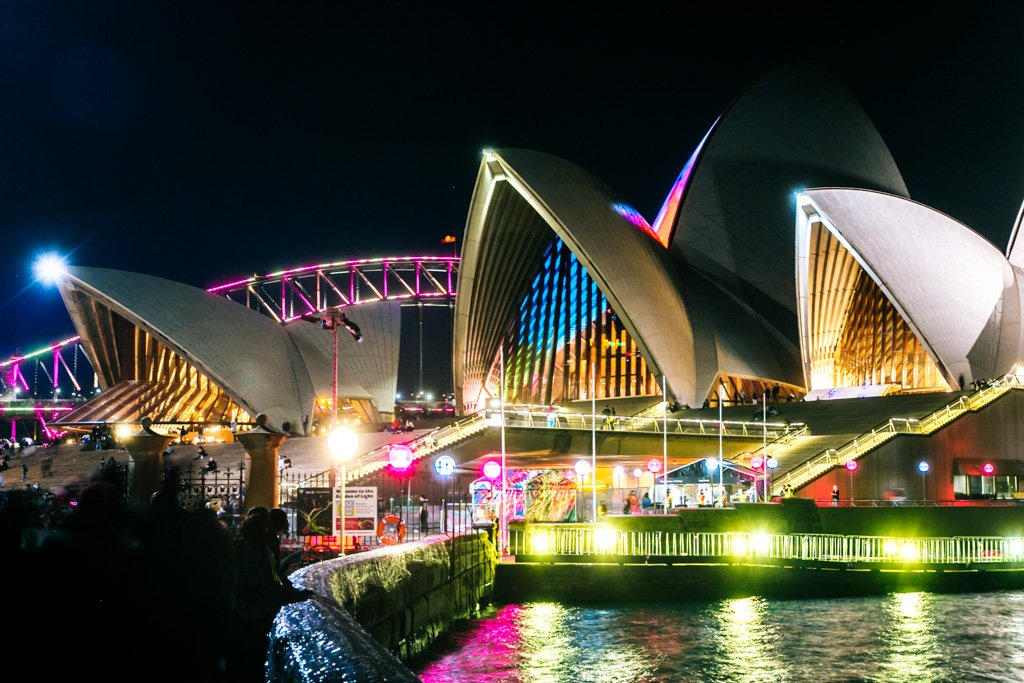
The Sydney Opera House and Harbour Bridge are incredible on their own, but color them up and HOLY WOW. Absolutely beautiful. The light displays run on loop, so in theory you could just plant yourself in one spot and stare at the Opera House for a good long while to see it all.
Opera Bar (seen in the photo above) is a killer spot to grab a drink with a view, though you’ll be sharing it with hundreds of others during Vivid.
My go-to shooting spot is Hickson Road Reserve, a small plot of land on the other side of Circular Quay just around the corner from the Park Hyatt (near the blue trees in the photo above). From this spot, you can shoot both the Sydney Harbour Bridge and Sydney Opera House depending on which direction you’re looking, and with just a fraction of the crowd that’s over by Opera Bar.
Shot from Hickson Road Reserve.
Shot from Hickson Road Reserve.
Royal Botanic Garden
If you want to check out the light displays at the botanic garden, aim to get there right when the lights turn on at 6pm and preferably on a weekday. Not only is this one of the most popular spots during Vivid, but it’s also a pain in the butt to reach because you can only enter and exit the garden via the entrance by the Sydney Opera House. :: cue the bottleneck ::
I tried to get in the other night, but after a minute spent shuffling in a slow-moving line just inside the entrance, I knew I couldn’t take a second more of it and walked right out after taking the photo below.
Darling Harbour
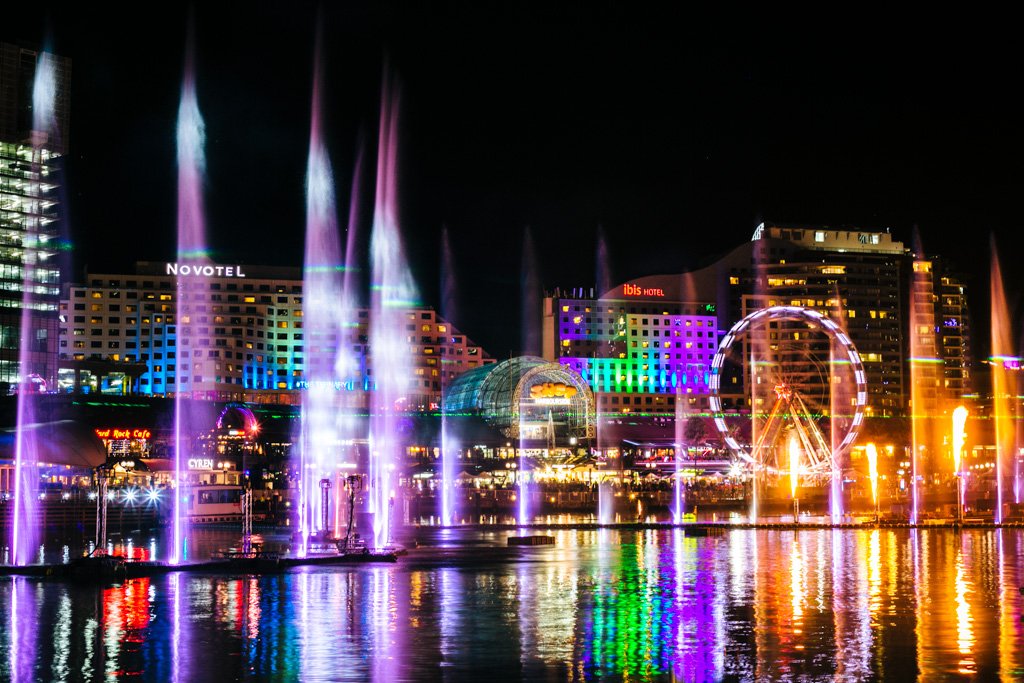
I wouldn’t call Darling Harbour a must-do on your Vivid itinerary, but there’s usually a cool fountainesque light show over the water there that’s fun to watch. Other than that, not much else to see here.
Sydney CBD
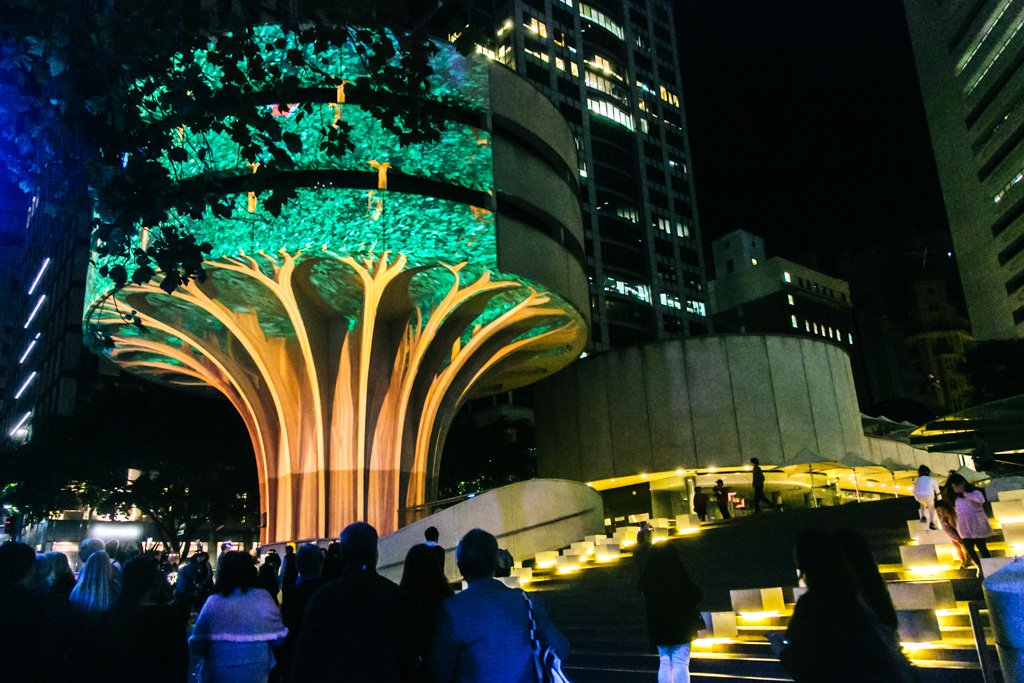
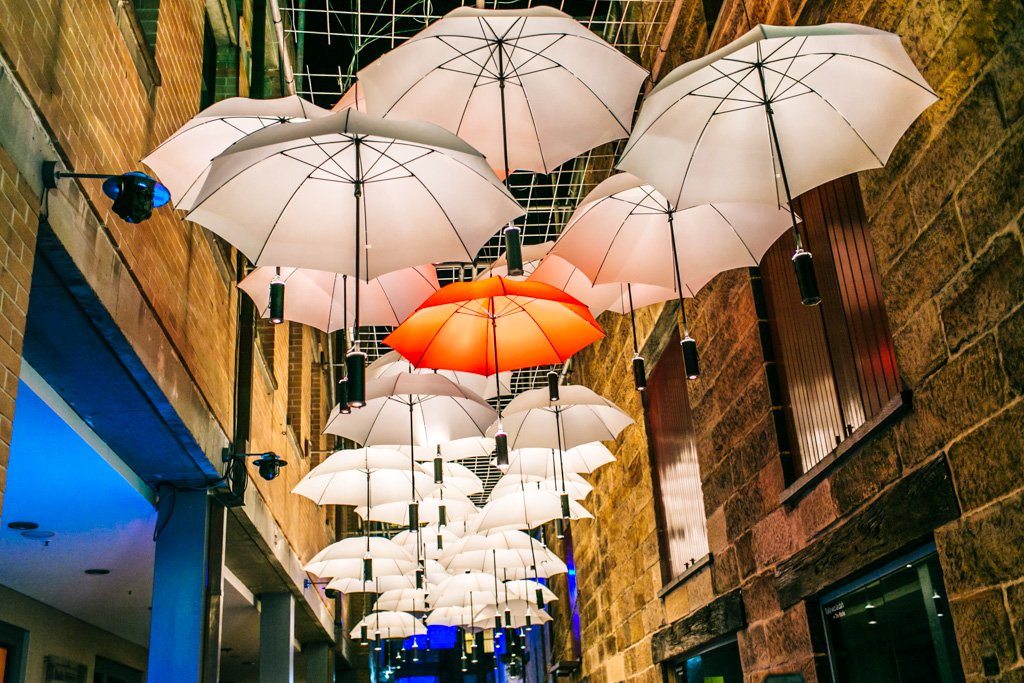
There are several light installations and interactive displays around the city in The Rocks, Barangaroo, and Martin Place. They aren’t even a fraction as photogenic as the Harbour Bridge and Opera House, but most of them at least are interesting to look at.
Thank you to BridgeClimb Sydney for hosting me during Vivid! Note that all opinions expressed here and elsewhere on this blog are my unbiased own, and are uninfluenced by any gifts or incentives I may receive.
Planning a trip to Sydney?
These are the sites I use and recommend for booking travel:
ACCOMMODATION IN SYDNEY: I always search on Booking.com for accommodation, as their Genius loyalty program offers 10-20% discounts and free breakfast/upgrades for certain hotels.
FLIGHTS TO SYDNEY: When researching flights, I always check Skyscanner first because it pulls in flight options across all airlines and saves you the trouble of searching each airline individually. When booking flights via Skyscanner, I always book directly with the airline rather than one of the third party options.
CAR RENTAL IN SYDNEY: When renting a car on your travels, check DiscoverCars.com for the best deals.
ACTIVITIES IN SYDNEY: If you’re looking to book tours or other organized activities on your travels, GetYourGuide and Viator both offer myriad options for fun things to do all around the world (think: sailing trips, cooking classes, city walking tours, and more).
TRAVEL INSURANCE FOR AUSTRALIA: Unless you can easily afford to pay for huge unexpected medical bills, DON’T TRAVEL WITHOUT TRAVEL INSURANCE! These days, I usually buy the Safety Wing nomad insurance, as it’s very affordable and caters to digital nomads with a monthly subscription option. I’ve also been a longtime World Nomads user, and will still use them if I need more comprehensive insurance (e.g. for adventure activities) or if I am visiting the US (Americans aren’t eligible for Safety Wing’s US add-on option).
ESIM / SIM CARDS FOR AUSTRALIA: When traveling overseas, I always purchase an eSIM from Simify for the country I’m going to, activate it before I depart, and as soon as I arrive I am automatically connected to the local network and can easily find my way to my accommodation. No need to to buy a local SIM card at the airport; eSIMs are fully electronic and don’t require you to take out your old SIM.
LUGGAGE: I am currently a July luggage girl (July Australia / July US). They offer a lifetime warranty, which I have used multiple times now – and every time, they have sent me a brand new replacement suitcase without hassle. I recommend their Checked Plus if traveling with 32kg/70lb of luggage (note: many airlines do not allow bags this heavy!), the Checked if traveling with 23kg/50lb of luggage, and the Carry On Light (Expanded) which is super lightweight and really helps you stay within the 7kg carry-on limit that many Aussie airlines enforce. Click to read my full review of July luggage.

