This post was last updated on 2024 April 22
This article on Tre Cime di Lavaredo: Best Day Hikes in the Dolomites may contain affiliate links. If you click and make a purchase using these links, I will make a small commission at no extra cost to you. Thanks so much for supporting Frugal Frolicker! :)
I don’t know about you, but I never heard much about the Dolomites until I really started getting into traveling and hiking. So if you’re like me, then here’s a quick catch-me-up:
The Dolomites are often referred to as the Italian Alps or the “pale mountains”. Situated in the northeast corner of Italy, they’re part of the Southern Limestone Alps which extend across Switzerland, Austria, and Slovenia as well. And, um, they’re reeeeeeeally pretty.
Frolicking around the Italian Alps was at the top of my to-do list on my recent Euro trip, but man did I get seriously overwhelmed while researching the best hikes in the Dolomites. Do you even know how many huts and hikes abound in this region? (I don’t, but it’s a LOT)
In an ideal world, I’d have been traveling with a gung-ho crew of outdoor adventurers keen to do nothing but eat, sleep, climb, and hike around these mountains for about a week. However, the reality was that I was joining my Danish friends for a few days of their own Euro road trip in early August – and neither of them had ever owned proper hiking shoes before I planted this idea in their heads earlier in the year, so um… I had to adjust my master plan juuuust a tad.
We ended up doing what I honestly think is THE BEST way to get a taste of the Dolomites for a day: the Tre Cime di Lavaredo hike from Rifugio Auronzo.
Much like the Hooker Valley hike in New Zealand, the Tre Cime di Lavaredo hike is the best value hike in the Dolomites. It’s easy, only takes a few hours, and the scenery is absolutely stunning.
Even though we didn’t go hard, I still feel like we saw the best of the Dolomites with this hike. So if you only have a day in the area, or if you’re not a super fit or experienced hiker, trust me – this is what you want to do.
Read on for more deets and photos of the Tre Cime di Lavaredo hike in Italy!
Planning a trip to the Dolomites?
These are the sites I use and recommend for booking travel:
Hotels in the Dolomites: Booking.com
Flights to Italy: Skyscanner
Car rental in Italy: DiscoverCars.com
Train tickets in Italy: Rail Europe
Activities in the Dolomites: GetYourGuide or Viator
Travel insurance for Italy: Safety Wing or World Nomads
eSIMs & SIM cards for Italy: Sims Direct
The Tre Cime di Lavaredo Hike
The Tre Cime di Lavaredo hike can be done in half a day, which makes it a pretty sweet day trip from wherever you happen to be basing yourself in the Dolomites region. You can drive into the Parco Naturale Tre Cime (admission €25), leave your car parked near Rifugio Auronzo, and hike the loop without having to stay overnight in the park. However, the parking lot fills up quickly in summer months, so definitely aim to arrive as early as you can manage.
Better yet, consider staying at Auronzo or one of the other huts along the trail (see below for more info on this).
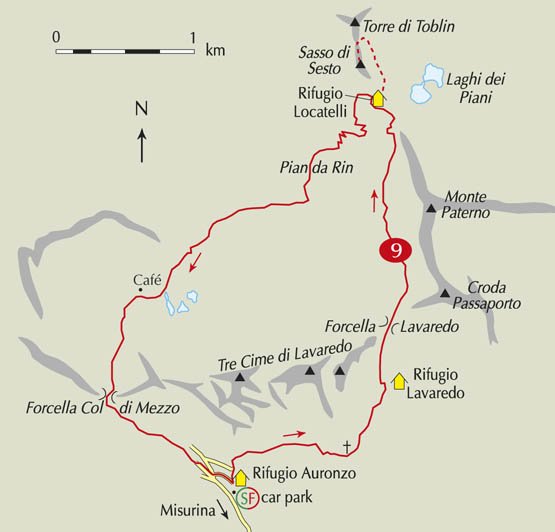
Map credit: Cicerone
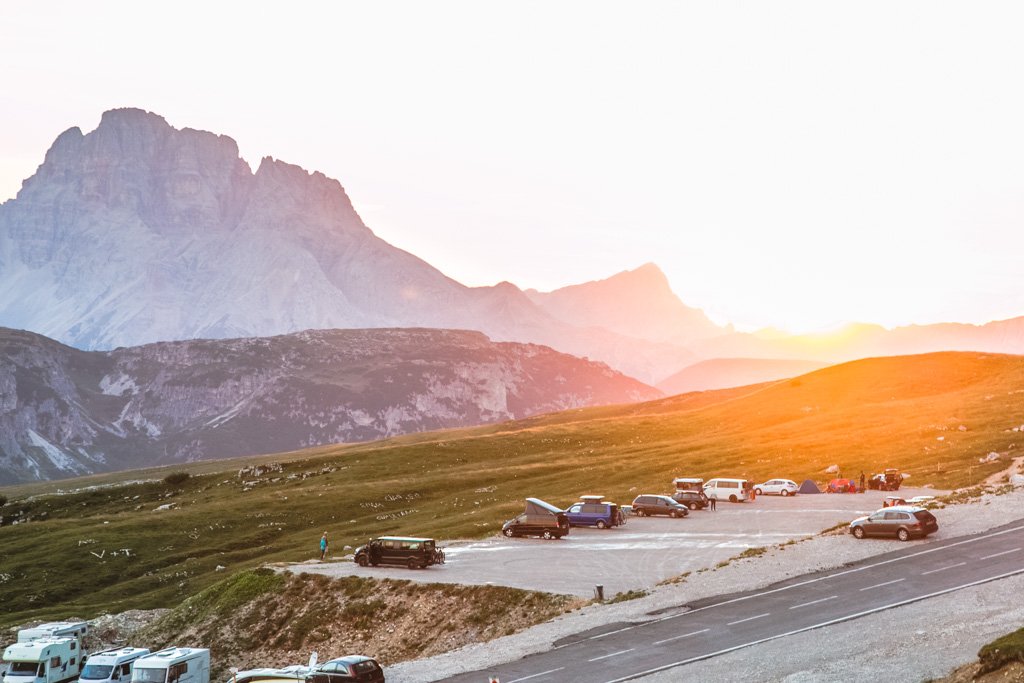
Parking at Rifugio Auronzo.
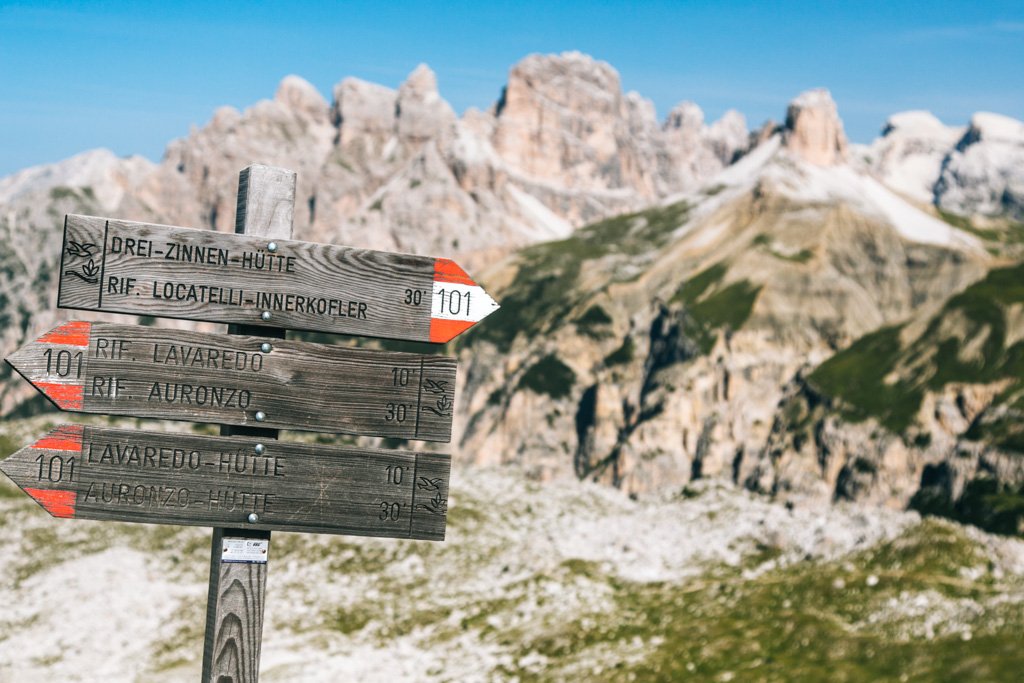
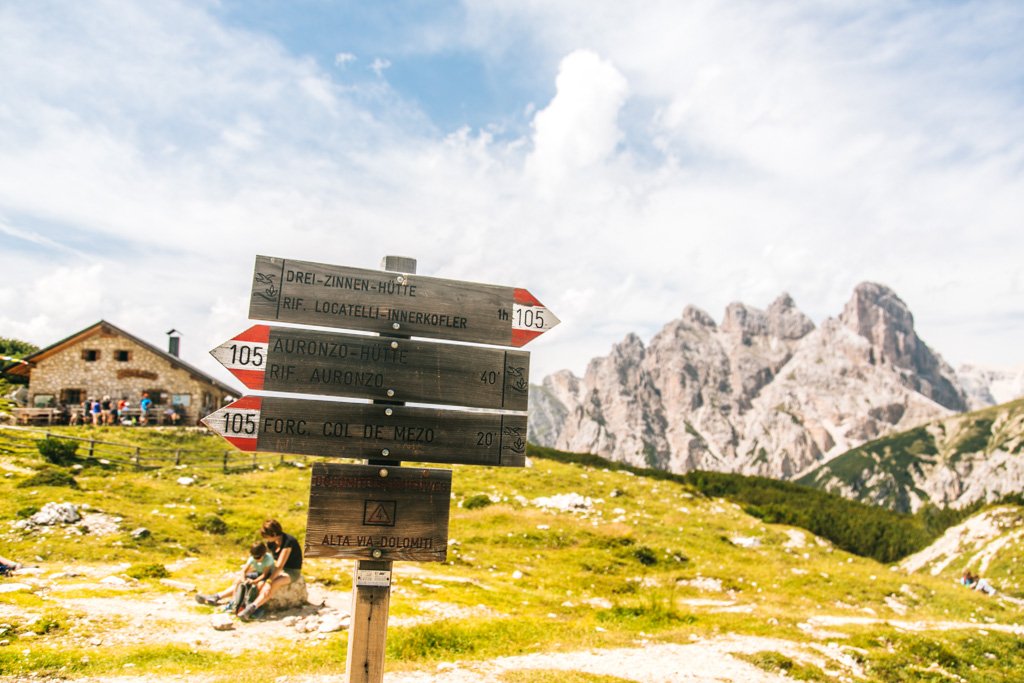
The trail begins at Rifugio Auronzo and starts out nice and easy (aka FLAT) with a 20 minute walk to Rifugio Lavaredo. From here, you can either follow the main/smaller loop (the 101) up toward Rifugio Locatelli and the three peaks, or continue eastward on the 104 if you fancy hiking a larger loop. We referenced this map while at Rifugio Auronzo, which displays the two loops in the blue box. If you want to plan ahead or source other hikes in the area, I recommend ordering a copy of the book Shorter Walks in the Dolomites.
We didn’t do the 104 trail, but were told it would add a couple of hours onto the hike and pass through some beautiful farmland on this extended path to Rifugio Locatelli. I’m sure it would have been much less crowded than the 101 trail, too.
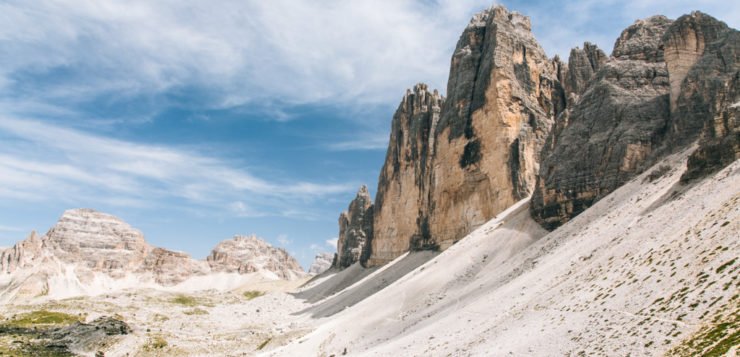
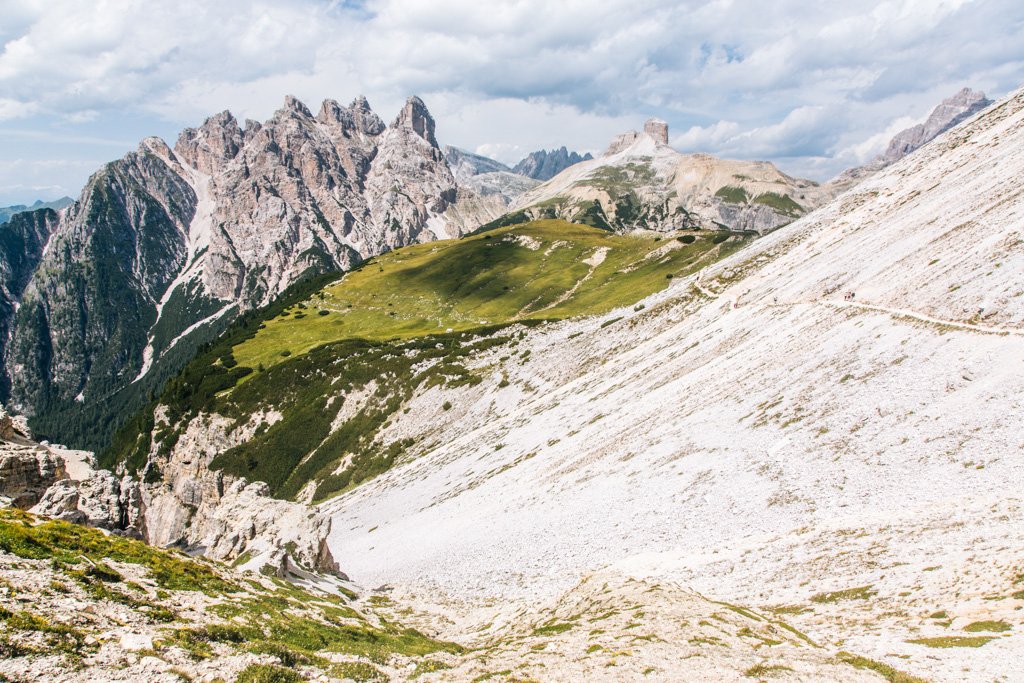
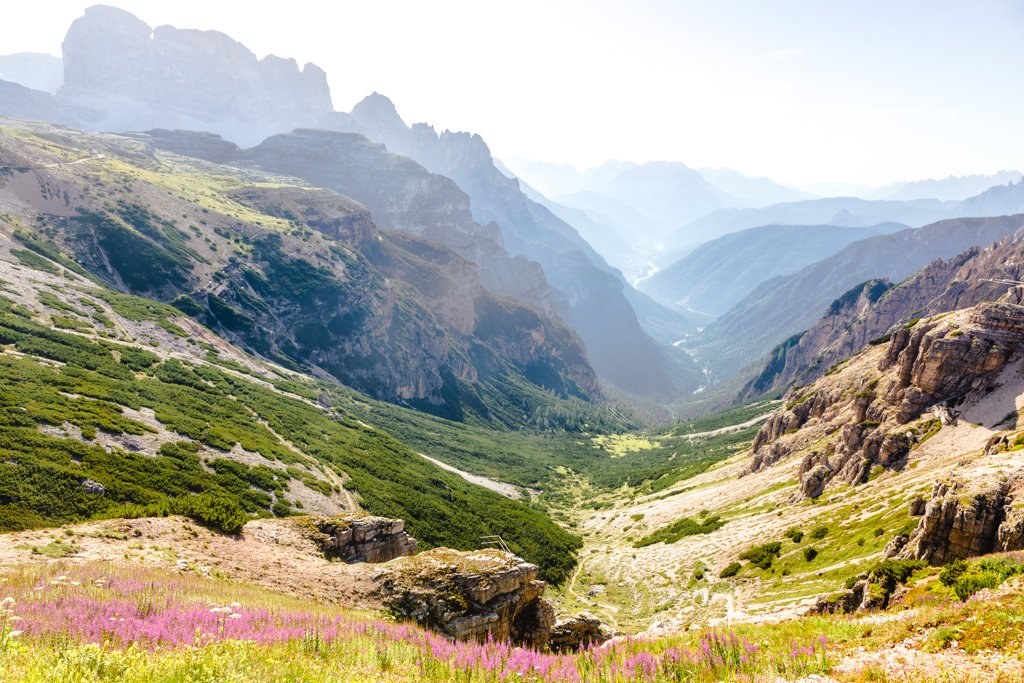
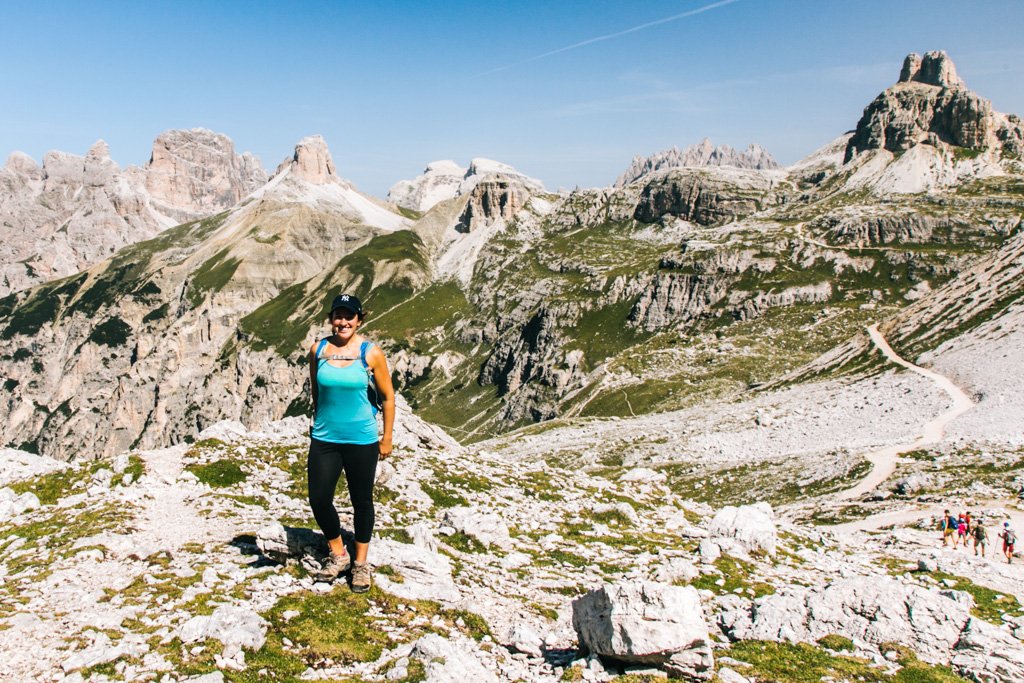
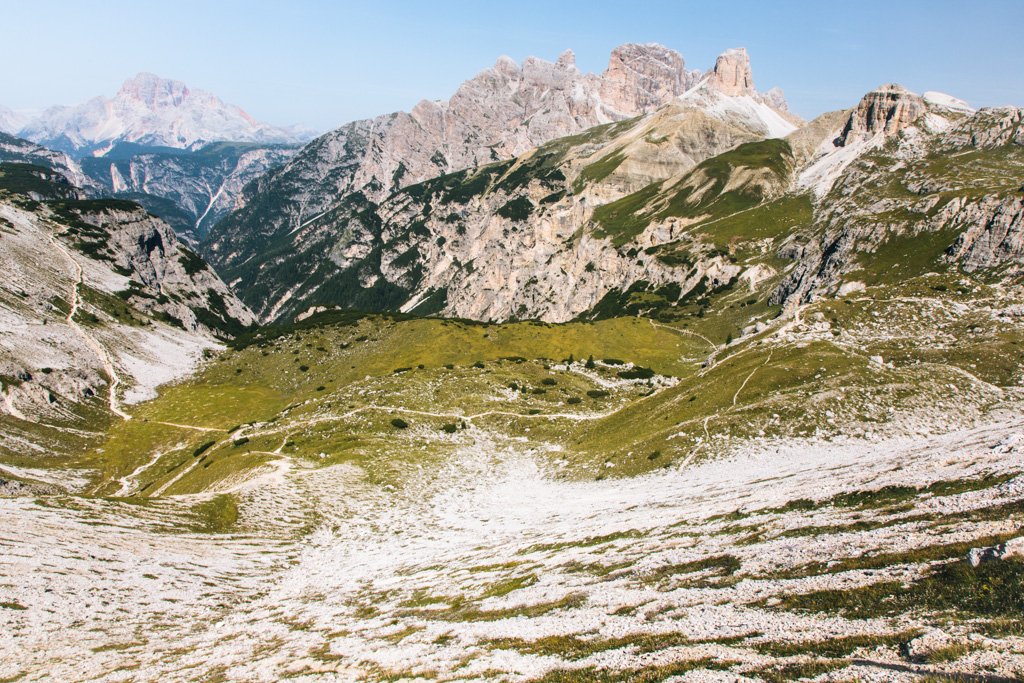
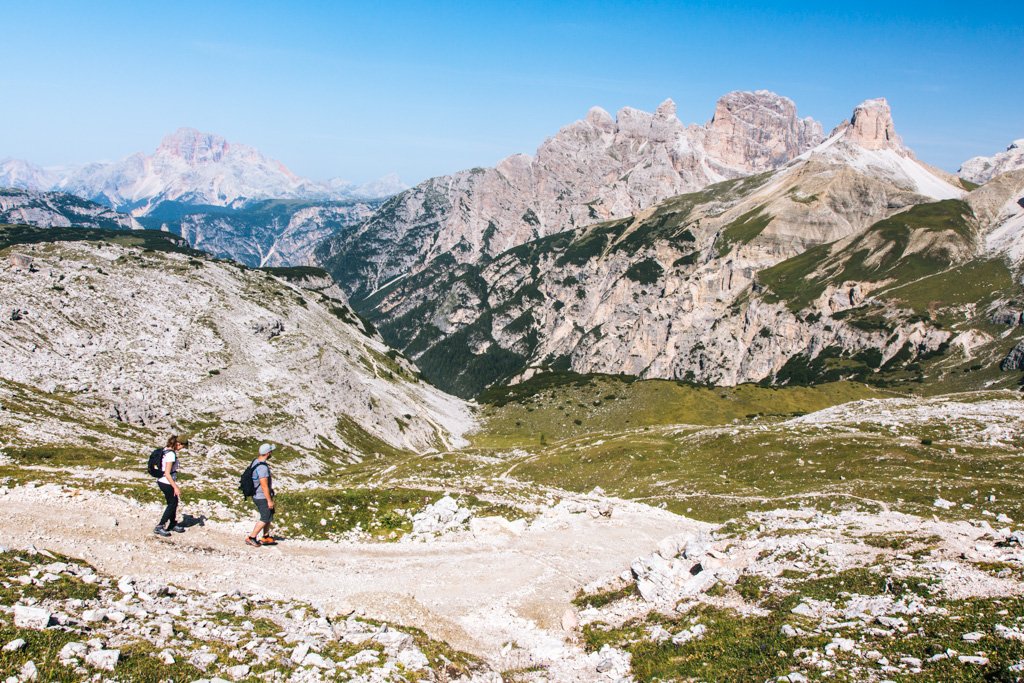
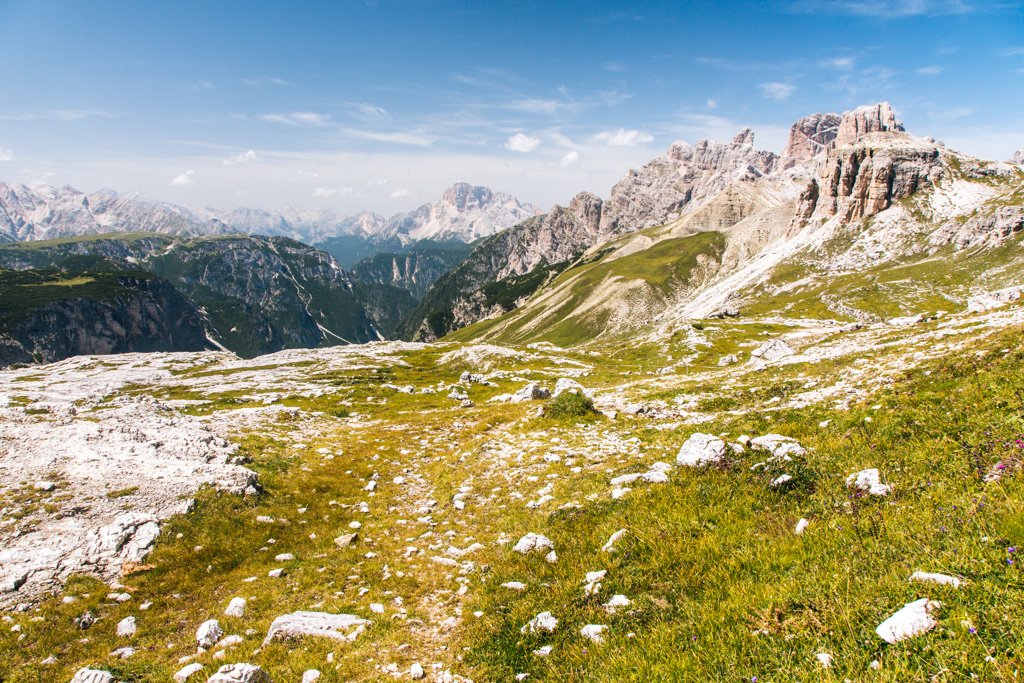
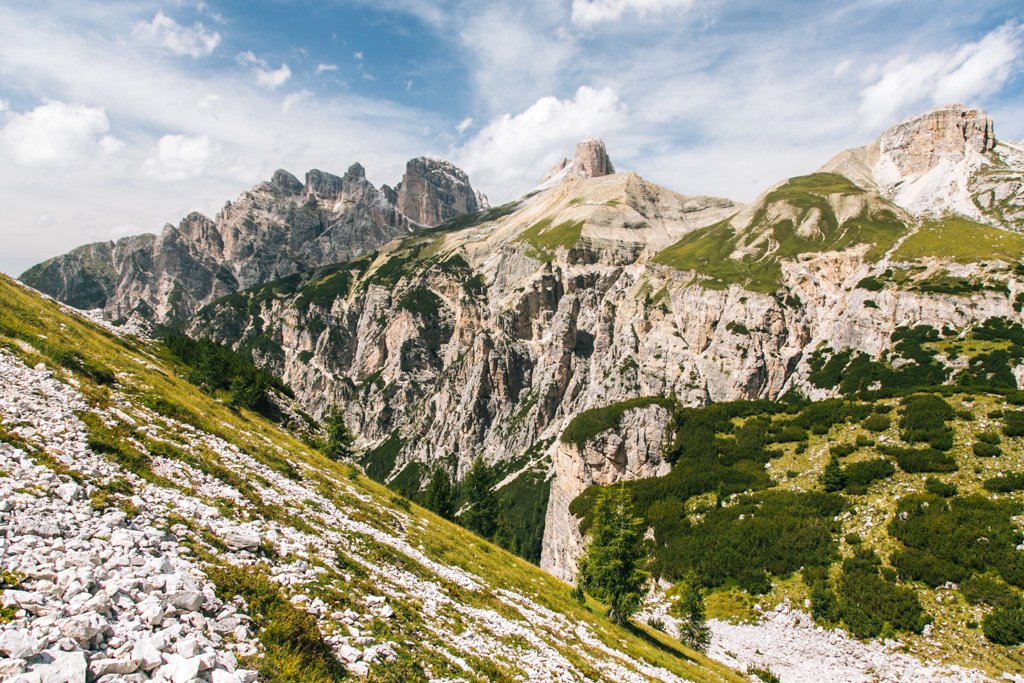
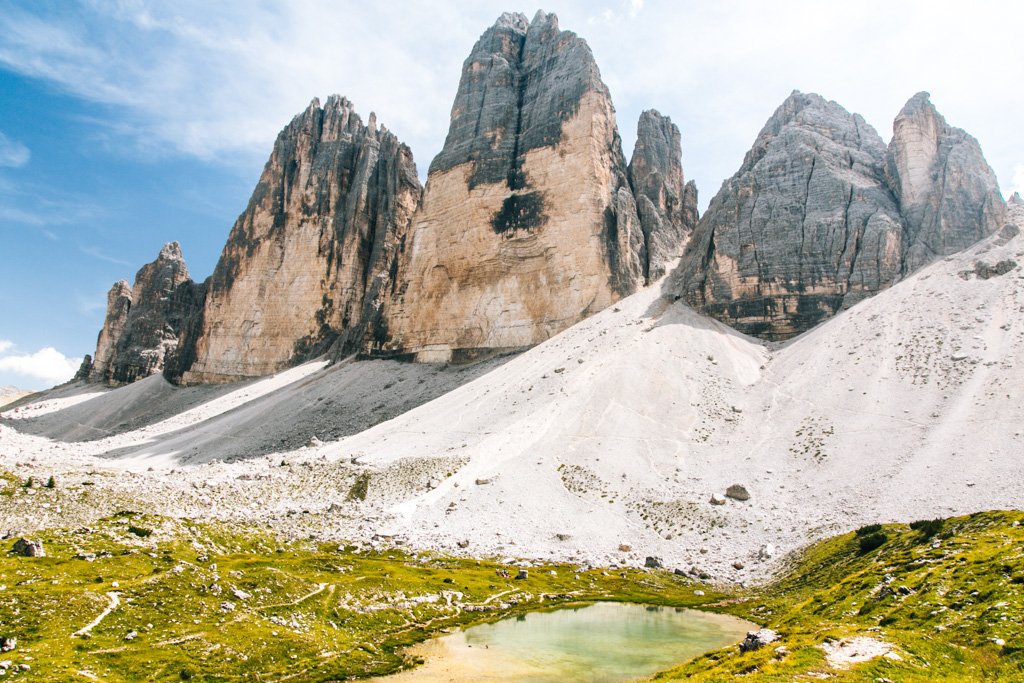
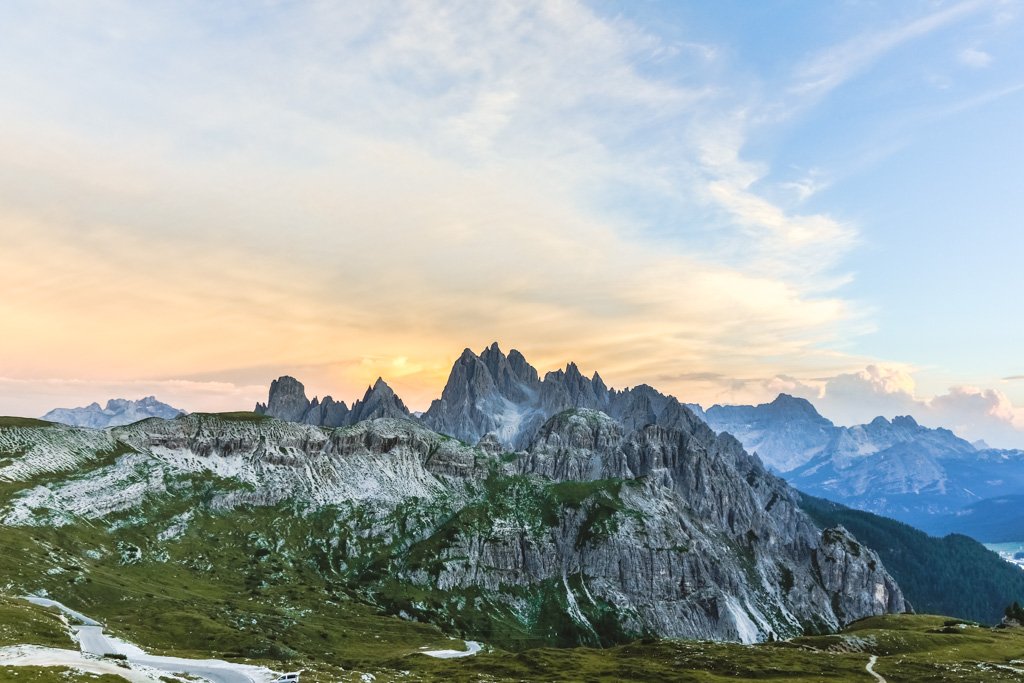
Instead, we followed the masses up the 101 and around to the other side of the Tre Cime. The views of the surrounding mountains and the valley along this segment were absolutely stunning and made me happy with our decision to take the smaller loop option.
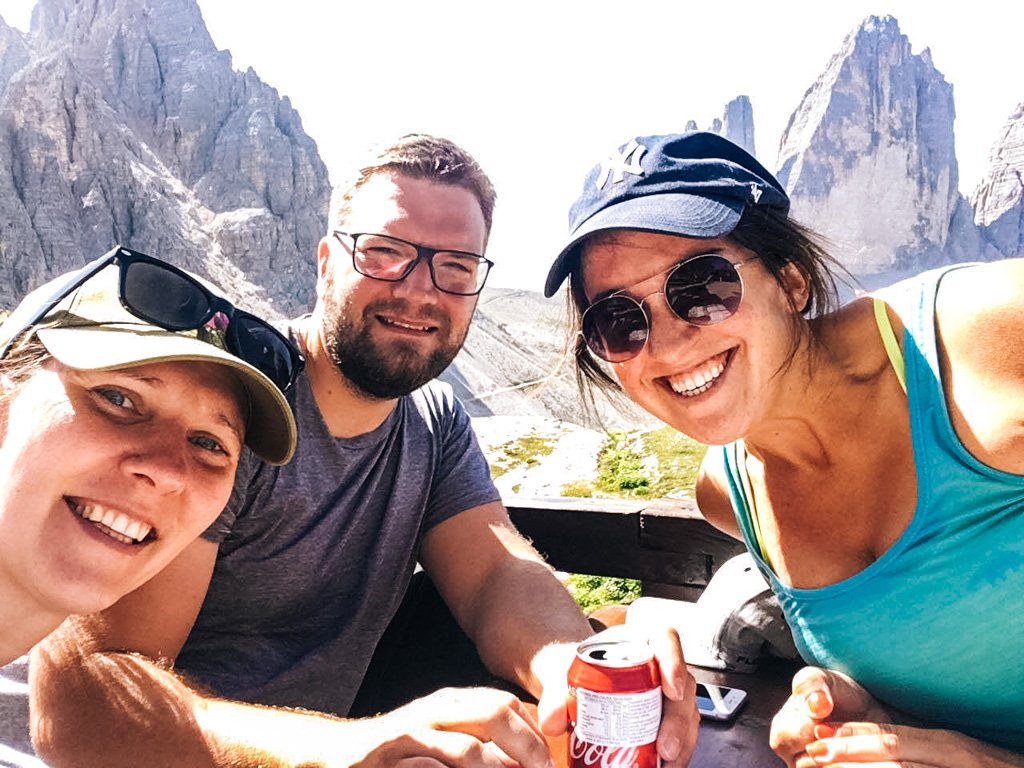
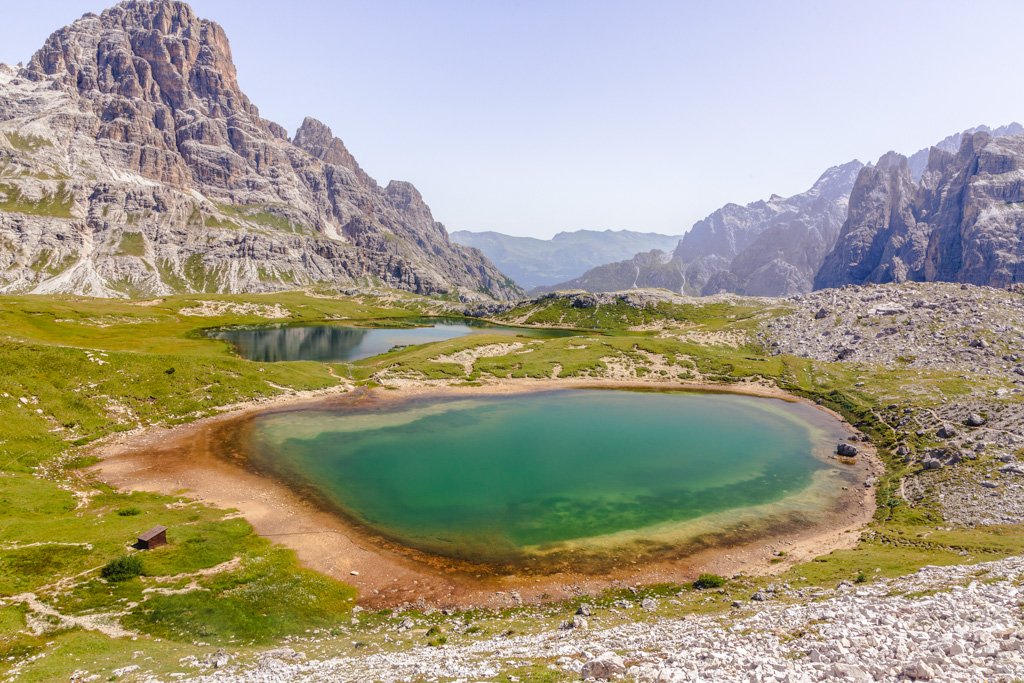
We made our way up to Rifugio Locatelli and spent probably half of our time around this area, soaking up the sun on the hut patio and doing some frolicking around some lakes on the other side of the hut, where the 104 reconnects with the 101. I HIGHLY recommend wandering around here, as it’s gorgeous and has fewer people around. I could have easily spent the whole afternoon sunbathing on the hill here.
Lakes behind Rifugio Locatelli.
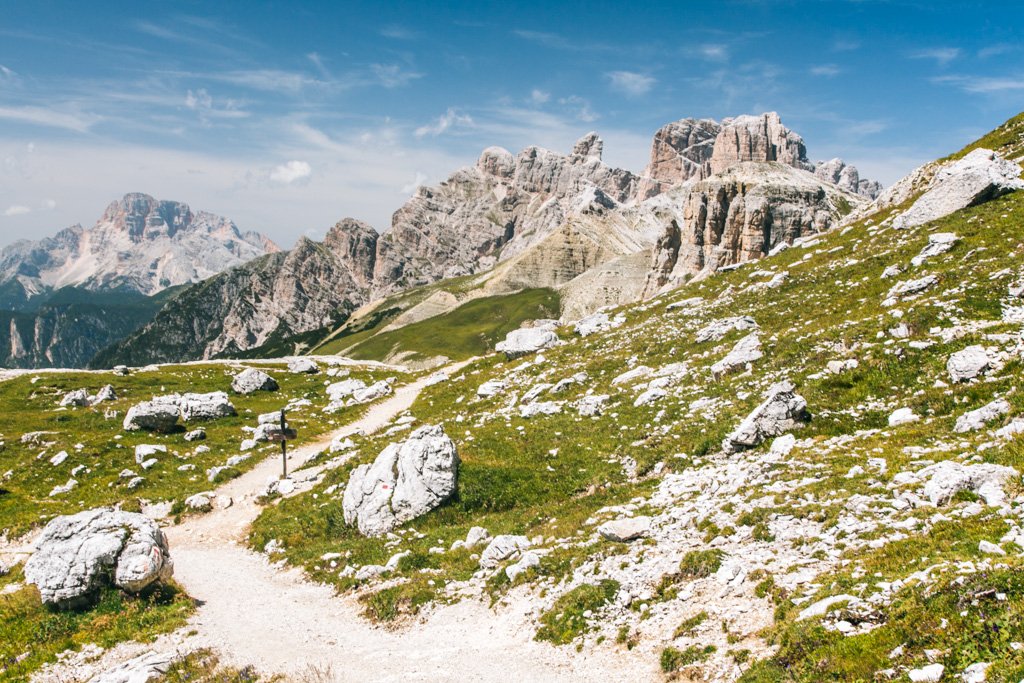
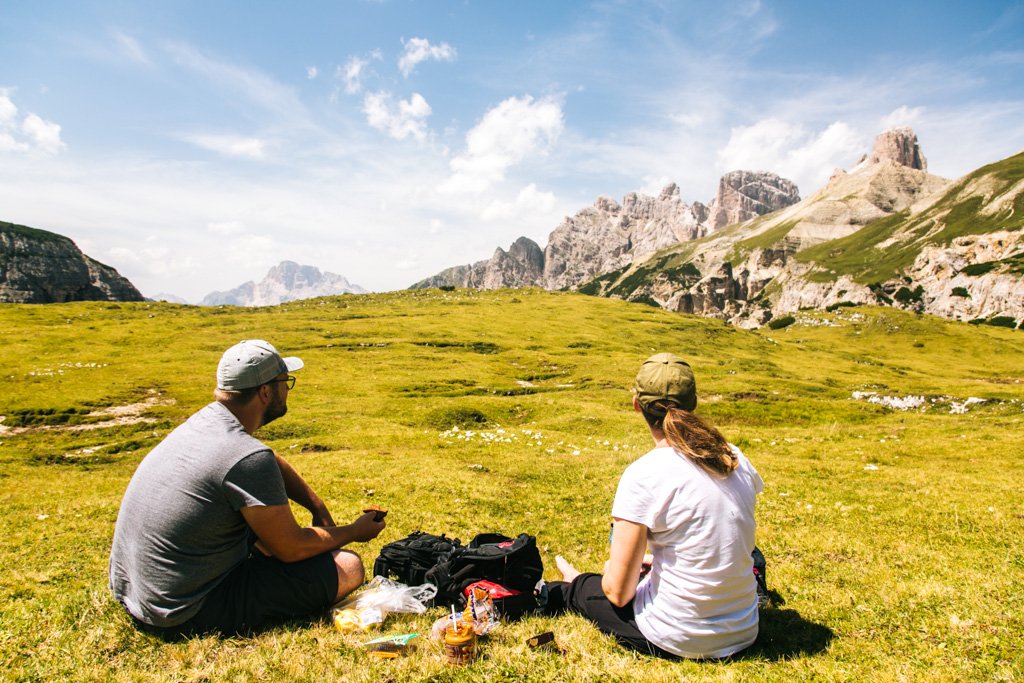
Carrying on with the small loop hike, the 101 basically turns into the 105 as it winds back toward Rifugio Auronzo. We did a bit of off-roading and rock scrambled our way down to the valley floor to enjoy a peaceful picnic lunch. From here, it was super easy to rejoin the trail without having to rock scramble again.
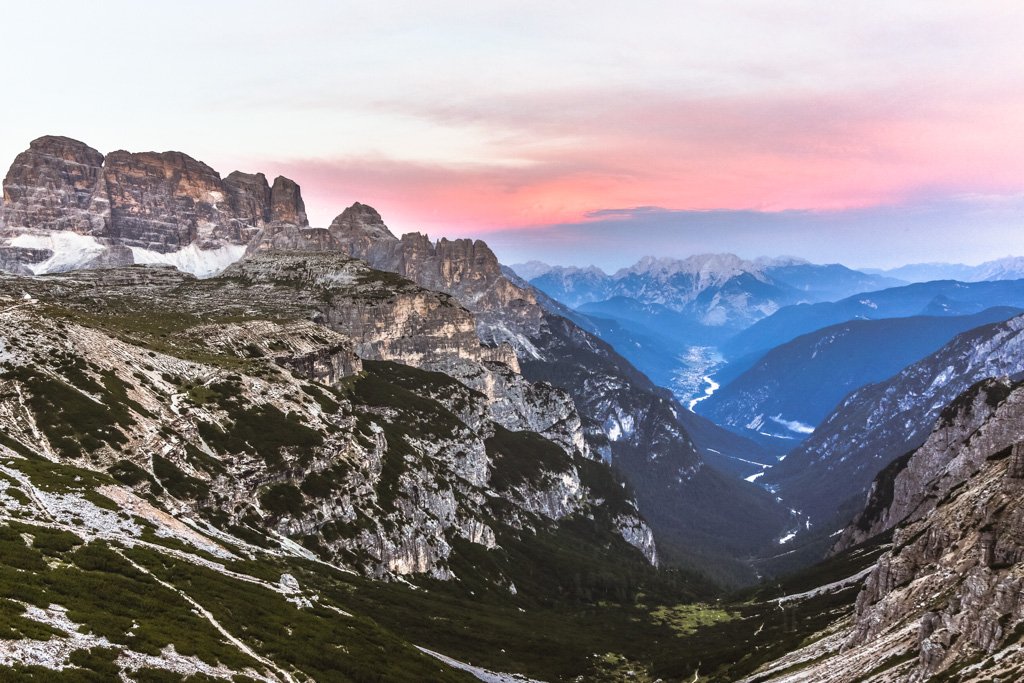
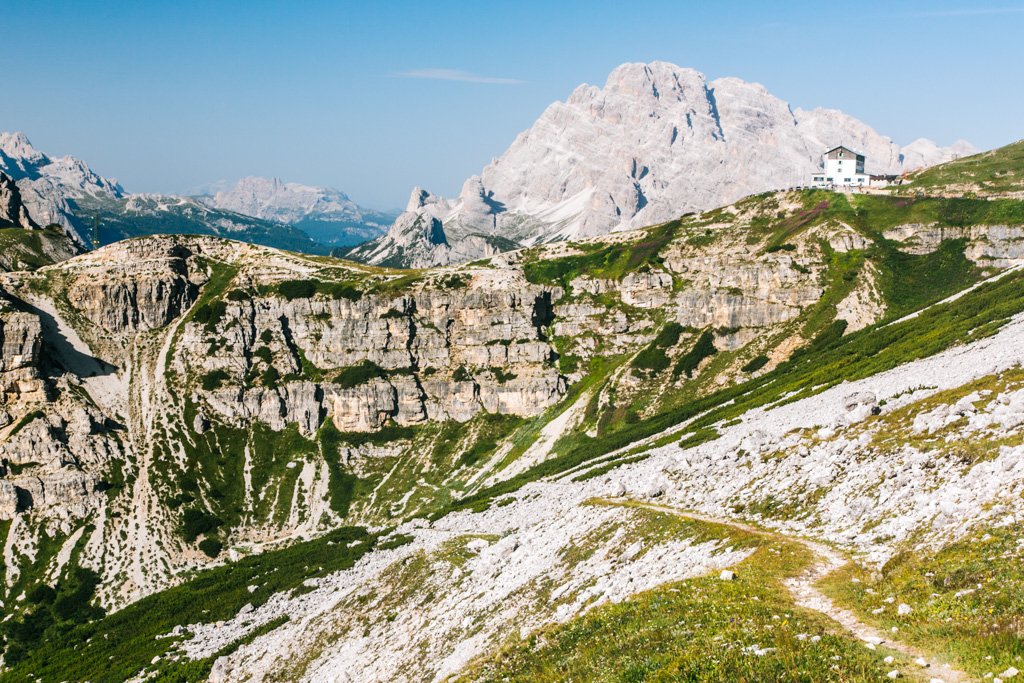
The 105 climbs out of the valley and around the Tre Cime to one more hut, an ideal pit stop if you’re in need of a snack, drink, or break. I especially loved soaking up the views back toward Locatelli and glimpsing the alpine skyline from this point.
From here, the trail makes its final turn up toward Auronzo and deposits you back in the parking lot.
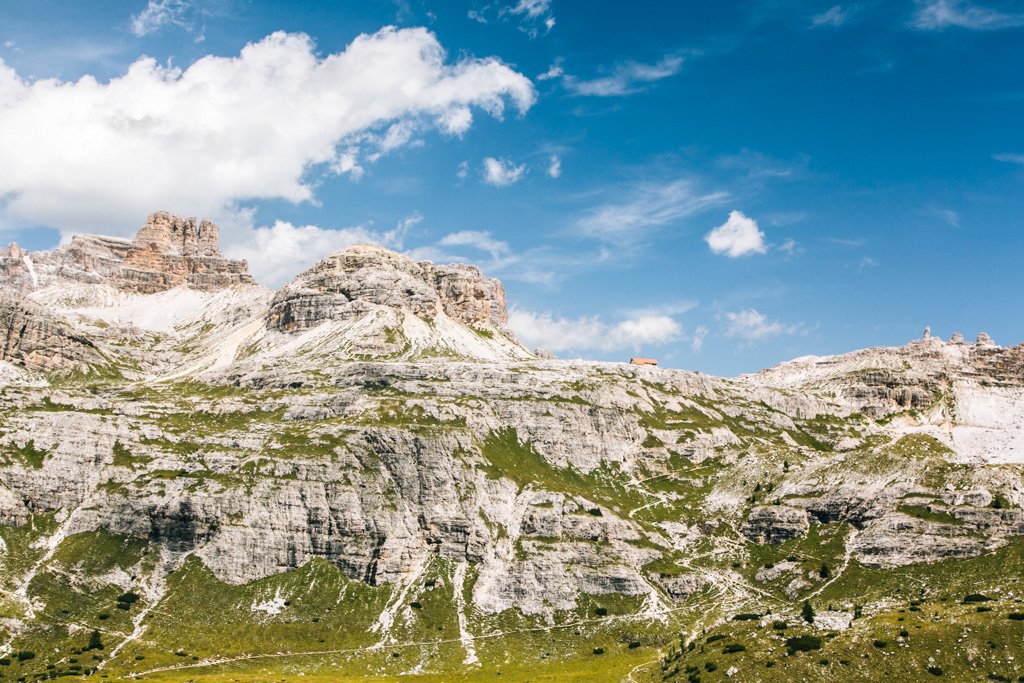
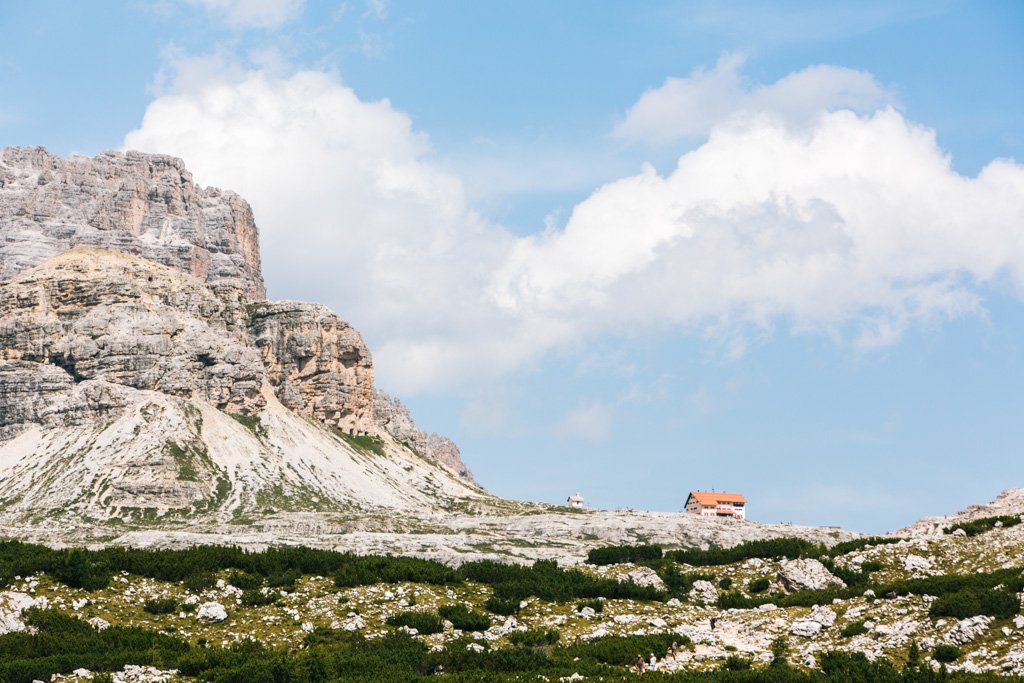
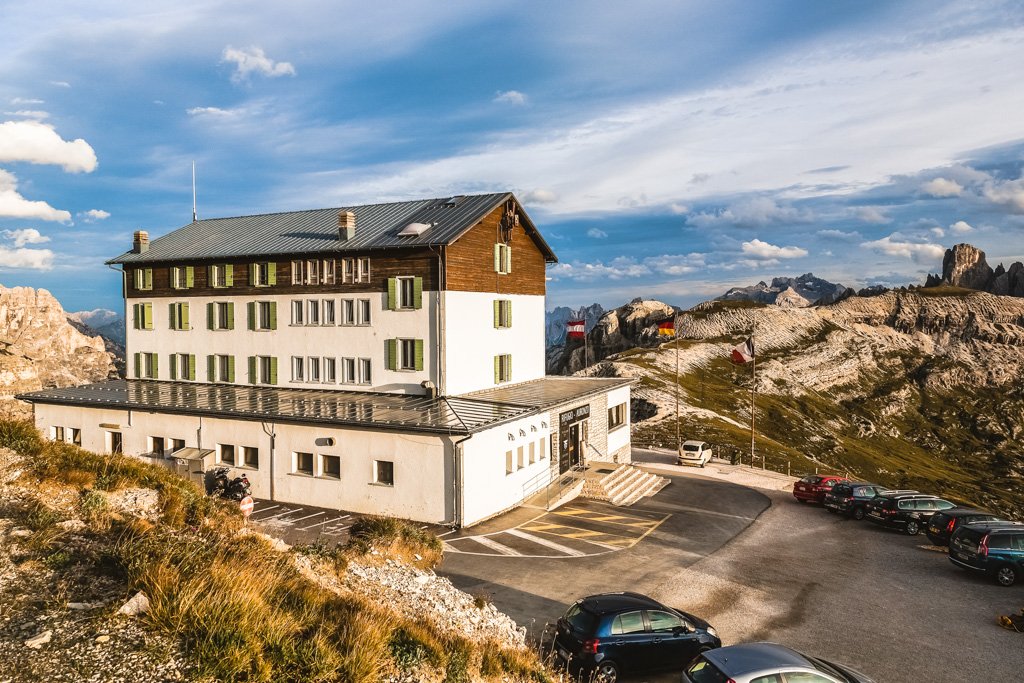
Rifugio Auronzo in the distance.
Planning a trip to the Dolomites?
These are the sites I use and recommend for booking travel:
Hotels in the Dolomites: Booking.com
Flights to Italy: Skyscanner
Car rental in Italy: DiscoverCars.com
Train tickets in Italy: Rail Europe
Activities in the Dolomites: GetYourGuide or Viator
Travel insurance for Italy: Safety Wing or World Nomads
eSIMs & SIM cards for Italy: Sims Direct
Where To Stay in the Dolomites
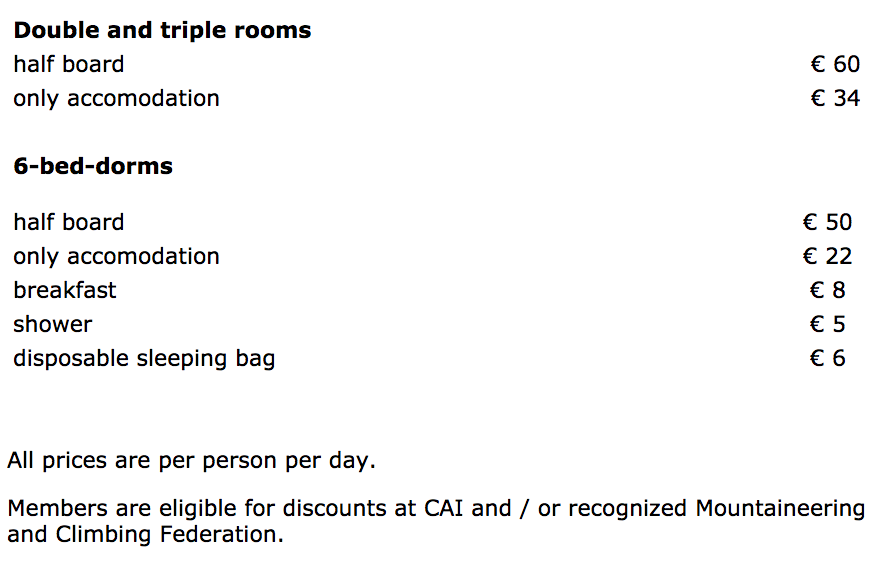
You could drive into the national park in the morning, do the hike, and drive out in the afternoon; however, I’d recommend spending the night at Rifugio Auronzo instead and starting the hike early the next morning. Not only is this more convenient (i.e. you can basically roll out of bed and start hiking), but you can get an earlier start and avoid the crowds. Here is their 2017 price list:
My friends and I took a triple room with half board (breakfast + dinner). In retrospect I wish we’d just gone for accommodation only, brought our own breakfast food, and paid a la carte prices for dinner there. Dinner offered a super hearty spread of pasta, meat, and potatoes which I really enjoyed, while breakfast was pretty much a joke (think plain cereal/muesli, yogurt, bread rolls, and packaged croissants). Another plus to having dinner at the hut: you can sample some of the local Tyrolean specialties like casunziei ampezzani (pasta filled with beetroot paste, topped with a buttery poppy seed sauce) and apfelstrudel (apple strudel).
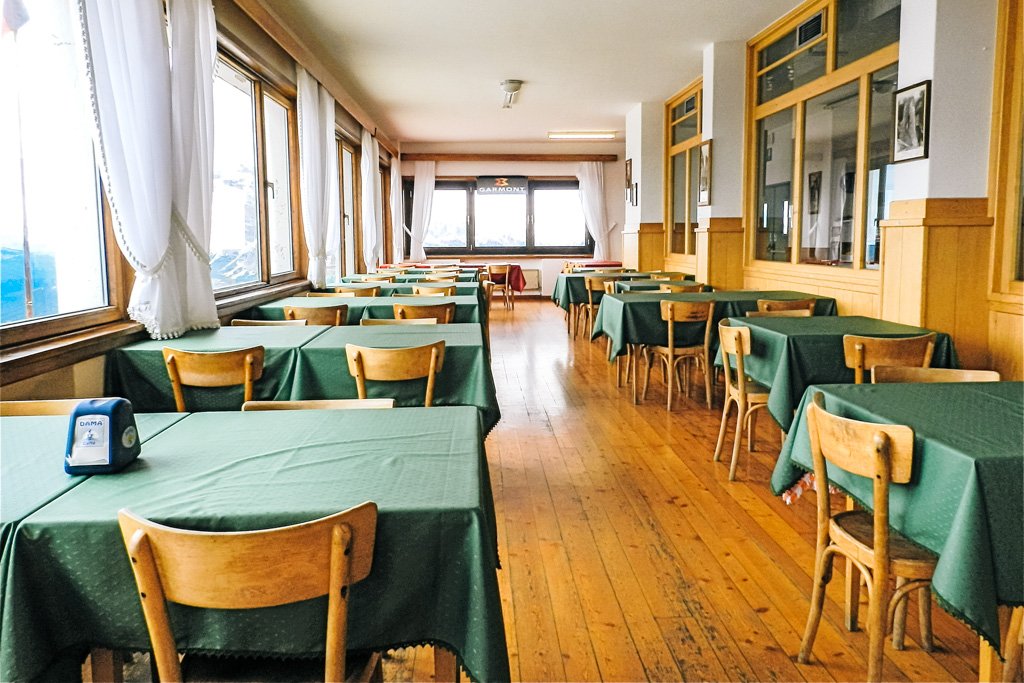
I adored the feel of the hut: rustic and cozy, yet very clean and well-kept. Most of guests here seemed to be avid hikers and/or climbers with loads of gear on them, so we did feel slightly out of place for *only* doing this short hike. But man, is it hard to beat the glorious mountain views from the dining room!
Exact view of the Dolomites from inside Rifugio Auronzo.
We clued into just how rustic this place was when confronted with a squat toilet on the ground floor (yikes!), but thankfully the bathrooms upstairs contained normal flush toilets. Shower coins are available for €5 apiece, good for about 10 minutes of hot running water I’d say. Lights go out around 10pm each night, which I suppose is fine if you’re tuckered out from a day of outdoorsy endeavors and/or planning to rise early the next morning.
My one major gripe aside from the lackluster breakfast spread was the bed situation. The mattresses at this hut (at least in our room) were horrendously saggy! If you like a softer mattress it might not bother you, but I prefer a firm bed so the extra give on this one made it very uncomfortable for me.
Photo credit: Peter Stevens via Flickr Creative Commons.
Photo credit: Brigitte Djajasasmita via Flickr Creative Commons.
Alternatively, there are a few other huts along the Tre Cime di Lavaredo trail where you can stay overnight, including Rifugio Lavaredo and Rifugio Locatelli. However, you’d need to park at Rifugio Auronzo and hike to them with all your gear on you.
Rifugio Lavaredo.
Quick Facts on the Tre Cime di Lavaredo
Access to the Tre Cime is via a turnoff just north of Lake Misurina. Admission to Parco Naturale Tre Cime is €25 for the day, which you pay just after you turn off. Follow the winding road for 7km up to Rifugio Auronzo, where you can park and start the walk.
The Tre Cime di Lavaredo hike starts/ends at the Rifugio Auronzo parking lot. It’s an easy 3-4 hour hike following the 101/105 trails, with a few huts along the way where you can stop for food and drink. For a longer hike, you can opt to take the 104 trail at Rifugio Lavaredo which rejoins the 101 trail at Rifugio Locatelli. This will add about 2 hours of extremely scenic and not-so-crowded hiking to your excursion.
If hiking during summer, try to get an early start to avoid the crowds and be mindful of quick changes in the weather. It’s not uncommon for it to change from sunny to stormy in a span of minutes in this area during summer, so be sure to bring waterproof layers.
For more details on the Tre Cime di Lavaredo and other Dolomites day hikes in the area, grab a copy of Shorter Walks in the Dolomites or refer to this pdf map.
