This post was last updated on 2025 October 27
This article on A Guide To Hiking The Royal National Park Coastal Walk may contain affiliate links. If you click and make a purchase using these links, I will make a small commission at no extra cost to you. Thanks so much for supporting Frugal Frolicker! :)
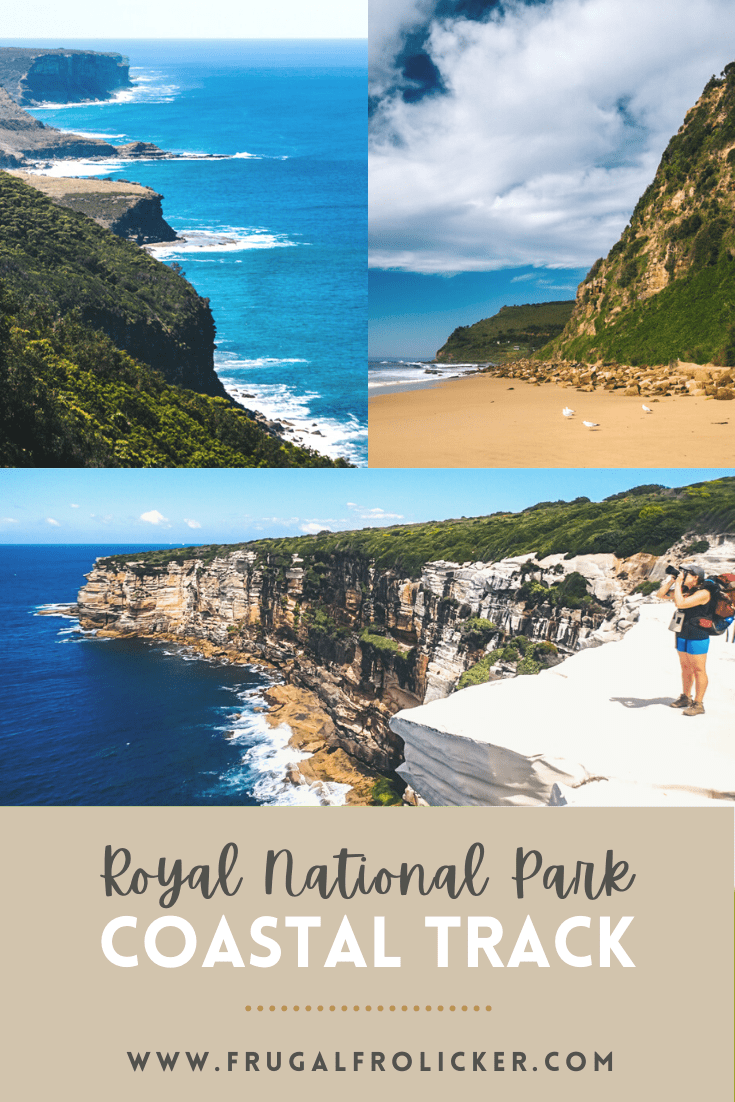
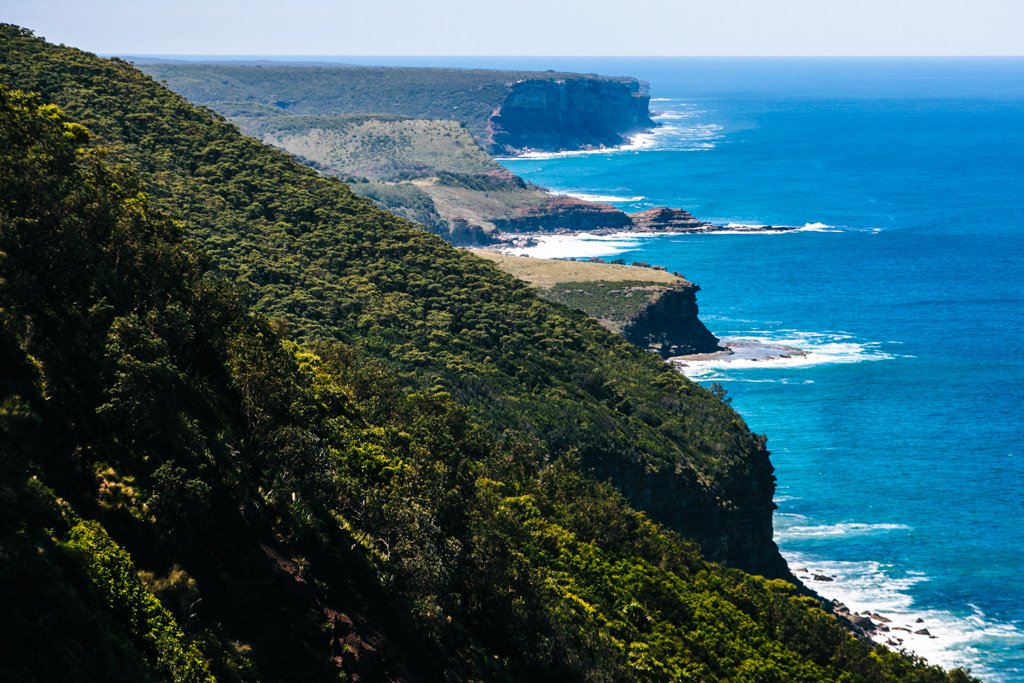
The Royal National Park Coastal Walk is one of my favorite hikes of all time. Close to Sydney and accessible by public transport, it’s an easy Sydney weekend getaway for the frugal traveler. Better yet: the trail’s not crowded, and treats you to some stunning coastal vistas and near-empty beaches all along the way. You can trek the entire 27km in one (very long) day, but most hikers take it on over the course of two days and camp overnight on the track.
This hike is not very difficult: there are some uphill climbs to get around the headlands, but they’re short and not too painful. For the most part, the trail is lined with flat sandstone rock and you’ll be hiking out in the open sun.
Think you’re ready? Here’s everything you need to know about hiking the Coast Track, the best of the Royal National Park walks —
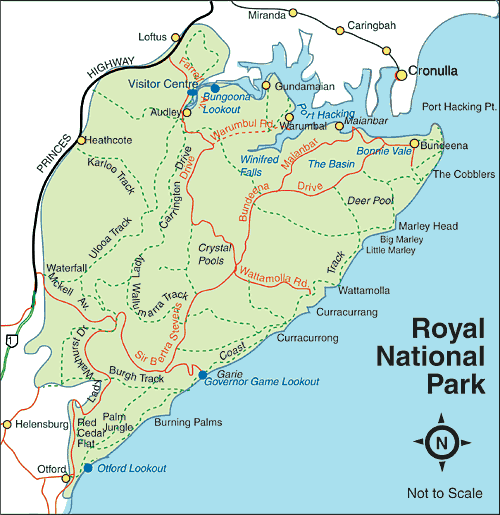
Source: Workout Australia
Planning a trip to Sydney?
These are the sites I use and recommend for booking travel:
ACCOMMODATION IN SYDNEY: I always search on Booking.com for accommodation, as their Genius loyalty program offers 10-20% discounts and free breakfast/upgrades for certain hotels.
FLIGHTS TO SYDNEY: When researching flights, I always check Skyscanner first because it pulls in flight options across all airlines and saves you the trouble of searching each airline individually. When booking flights via Skyscanner, I always book directly with the airline rather than one of the third party options.
CAR RENTAL IN SYDNEY: When renting a car on your travels, check DiscoverCars.com for the best deals.
ACTIVITIES IN SYDNEY: If you’re looking to book tours or other organized activities on your travels, GetYourGuide and Viator both offer myriad options for fun things to do all around the world (think: sailing trips, cooking classes, city walking tours, and more).
TRAVEL INSURANCE FOR AUSTRALIA: Unless you can easily afford to pay for huge unexpected medical bills, DON’T TRAVEL WITHOUT TRAVEL INSURANCE! These days, I usually buy the Safety Wing nomad insurance, as it’s very affordable and caters to digital nomads with a monthly subscription option. I’ve also been a longtime World Nomads user, and will still use them if I need more comprehensive insurance (e.g. for adventure activities) or if I am visiting the US (Americans aren’t eligible for Safety Wing’s US add-on option).
ESIM / SIM CARDS FOR AUSTRALIA: When traveling overseas, I always purchase an eSIM from Simify for the country I’m going to, activate it before I depart, and as soon as I arrive I am automatically connected to the local network and can easily find my way to my accommodation. No need to to buy a local SIM card at the airport; eSIMs are fully electronic and don’t require you to take out your old SIM.
LUGGAGE: I am currently a July luggage girl (July Australia / July US). They offer a lifetime warranty, which I have used multiple times now – and every time, they have sent me a brand new replacement suitcase without hassle. I recommend their Checked Plus if traveling with 32kg/70lb of luggage (note: many airlines do not allow bags this heavy!), the Checked if traveling with 23kg/50lb of luggage, and the Carry On Light (Expanded) which is super lightweight and really helps you stay within the 7kg carry-on limit that many Aussie airlines enforce. Click to read my full review of July luggage.
How To Prepare For The Royal National Park Coastal Walk
What to pack
Thankfully you won’t need to carry too much for a 2 day hike, but here are the things I consider essential to pack for the Royal National Park coastal walk:
- Enough water to last through Day 1 (you can refill at creeks along the way) in a Camelbak
- Food for 1 breakfast, 2 lunches, 1 dinner
- Hat
- Sunscreen
- Tent
- Headlamp
- Sleeping bag
- Hiking boots
- Sweater/jumper and light pants to wear at night
- Bathing suit & towel (if you plan on swimming)
Booking a campsite
Officially, the only legal place for camping on the Royal National Park coastal walk is at North Era campground. It’s a good stopping point on the first day anyway, plus it’s located right by North Era Beach – which just may be the most beautiful beach in Royal National Park. You need to book a campsite online in advance: for AU$12 (3 people max per site), you can pitch a tent on a grassy knoll and have access to an outhouse. No campfires allowed, no drinking water provided.
If you don’t like the idea of prebooking a campsite, there are definitely a few spots along the trail where people have (illegally) camped before. Of course you run the risk of getting caught by a park ranger, but that’s up to you. Just make sure you leave no trace no matter where you camp!
Getting To Royal National Park
From Sydney, take a T4 Eastern Suburbs & Illawarra Line train to Cronulla (1 hour, AU$4.52). From Cronulla station, it’s about a 5 minute walk to the ferry landing, where you’ll catch the hourly ferry to Bundeena (30 minutes, AU$6.40).
Hiking the Royal National Park Coastal Walk
Day 1: Bundeena to Garie Beach
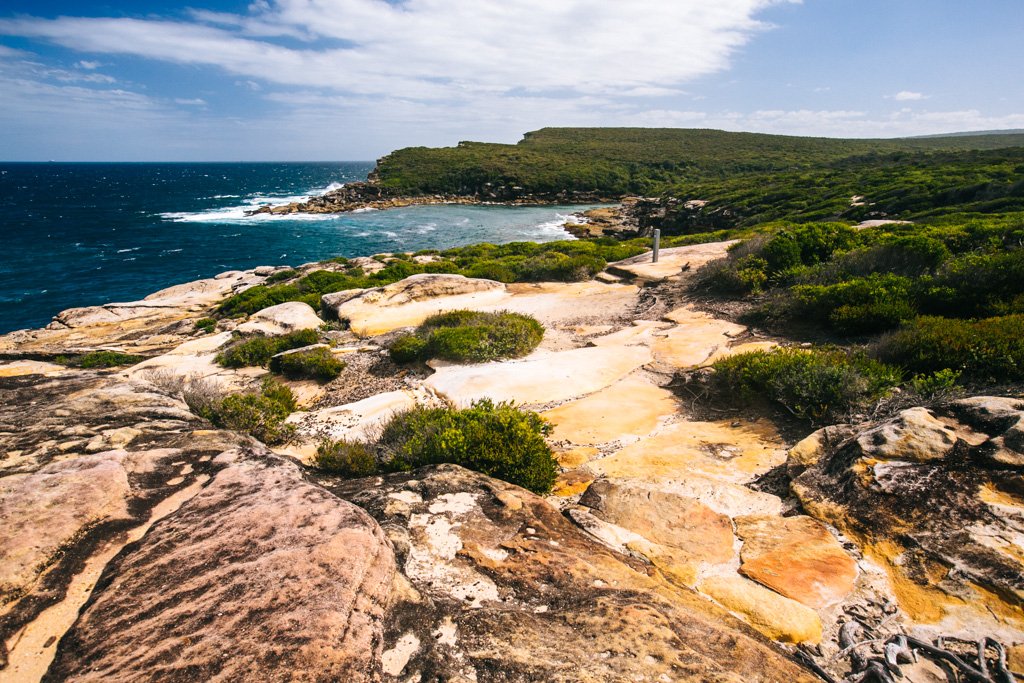
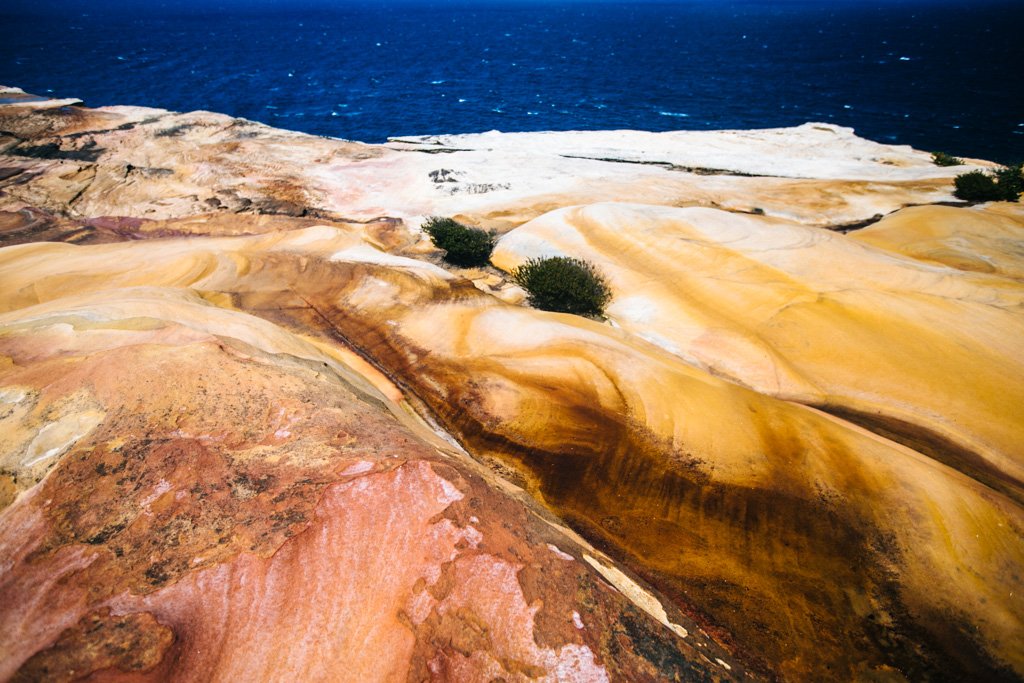
Day 1 of the Royal National Park coastal walk is largely in open air, and you’ll be walking across exposed sandstone cliffs. Remember when I urged you to pack sunscreen and a hat? Yeah, you’re going to want both of these things on the track, especially on the first day.
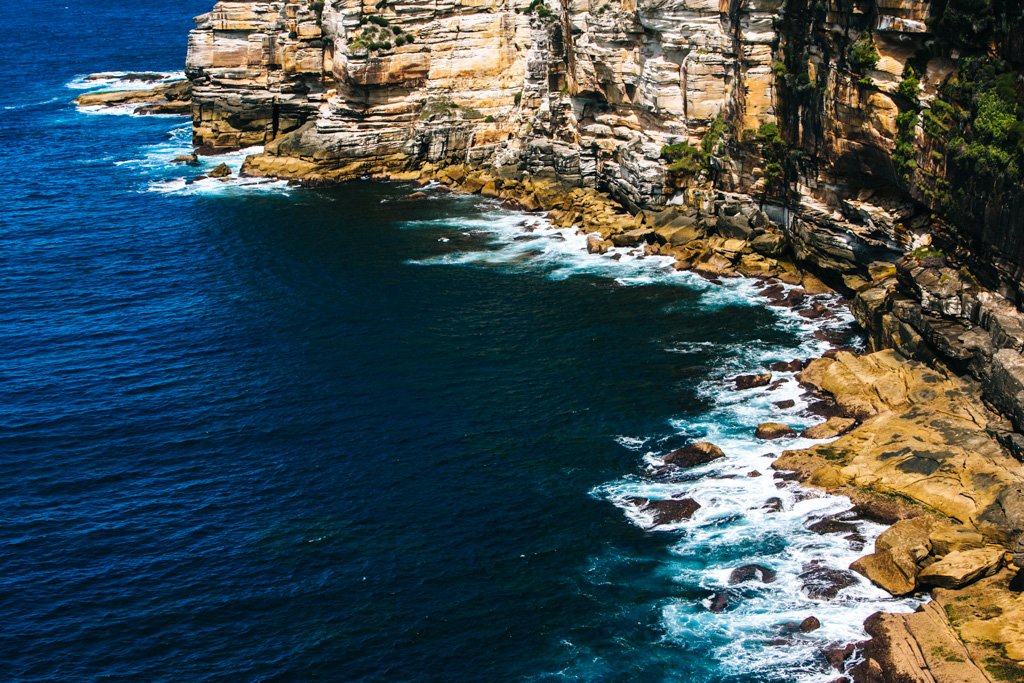
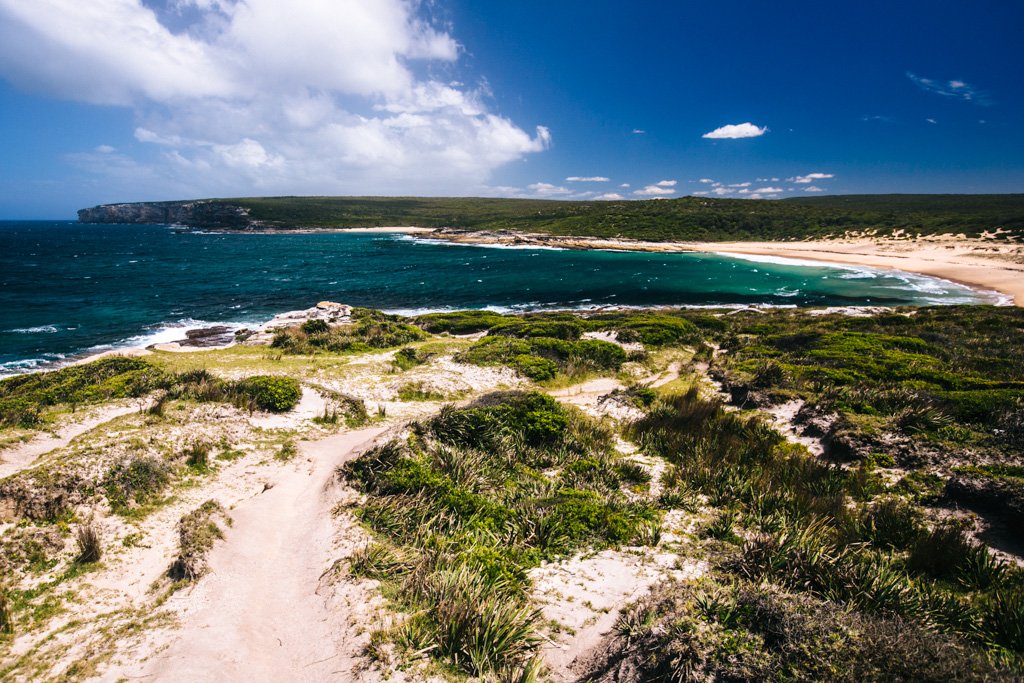
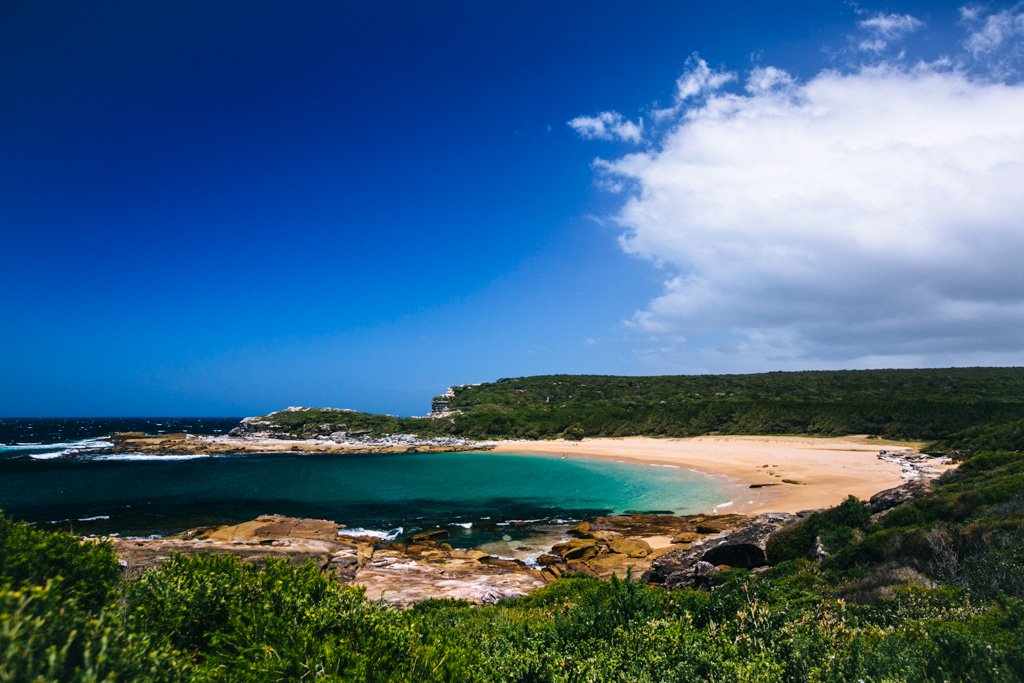
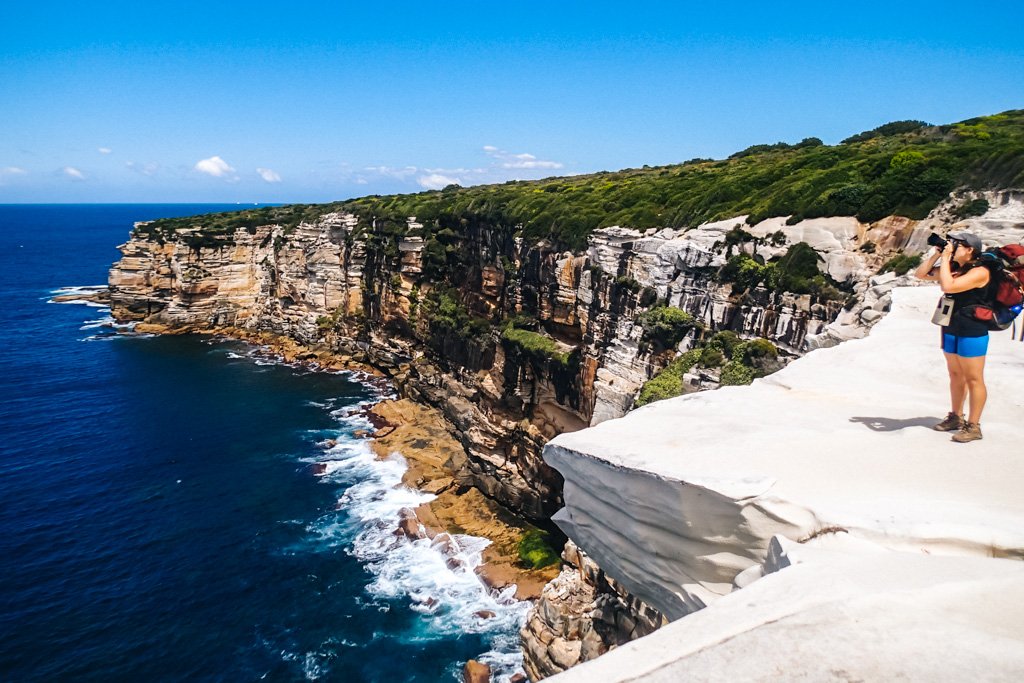
While at times you might feel like you’re melting right into the rock, I promise you it’s well worth it for the ridiculous coastal views you get to devour along the way. I’ll let you be the judge:
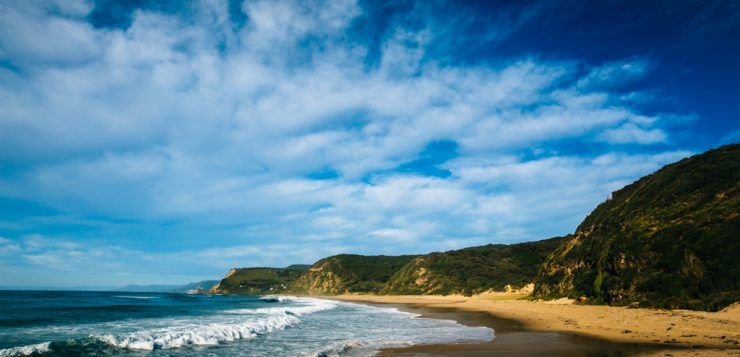
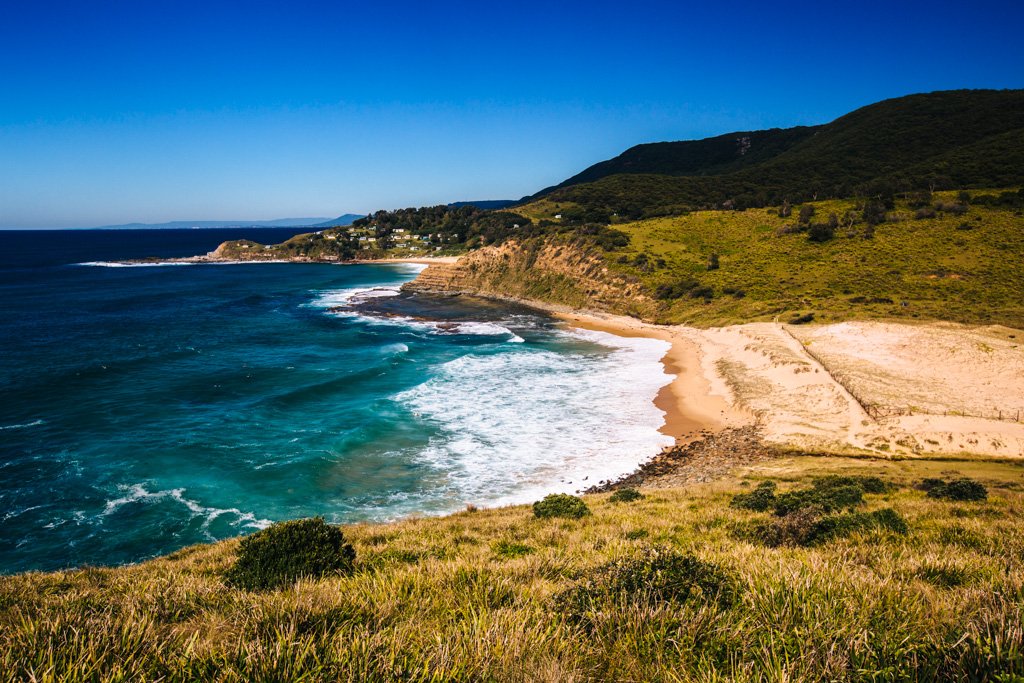
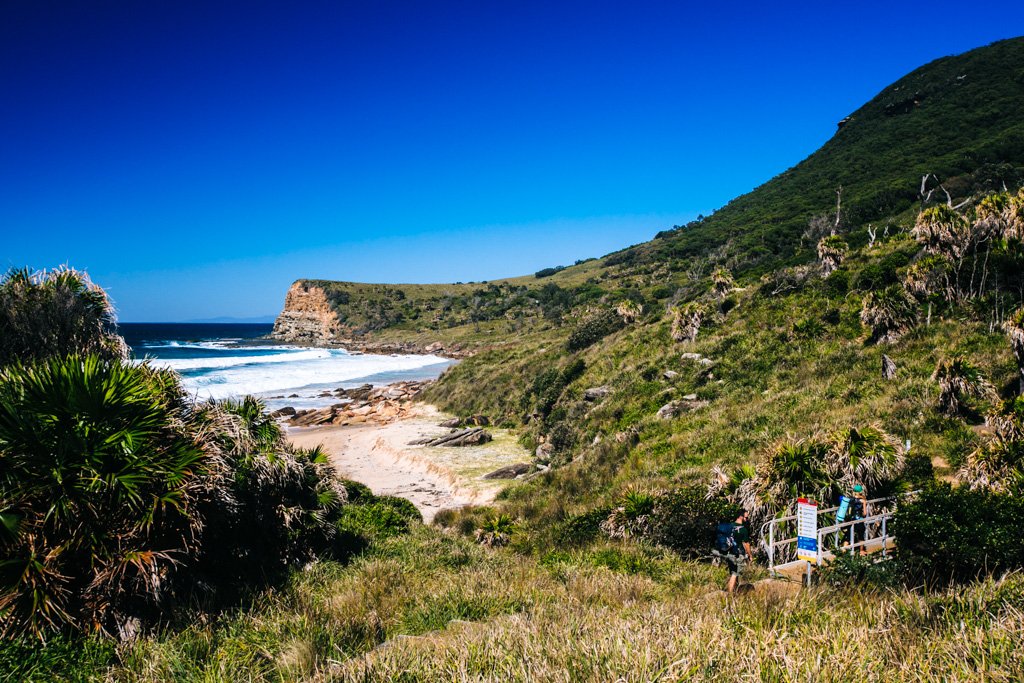
The dramatic coastal crags are pretty glorious, but my favorite views along the Coast Track are from the headlands looking out toward the beaches that you’ll soon traverse. Most of the accessible beaches on the Royal National Park coastal track are best suited for surfing, not so much for swimming – but you can brave the freezing cold surf at your own risk! Even if you don’t go in the water, it’s well worth taking a break from hiking to hang out on a beach or two as you pass through. You might even have it all to yourself!
There’s plenty more to enjoy on the coast track besides the ocean. The park is rife with birds and various plantlife, if that’s up your alley. You may even spot some whales just offshore if you happen to be hiking during winter.
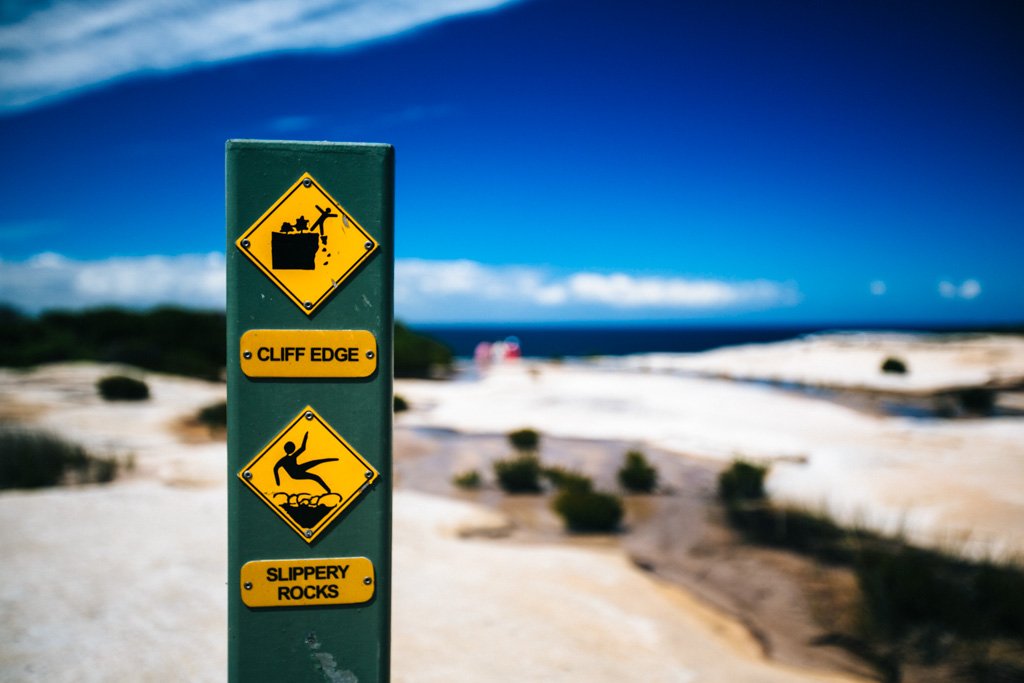
No matter the time of year, quite early on in the trek you’ll pass by the famous Wedding Cake Rock: a stack of rectangular, bright white rocks on a cliff edge. Doesn’t it look slightly out of place here?
Thanks to Brooks for snapping this one! Clearly I was more interested in the sky than the Wedding Cake rocks.
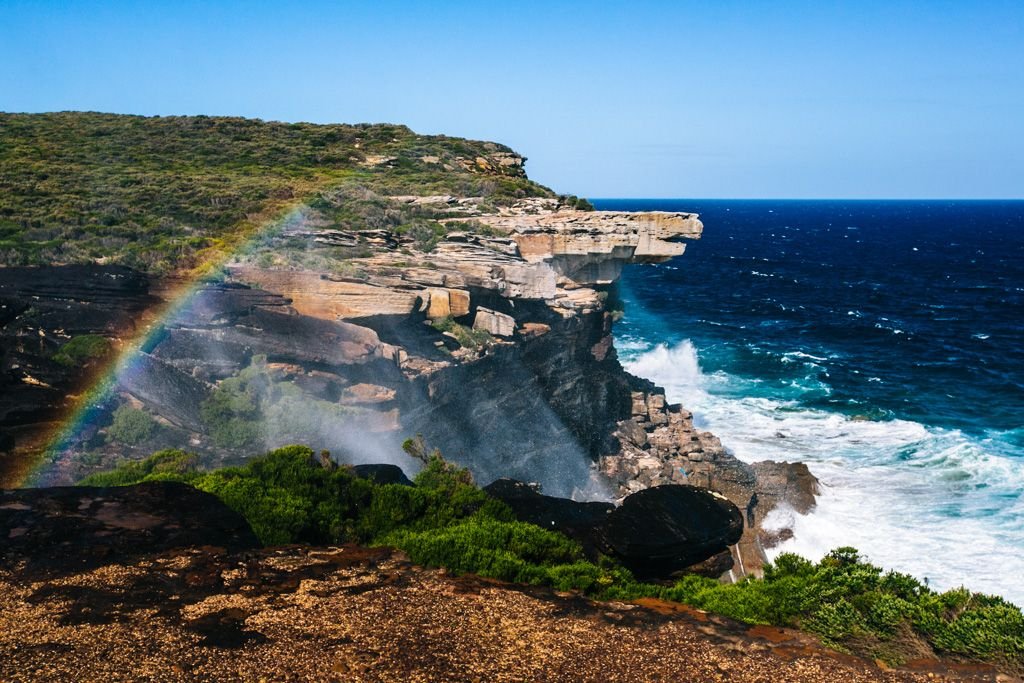
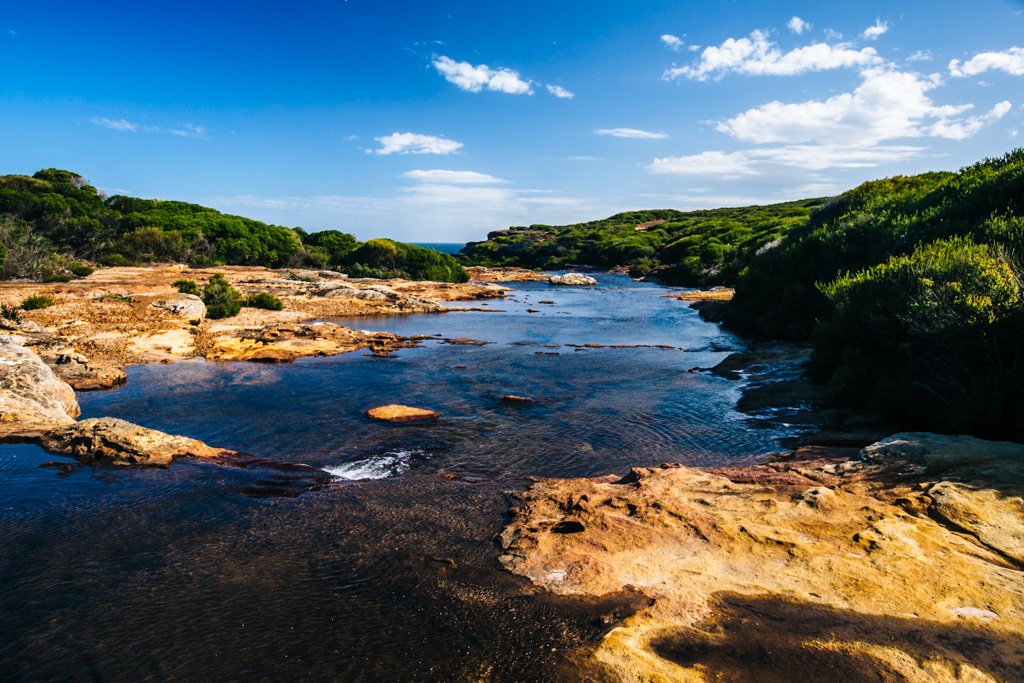
The track crosses some small creeks and passes by a few waterfalls, none more impressive than this one (below). You’ll know you’ve found it when you spot water flying up into the air from the creek and falls. And if you’re as lucky as we were, you might witness a massive rainbow soaring over it.
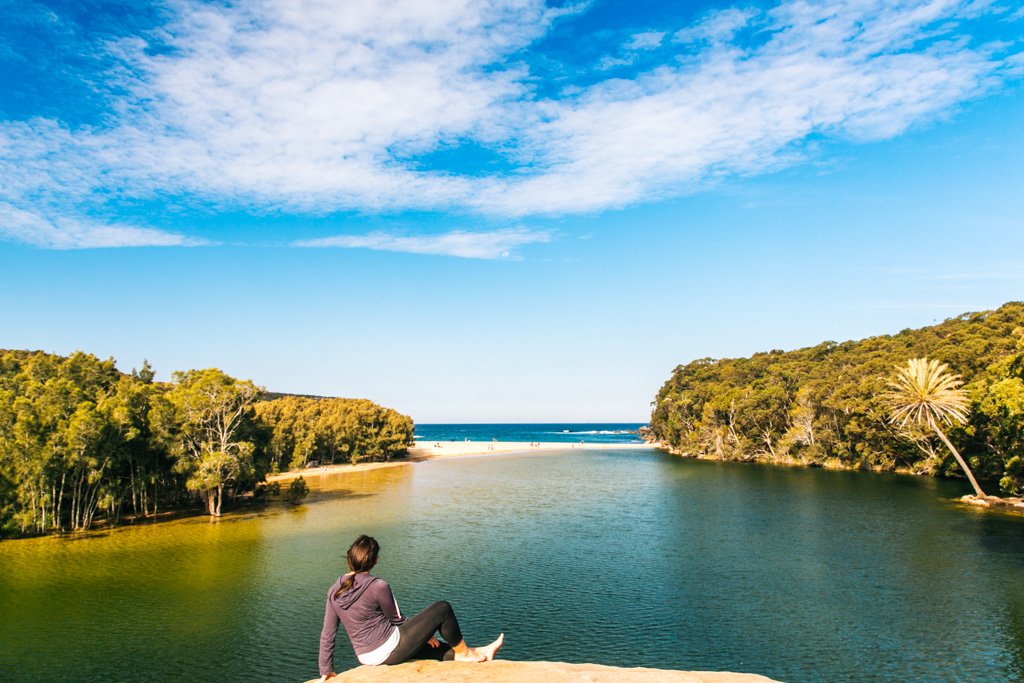
One other point of interest on the first day of the hike is Wattamolla, about 9-10km from Bundeena. It may be teeming with daytrippers, but it’s a great spot for a picnic, BBQ, and swim. You can stop at the swimming hole in the creek that you’ll cross just before arriving at the picnic area, or you can swim in the lagoon below the dam that’s sheltered from the surf. Either way, it’s very safe swimming away from the ocean here.
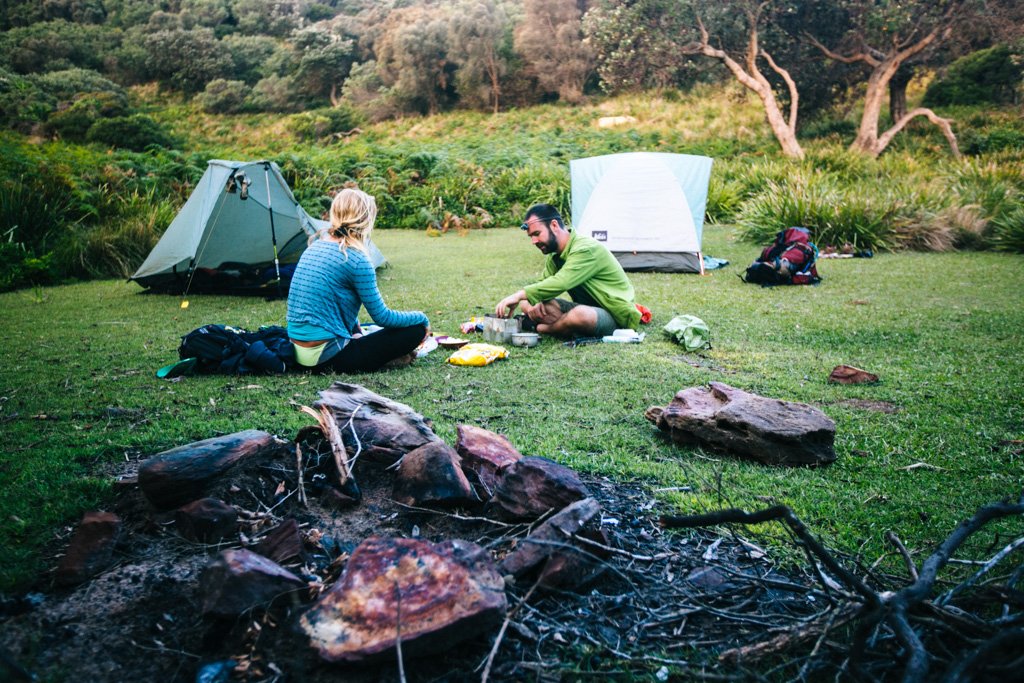
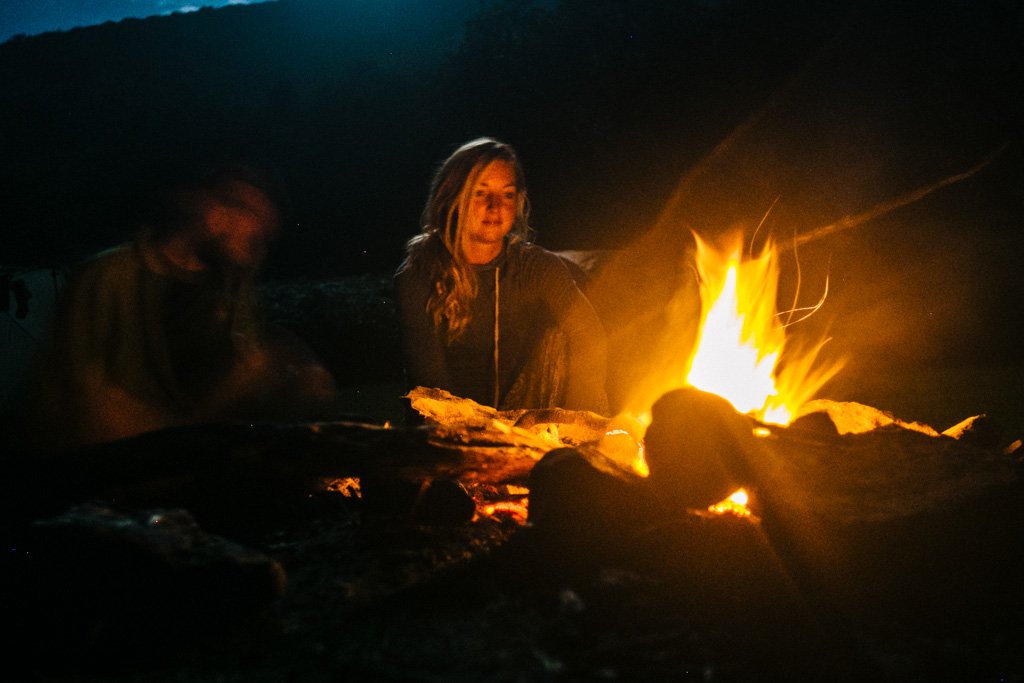
Being the responsible hiker I am, I booked our campsite well in advance. We were about an hour away from North Era when we came upon a clearing just off the north end of Garie Beach, where people had clearly camped before (as evidenced by the multiple fire pits there). We all had the same thought in mind: let’s pitch our tents here! I’m not saying I condone lighting an illegal campfire on an illegal campsite, but I’d be lying if I said it didn’t make for a fantastic (and rebellious) night!
Just some Royal National Park camping, complete with a campfire.
Day 2: Garie Beach to Otford
Day 2 of the Royal National Park coast track should be much shorter than Day 1 if you stay overnight at the North Era campground. But since we stopped just north of Garie Beach instead, it tacked on an extra hour or so of hiking to the second day.
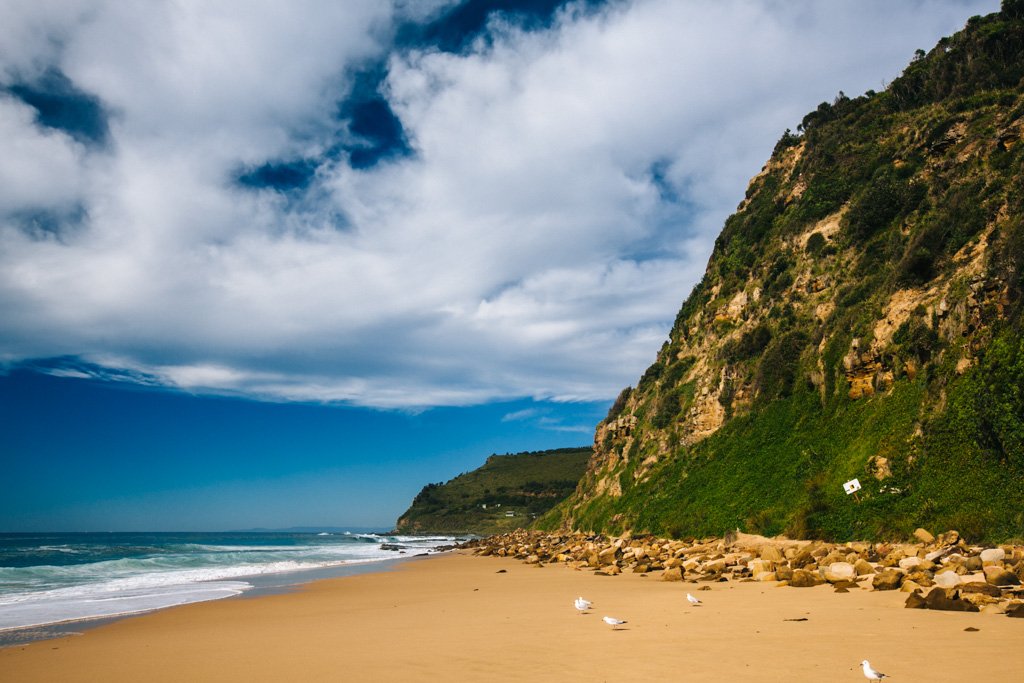
How about this golden hour light just after sunrise at Garie Beach? I loved zen-ing out here before kicking off a day on the track.
Depending on when you hit Garie Beach, there’s a good chance you’ll see some surfers. I noticed that there’s a brand-new facility and parking lot there to accommodate them.
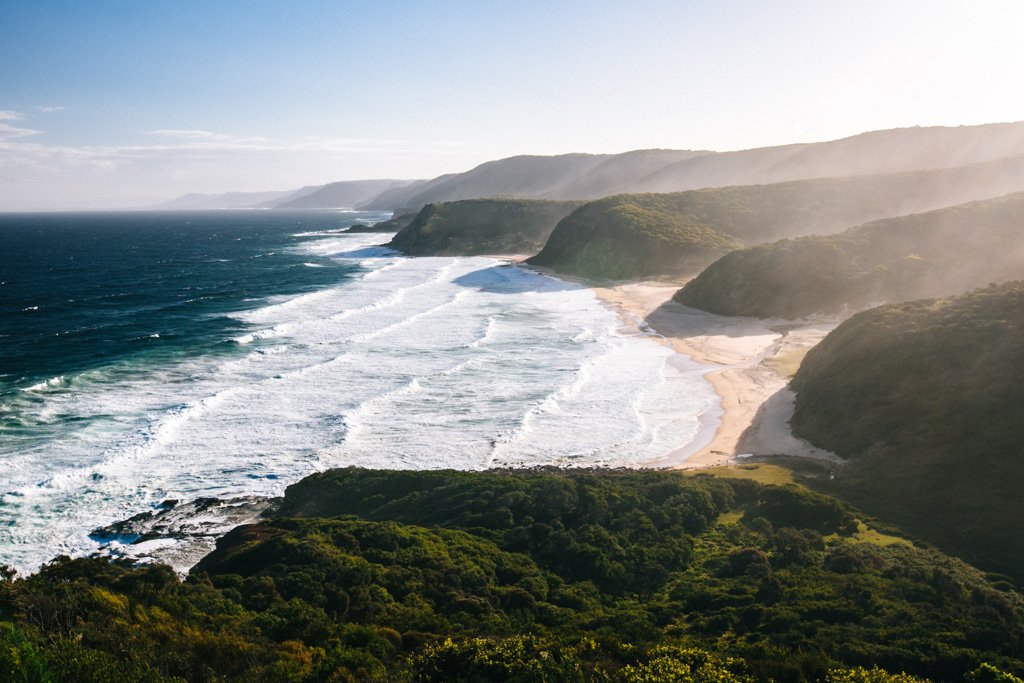
Oh, and don’t forget to turn around once you get to the top of the grassy headland at the south end of the beach! You’ll nab a pretty sweet view of Garie Beach looking north. I didn’t get a good photo of it because we were facing the early morning sun which washed out the shot, but if you’re here late on Day 1 the lighting should be perfect with the sun behind you.
North Era Beach is a stunner as well. I can think of worse places to pitch your tent for the night, can’t you?
After this point, there aren’t many more accessible beaches on the track. You’ll be hiking either up high or in the woods for most of Day 2 – it’s a nice change of pace (unless you’re a beach monger like I am!).
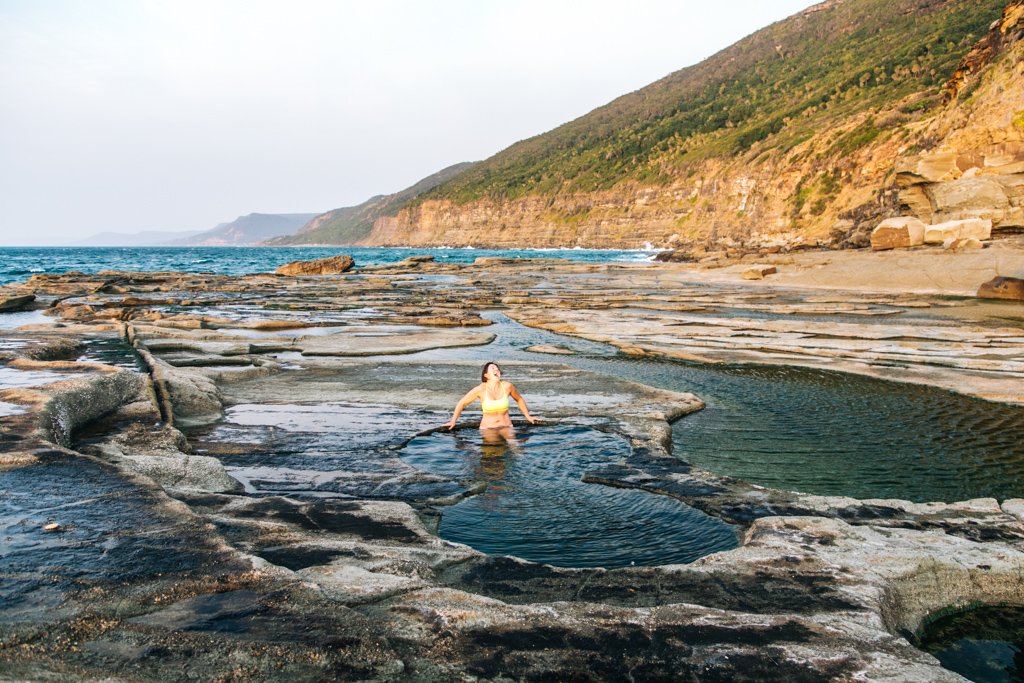
One thing you’ve absolutely got to see is the Figure 8 Pool. To reach it, you need to walk across Burning Palms Beach rather than continuing on the track. At the south end of the beach, you should be able to access the Figure 8 Pool at low-to-medium tide. It’s pretty much exactly as it sounds: a figure 8-shaped tide pool formed in some rocks along the shore, fit for laying in.
Toward the end of the trail, we stopped and had lunch near the Otford lookout. While the lookout yields sweeping views of the coastline south toward Wollongong, our picnic spot was on an overhang that had a better view of the coast facing north. Near here, there’s a turnoff leading to Werrong Beach way down below. If you’ve got the time and don’t mind a very steep uphill walk to get back to the track afterwards, it could be a worthwhile stop. It’s more popular with daytrippers who drive to Otford, park their car by the trailhead, and make the short walk in.
Getting To Sydney From Royal National Park
Otford Station is a quick walk from the end of the Royal National Park coastal track – you’ll see signs for the station once you reach the main road. From Otford, take the northbound South Coast Line train. You’ll likely have to switch trains at Waterfall station to get back on the T4 Eastern Suburbs Line toward Sydney (1-1.5 hours, AU$4.52).
Planning a trip to Sydney?
These are the sites I use and recommend for booking travel:
ACCOMMODATION IN SYDNEY: I always search on Booking.com for accommodation, as their Genius loyalty program offers 10-20% discounts and free breakfast/upgrades for certain hotels.
FLIGHTS TO SYDNEY: When researching flights, I always check Skyscanner first because it pulls in flight options across all airlines and saves you the trouble of searching each airline individually. When booking flights via Skyscanner, I always book directly with the airline rather than one of the third party options.
CAR RENTAL IN SYDNEY: When renting a car on your travels, check DiscoverCars.com for the best deals.
ACTIVITIES IN SYDNEY: If you’re looking to book tours or other organized activities on your travels, GetYourGuide and Viator both offer myriad options for fun things to do all around the world (think: sailing trips, cooking classes, city walking tours, and more).
TRAVEL INSURANCE FOR AUSTRALIA: Unless you can easily afford to pay for huge unexpected medical bills, DON’T TRAVEL WITHOUT TRAVEL INSURANCE! These days, I usually buy the Safety Wing nomad insurance, as it’s very affordable and caters to digital nomads with a monthly subscription option. I’ve also been a longtime World Nomads user, and will still use them if I need more comprehensive insurance (e.g. for adventure activities) or if I am visiting the US (Americans aren’t eligible for Safety Wing’s US add-on option).
ESIM / SIM CARDS FOR AUSTRALIA: When traveling overseas, I always purchase an eSIM from Simify for the country I’m going to, activate it before I depart, and as soon as I arrive I am automatically connected to the local network and can easily find my way to my accommodation. No need to to buy a local SIM card at the airport; eSIMs are fully electronic and don’t require you to take out your old SIM.
LUGGAGE: I am currently a July luggage girl (July Australia / July US). They offer a lifetime warranty, which I have used multiple times now – and every time, they have sent me a brand new replacement suitcase without hassle. I recommend their Checked Plus if traveling with 32kg/70lb of luggage (note: many airlines do not allow bags this heavy!), the Checked if traveling with 23kg/50lb of luggage, and the Carry On Light (Expanded) which is super lightweight and really helps you stay within the 7kg carry-on limit that many Aussie airlines enforce. Click to read my full review of July luggage.
