This post was last updated on 2025 October 27
This article on Railay, Thailand: A Climber’s Paradise may contain affiliate links. If you click and make a purchase using these links, I will make a small commission at no extra cost to you. Thanks so much for supporting Frugal Frolicker! :)
Ah, Railay. I will always look back on my time spent in this climber’s beach paradise as one of the best weeks of my life. I got to do one of my favorite activities in the most beautiful of places, essentially honeymoon-style ;)
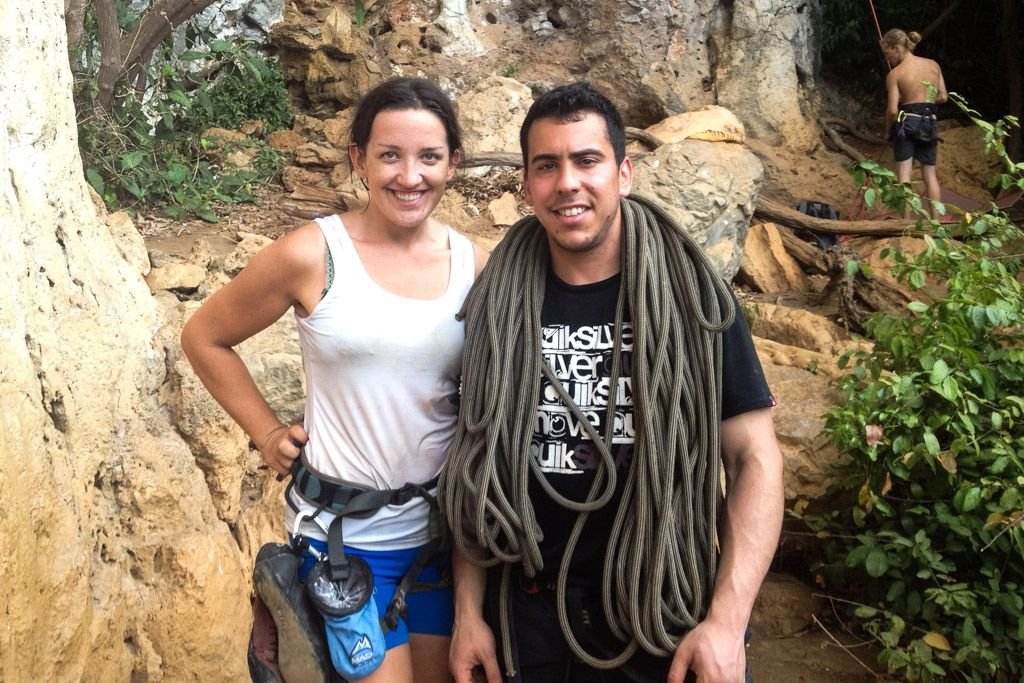
After meeting on the Maya Bay Sleep Aboard, I went back to Phuket with Hot Arms, and then he accompanied me to Railay. I wanted to take advantage of having someone to split accommodation with, so we splurged and stayed at the Tonsai Bay Resort. I in no way regret paying a little extra for the comfort of AC, a massive bed, and a porch. Besides, I went back to staying in hostels and budget guesthouses the second I resumed my independent travels, I swear!
Note: My camera had just begin its 5-week stint in the repair shop with Canon, so all photos here were taken with an iPhone 4/4s.
The Low-Down On Railay
First, you must know that there are two types of people that come to Railay and stay for a long time: climbers and hippies. And these two are not necessarily mutually exclusive.
Second, there are reggae bars and weed smokers all over the place. I hear the bars actually sell weed.
And finally, Railay is actually comprised of 4 beaches:
Railay East – This beach is neither pretty nor swimmable, but this is where most of the bars and budget accommodation lay. You also might catch your ferry from this side.
Railay West – A nice beach with more upscale dining and resorts. It’s the most central of all the beaches, so you’ll likely find yourself here often even if you don’t stay on this side. Some ferries drop off here.
Tonsai – With easy access to climbing and a handful of budget options, Tonsai is a great place to base yourself. The beach is not swimmable at low tide, and at high tide you’ll have to take a steep hike through the jungle to get to the other beaches (or catch a longtail boat).
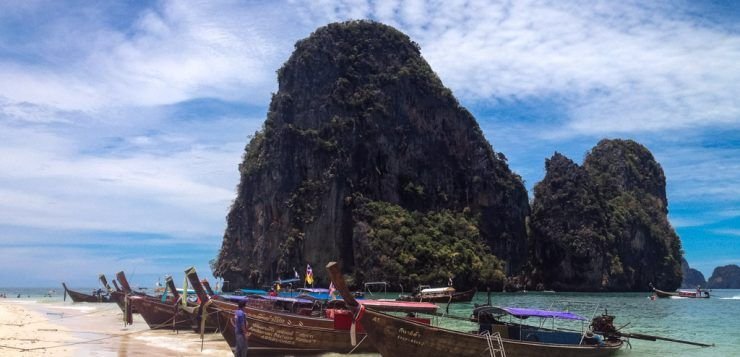
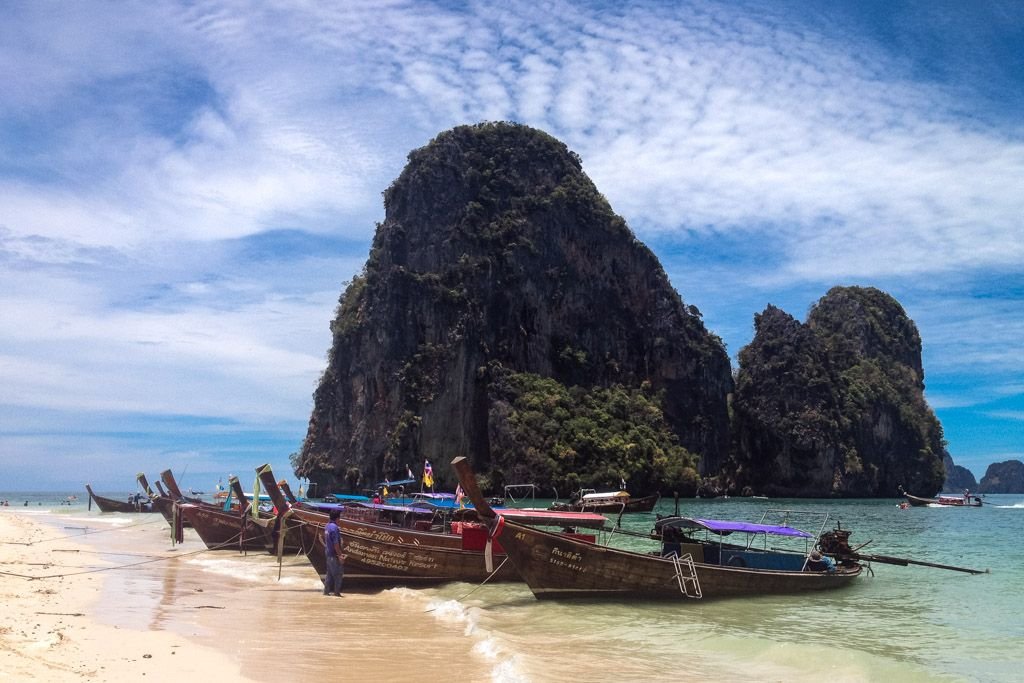
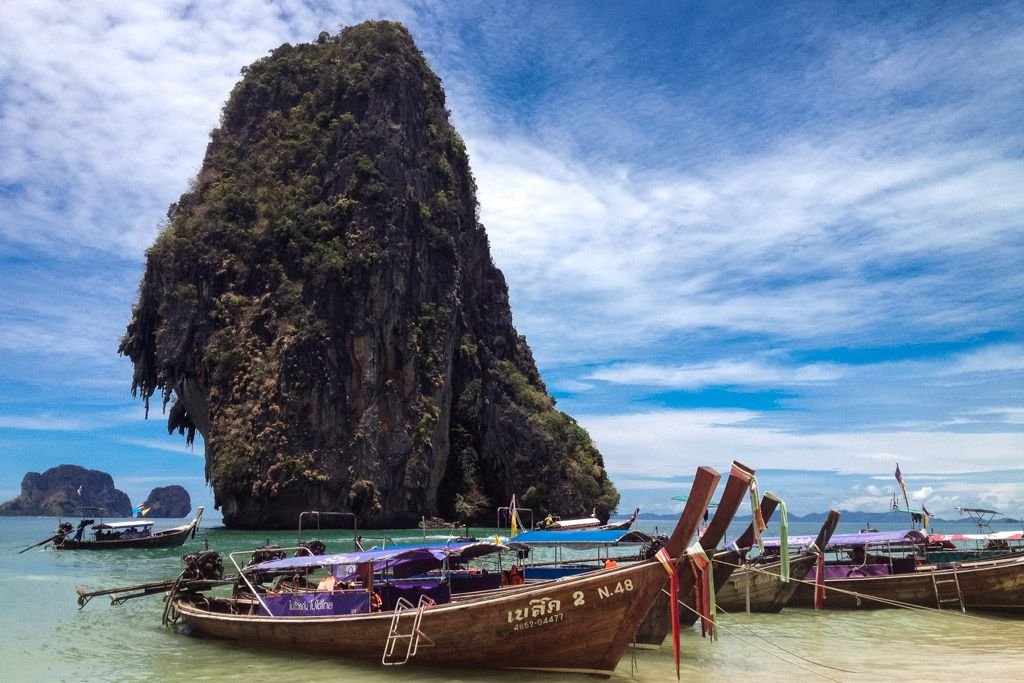
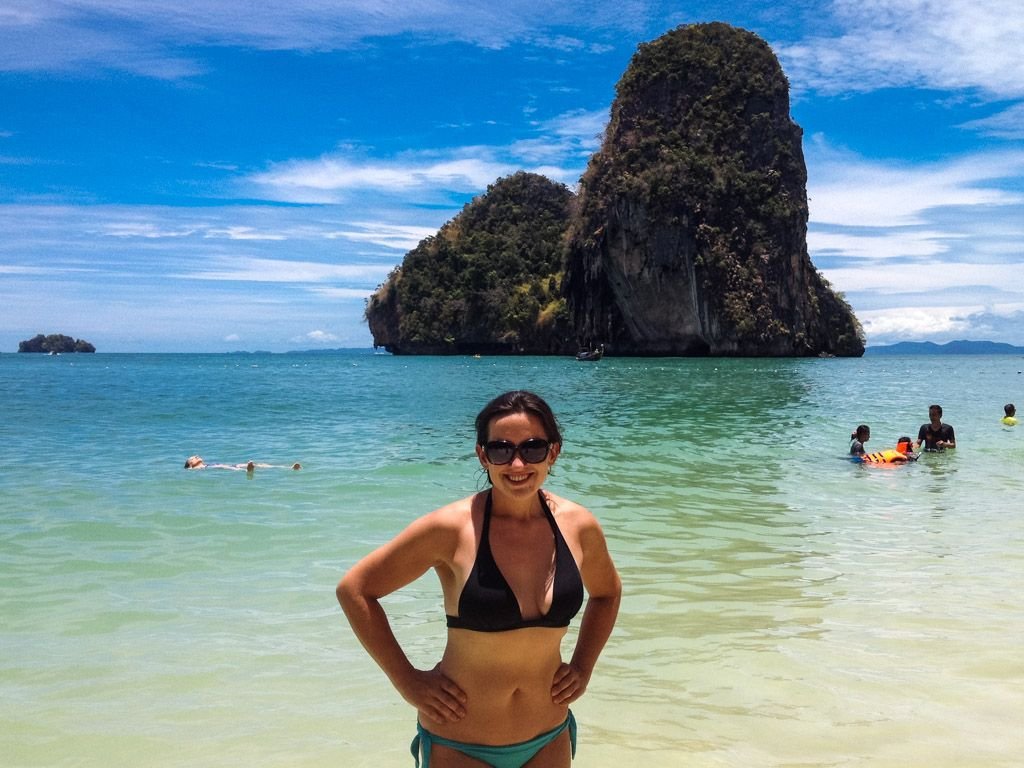
Phra Nang – The most beautiful beach at Railay, very crowded with daytrippers on Krabi island tours, and accessed via a walking trail from Railay East. You likely won’t be staying here, but it’s worth checking out at least once – be sure to grab a snack or drink from the longtail boat vendors just offshore!
Planning a trip to Thailand?
These are the sites I use and recommend for booking travel:
ACCOMMODATION IN THAILAND: I always search on Booking.com for accommodation, as their Genius loyalty program offers 10-20% discounts and free breakfast/upgrades for certain hotels.
FLIGHTS TO THAILAND: When researching flights, I always check Skyscanner first because it pulls in flight options across all airlines and saves you the trouble of searching each airline individually. When booking flights via Skyscanner, I always book directly with the airline rather than one of the third party options.
PUBLIC TRANSPORT IN THAILAND: 12Go is the best site to book transport (buses, trains, ferries) from A to B in a lot of Asian countries.
CAR RENTAL IN THAILAND: When renting a car on your travels, check DiscoverCars.com for the best deals.
ACTIVITIES IN THAILAND: If you’re looking to book tours or other organized activities on your travels, GetYourGuide and Viator both offer myriad options for fun things to do all around the world (think: sailing trips, cooking classes, city walking tours, and more).
TRAVEL INSURANCE FOR THAILAND: Unless you can easily afford to pay for huge unexpected medical bills, DON’T TRAVEL WITHOUT TRAVEL INSURANCE! These days, I usually buy the Safety Wing nomad insurance, as it’s very affordable and caters to digital nomads with a monthly subscription option. I’ve also been a longtime World Nomads user, and will still use them if I need more comprehensive insurance (e.g. for adventure activities) or if I am visiting the US (Americans aren’t eligible for Safety Wing’s US add-on option).
ESIM / SIM CARDS FOR THAILAND: When traveling overseas, I always purchase an eSIM from Simify for the country I’m going to, activate it before I depart, and as soon as I arrive I am automatically connected to the local network and can easily find my way to my accommodation. No need to to buy a local SIM card at the airport; eSIMs are fully electronic and don’t require you to take out your old SIM.
LUGGAGE: I am currently a July luggage girl (July Australia / July US). They offer a lifetime warranty, which I have used multiple times now – and every time, they have sent me a brand new replacement suitcase without hassle. I recommend their Checked Plus if traveling with 32kg/70lb of luggage (note: many airlines do not allow bags this heavy!), the Checked if traveling with 23kg/50lb of luggage, and the Carry On Light (Expanded) which is super lightweight and really helps you stay within the 7kg carry-on limit that many Aussie airlines enforce. Click to read my full review of July luggage.
Climbing at Railay
Most people who come to Railay are there to climb. There are climbing schools all over the place where you can rent gear or sign up for a lesson. I climbed twice with Wee’s Climbing School on Tonsai Beach. I’d been climbing consistently back home for about a year before leaving for Asia, which meant I fell square in the *Intermediate Climber* realm. I didn’t want to sign up for a proper lesson, but I wasn’t able to lead or set routes myself. I more or less just wanted to hire an instructor to belay me, guide me on challenging routes, and ensure my safety. Wee’s was totally cool about that, and my “lesson” turned out to be a semi-private climbing outing with an instructor (“D”) and his assistant.
We did a few routes on the western side of Tonsai and I was feeling pretty good – until I watched D set a route that involved CLIMBING A STALACTITE. What?!! I couldn’t even see how he did it because he was so high up and blocked by said stalactite. I basically began the route with the mindset of, wellllllllll I guess I’ll just climb until I reach it, at which point I’ll likely flail around, cackle at my predicament, and ask to be taken down. No expectations!
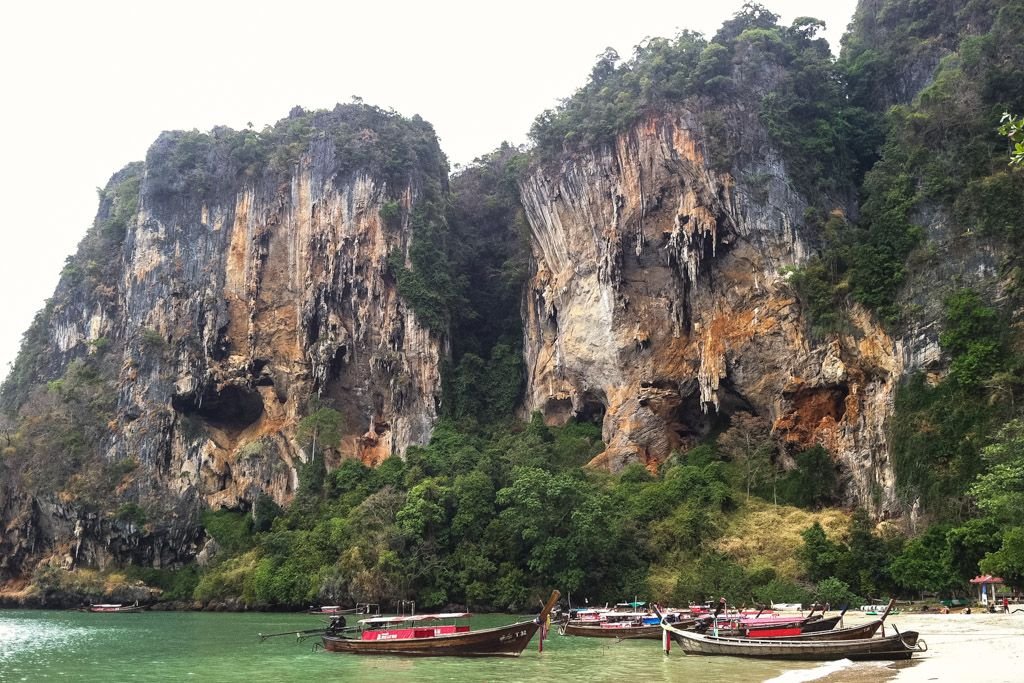
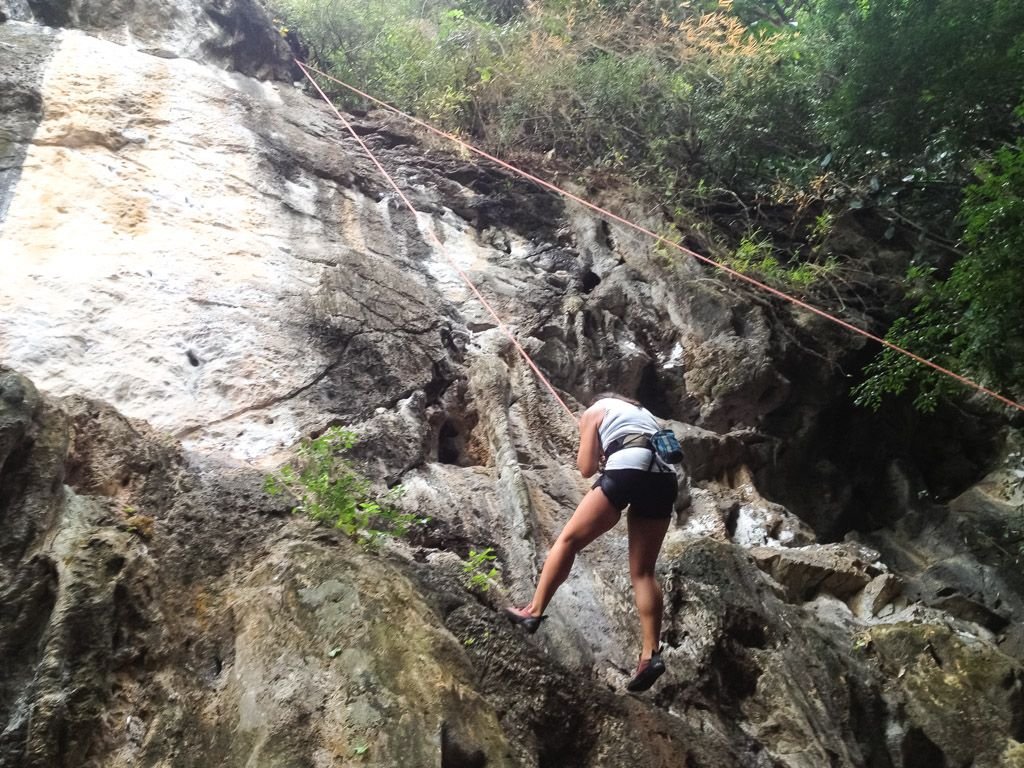
So I climbed. And climbed. And when I reached the stalactite, I did laugh and perhaps shout some obscenities. But D talked me through it, step by step: first put my right foot out onto it, then my right hand. And so on, until I had transferred my entire self to a dangling rock formation. I WAS ON A STALACTITE! I crawled up it, then transferred my body back onto the main rock to reach the end of the route. I wish I had a camera to capture the exact view I had of the beach and rock below – it was absolutely stunning. It looked like this (taken from the bottom of the route from an iPhone), except a million times better:
It was the most incredible natural high I’ve ever experienced!* I still can’t believe I climbed a stalactite!
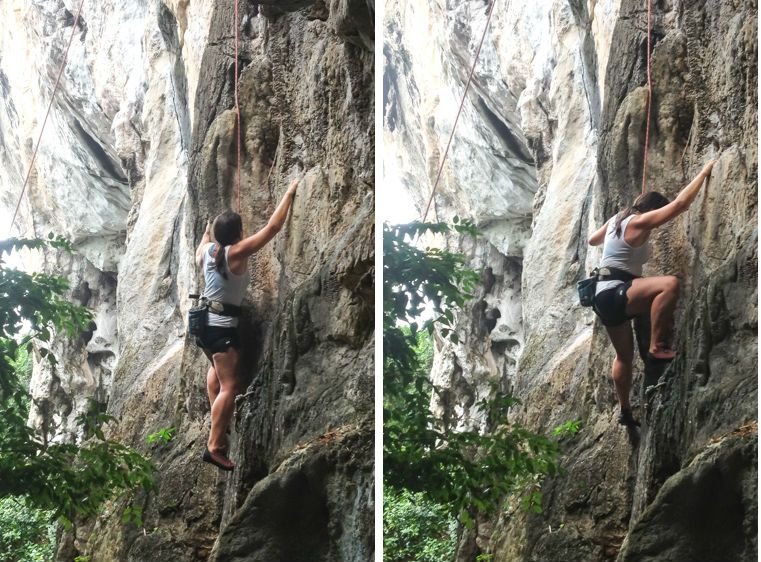
My second climbing outing couldn’t even hold half a candle to that. Unfortunately they had cancelled a deep water solo trip for that day, and all of those people got put onto my climbing outing. It turned into an actual lesson for beginners, and the routes we did were a bit easier than what I did last time – it was a good workout, but not the climbing experience I had hoped for. On the plus side, the instructor kept praising my technique, and Hot Arms snapped some great shots of me in action:
Kayaking at Railay
We befriended a Dutch duo and an American girl on Tonsai and the 5 of us rented kayaks one day and paddled around the limestone karsts. This is a fantastic way to see the rock up-close (you know, aside from scaling it). There are caves you can paddle through and coves you can float around. We kayaked to Phra Nang Beach and hung out there for a bit before heading back to Railay West for another swim. I highly recommend kayaking at Railay, especially on a gorgeous day!
Frugal Facts
As of April 2013 —
Climbing: 800 baht for 1/2 day ($26.50 US)
Tonsai Bay Resort: 1020 baht/night ($34 US)
Kayak Rental: 300 baht for 1/2 day ($10 US)
Ferry to/from Phuket: 650-700 baht each way ($22-23 US)
Fruit shake: 50 baht ($1.65 US)
* And that’s the only kind of high I’m interested in – for the record :)
