This post was last updated on 2024 September 21
This article on Everest Base Camp may contain affiliate links. If you click and make a purchase using these links, I will make a small commission at no extra cost to you. Thanks so much for supporting Frugal Frolicker! :)
The Story Behind The Trek
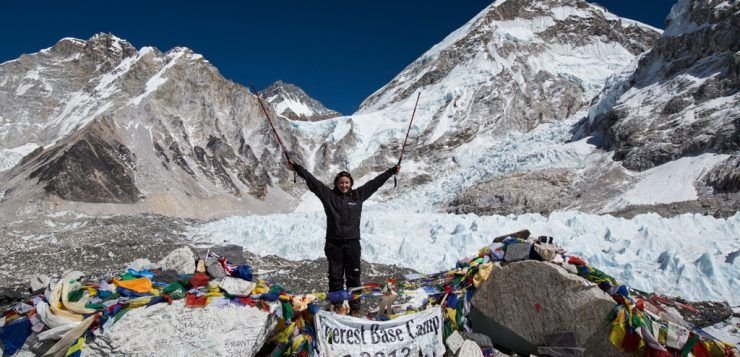
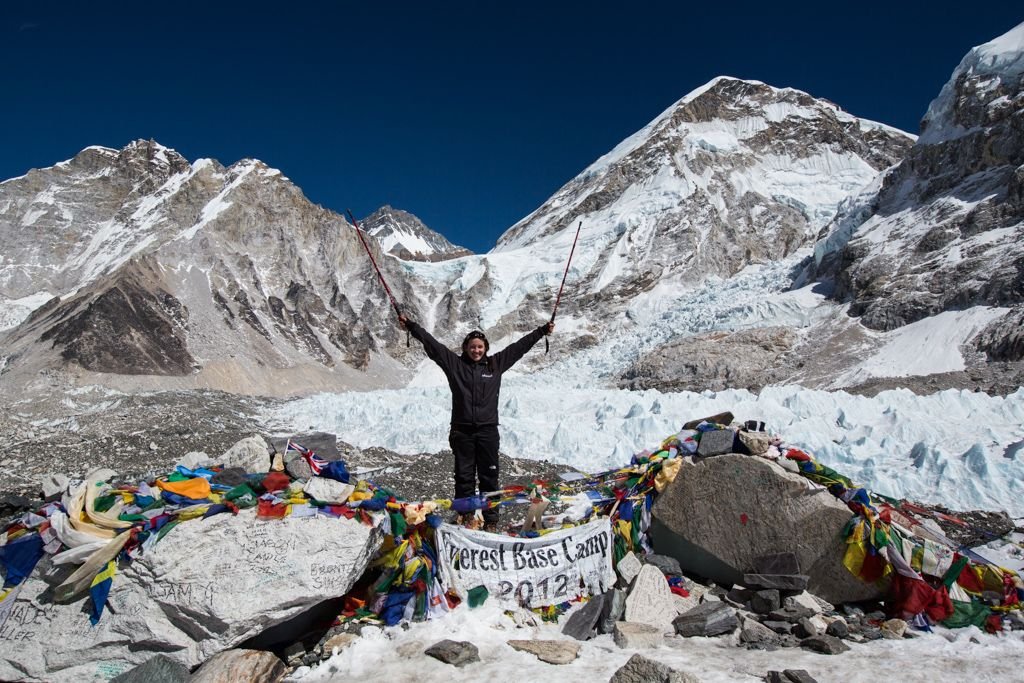
About two years ago, I got this crazy idea in my head that I HAD to do the Everest Base Camp trek. I have no idea what prompted it – it was like I just woke up one day and made that decision, knowing absolutely nothing about what I’d be getting myself into.
After a bit of research on my end, it was clear that you’d have to be some degree of crazy to embark on such a trek. WHICH I AM, so that wasn’t so off-putting. But we’re talking frigid temperatures, 2+ weeks of nonstop trekking, and possible altitude sickness. I DID say that I wanted to get uncomfortable, so with that in mind – I jumped in head first.
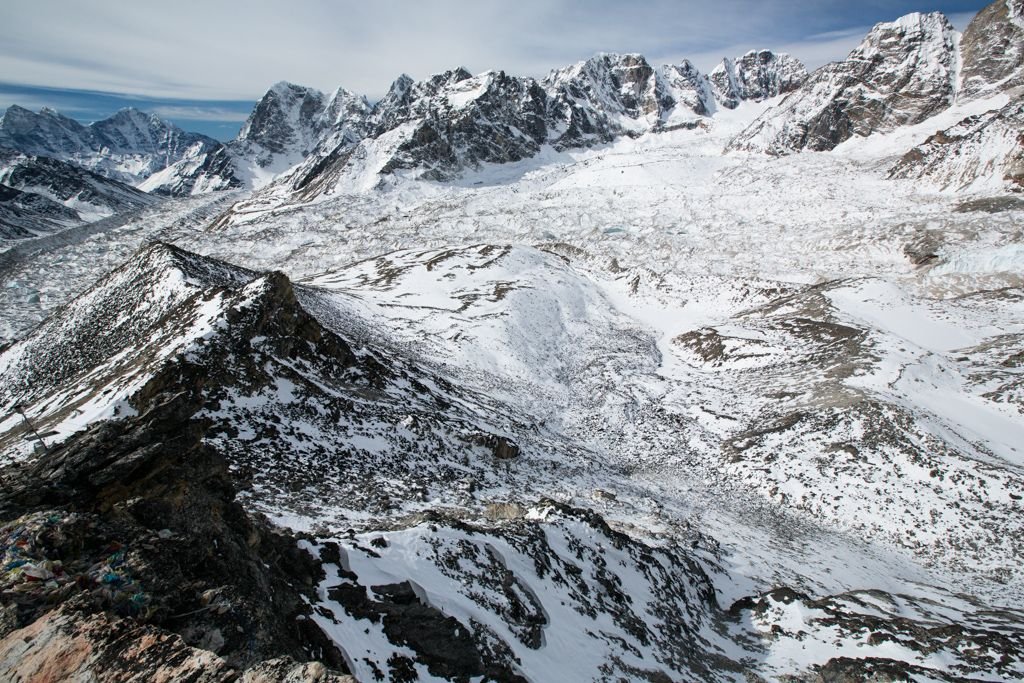
I intended for it to be a meditative journey, where I would be alone for the most part (hence why I opted to trek in the off season, and with a guide rather than a tour group). I wanted to read, write, and think for three weeks without distraction, soaking up an ever-changing backdrop of Himalayan gorgeousness. It’d be a stark contrast to my NYC life, to say the least.
The EBC Trek was COLD and EXHAUSTING!
The EBC trek went exactly as planned, yet was nothing like I’d envisioned.
Do you have any idea what it’s like to be perpetually cold? (I didn’t before this!) It’s being able to see your breath at all times while you’re in your bedroom, and having to dress in multiple layers the entire day even while indoors. The tea houses along the trail aren’t equipped with heat and some winter nights are so cold that all you can do is curl up in your 4-season down sleeping bag immediately after dinner and wait til the sun rises again.
Thankfully, I wasn’t too adversely affected by the altitude. I woke up one morning at Labouche (5100m) with the mildest of headaches (and I NEVER get headaches), but an ibuprofen killed it within minutes. Mostly, I felt the altitude when I was trekking higher up. The easiest of terrains (i.e. gradual flat/incline) felt like such a chore. Anything more demanding than that and I was C-R-A-W-L-I-N-G. It was incredibly frustrating to not be able to trek as well as I did at lower elevations simply due to lack of air (rather than ability).
To sum up the EBC trek: It’s the most uncomfortable I’ve ever been in my life… but it was possibly the most gratifying thing I’ve ever done. Stay tuned for more posts detailing my trek!
Planning a trip to Nepal?
These are the sites I use and recommend for booking travel:
ACCOMMODATION IN KATHMANDU: I always search on Booking.com for accommodation, as their Genius loyalty program offers 10-20% discounts and free breakfast/upgrades for certain hotels.
FLIGHTS TO KATHMANDU: When researching flights, I always check Skyscanner first because it pulls in flight options across all airlines and saves you the trouble of searching each airline individually. When booking flights via Skyscanner, I always book directly with the airline rather than one of the third party options.
ACTIVITIES IN NEPAL: If you’re looking to book tours or other organized activities on your travels, GetYourGuide and Viator both offer myriad options for fun things to do all around the world (think: sailing trips, cooking classes, city walking tours, and more).
TRAVEL INSURANCE FOR NEPAL: Unless you can easily afford to pay for huge unexpected medical bills, DON’T TRAVEL WITHOUT TRAVEL INSURANCE! These days, I usually buy the Safety Wing nomad insurance, as it’s very affordable and caters to digital nomads with a monthly subscription option. I’ve also been a longtime World Nomads user, and will still use them if I need more comprehensive insurance (e.g. for adventure activities) or if I am visiting the US (Americans aren’t eligible for Safety Wing’s US add-on option).
ESIM / SIM CARDS FOR NEPAL: When traveling overseas, I always purchase an eSIM from Sims Direct for the country I’m going to, activate it before I depart, and as soon as I arrive I am automatically connected to the local network and can easily find my way to my accommodation. No need to to buy a local SIM card at the airport; eSIMs are fully electronic and don’t require you to take out your old SIM.
LUGGAGE: I am currently a July luggage girl (July Australia / July US). They offer a lifetime warranty, which I have used multiple times now – and every time, they have sent me a brand new replacement suitcase without hassle. I recommend their Checked Plus if traveling with 32kg/70lb of luggage (note: many airlines do not allow bags this heavy!), the Checked if traveling with 23kg/50lb of luggage, and the Carry On Light (Expanded) which is super lightweight and really helps you stay within the 7kg carry-on limit that many Aussie airlines enforce. Click to read my full review of July luggage.

