This post was last updated on 2019 April 25
A lot of things went wrong on my recent trip to New Zealand, but the days I spent at Aoraki Mt. Cook National Park went off with nary a hitch.
If you’re keen to camp and hike (and I sure hope you are, because DUH it’s New Zealand), I recommend you allot 3 nights to Mt. Cook:
Day 1: Camp at White Horse Hill Campground / Hooker Valley walk
Day 2: Hike to Mueller Hut
Day 3: Hike back down and stay at a hostel in Mt. Cook Village / RECOVER
What’s that, you want more details and a little phot-ivation? Well alright then! ;)
Camping at White Horse Hill Campground
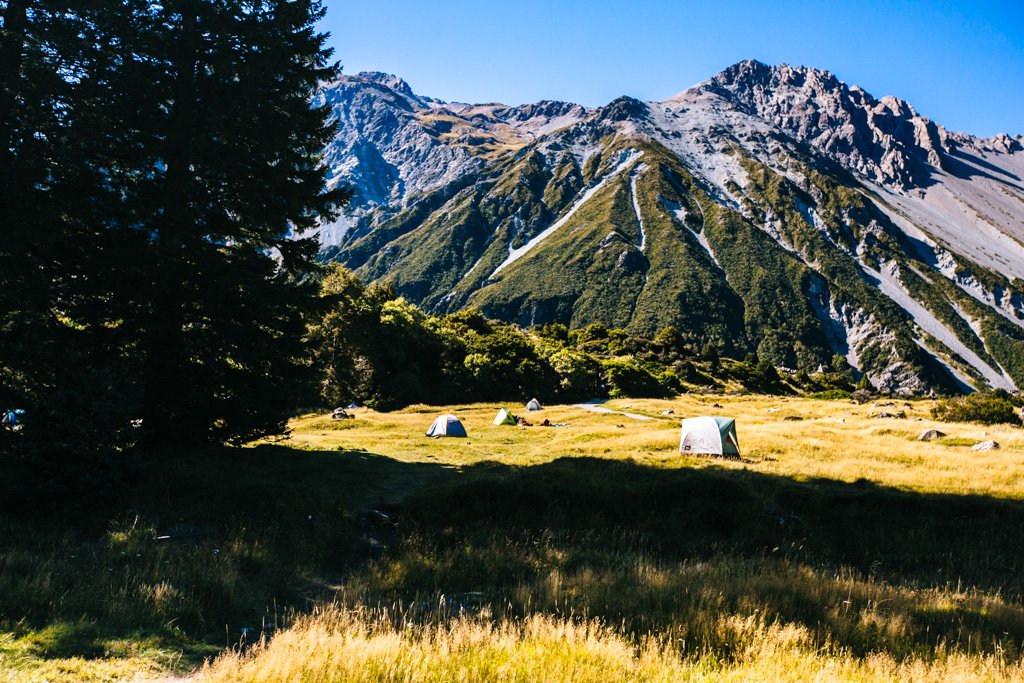
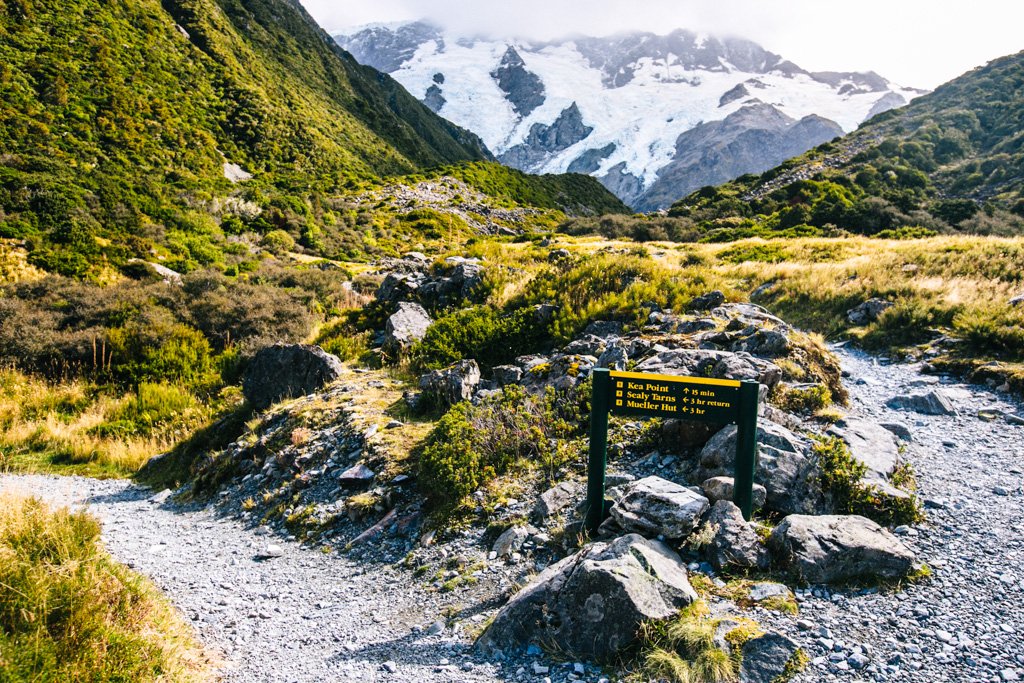
I was really looking forward to pitching my tent smack in the middle of nature, something that’s unfortunately tricky to pull off without a car in New Zealand. Thankfully this DOC campsite is just a 30-40 minute walk from Mt. Cook Village and very straightforward to reach via Hooker Valley Road or the Kea Point track. Once the bus dropped me off in Mt. Cook Village, I schlepped out there with all my gear and set up camp for the night.
Camping at the White Horse Hill campsite is $10 per person, whether you’re in a tent on the grassy knoll or in your car in the nearby parking lot. It’s first come first served (i.e. you can’t book in advance), and you’re meant to leave your campsite fees in an envelope and attach the corresponding tag to your tent or car dashboard. There was someone from the DOC who came around to check tags the next morning when I was there, so you might not want to skip the payment. There are toilets and a kitchen/dining room where you’re free to cook your meals – though note that this is essentially just a big open room with tables and benches and nothing more, so you’ll have to supply your own cooking equipment and cutlery.
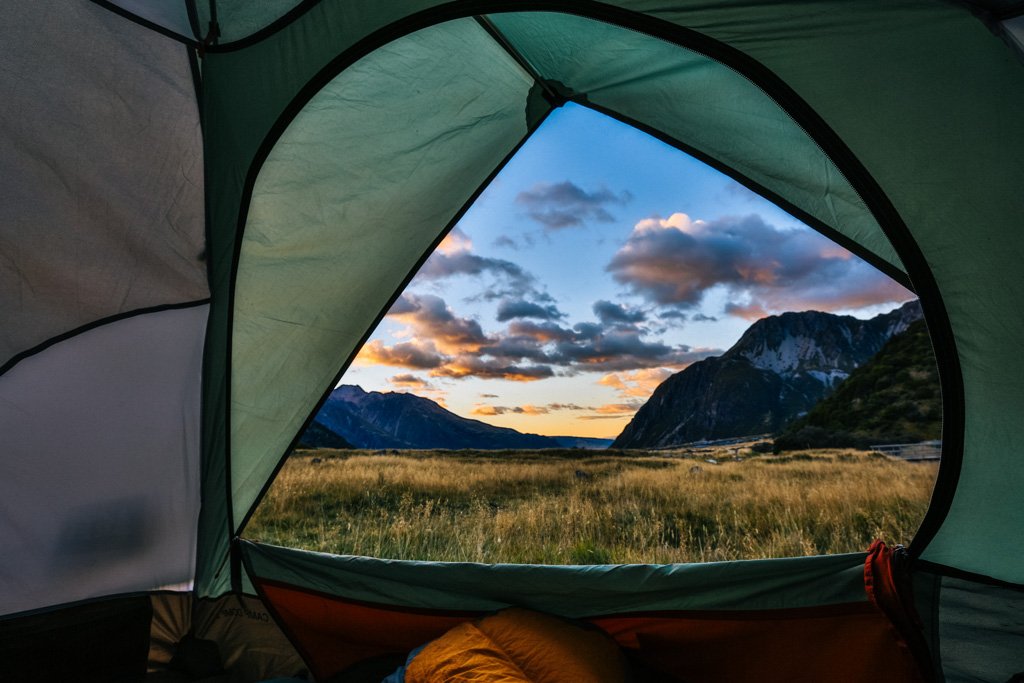
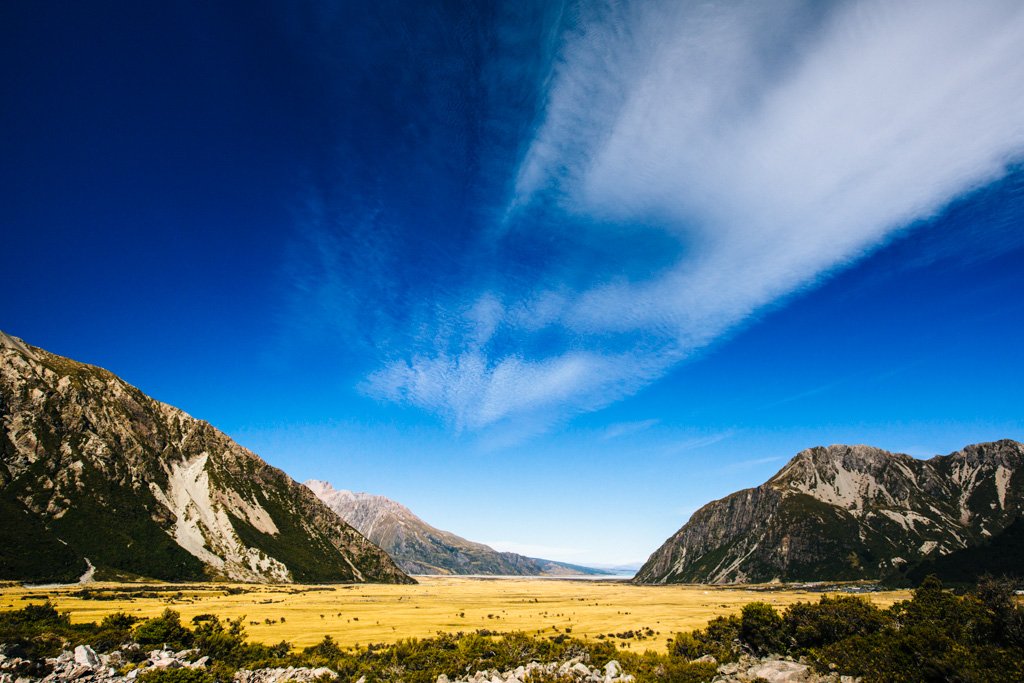
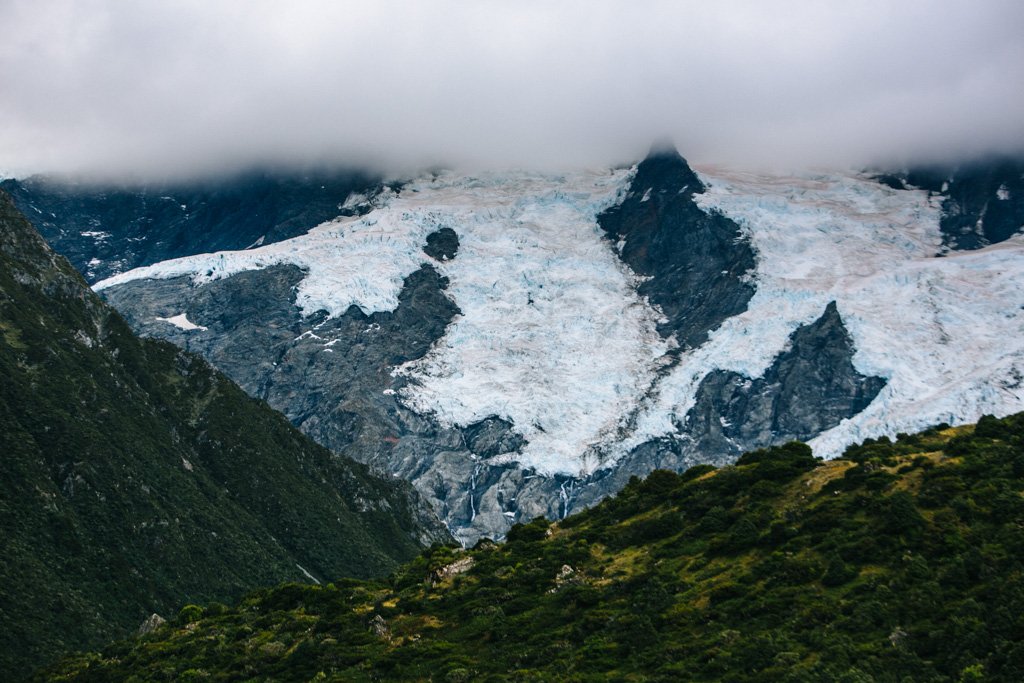
I can’t even tell you how fantastic it was to wake up in the morning, unzip my tent flap, and gaze directly out at the sun rising between the mountains. I had a clear view without any other tents or cars in front of me. If I opened the flap on the other side of my tent, I was staring straight at the glacier-studded mountains which gave way to a couple small but thundering avalanches during the day I spent there.
Best of all, camping at White Horse Hill campground leaves you aptly positioned to take on the nearby hiking trails: Hooker Valley, Kea Point, and Sealy Tarns.
Hooker Valley Track
The Hooker Valley Track absolutely kills it in the value-for-effort department. A 3 hour return walk that’s predominantly flat and doable at any level of fitness, this track is as easy as it is scenic. Which is to say, super duper incredibly so. And it starts right from the White Horse Hill campsite, so if you’re camping there it couldn’t be easier to reach.
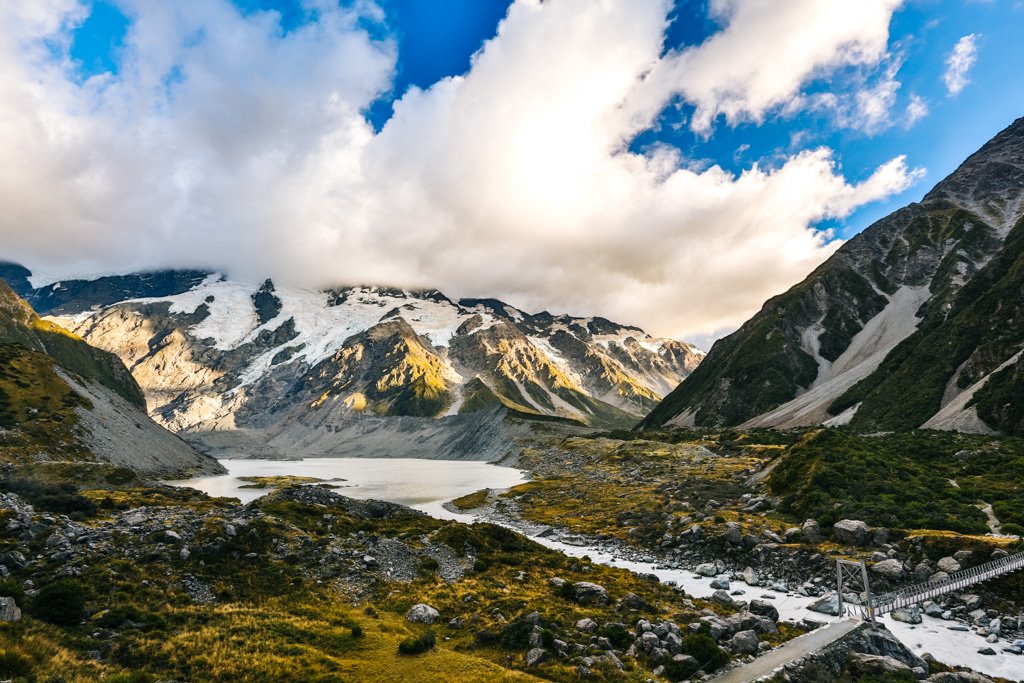
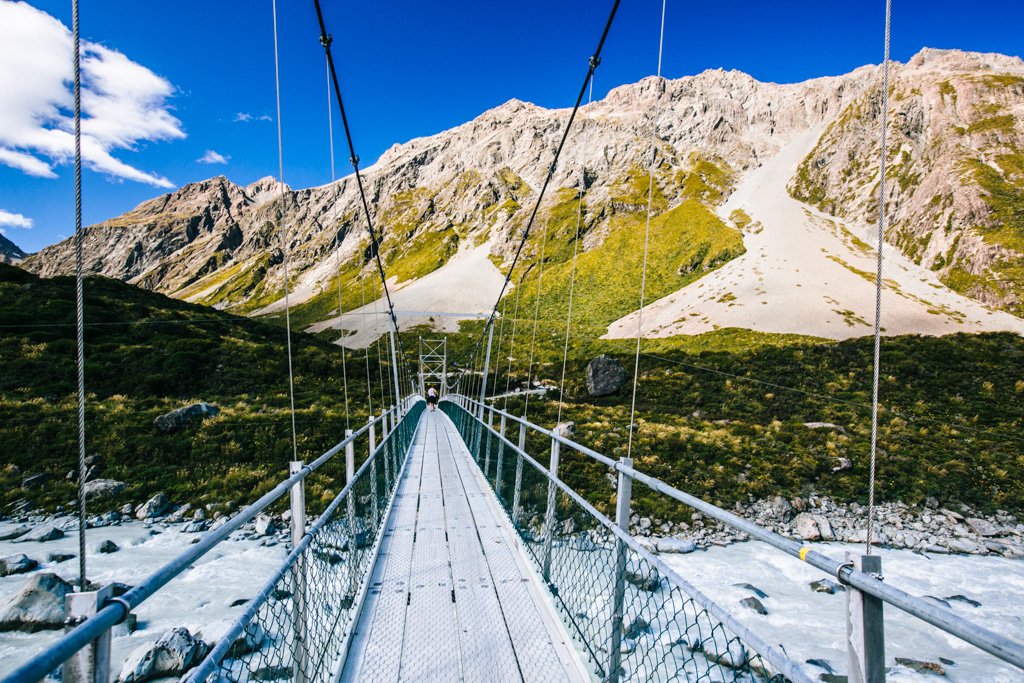
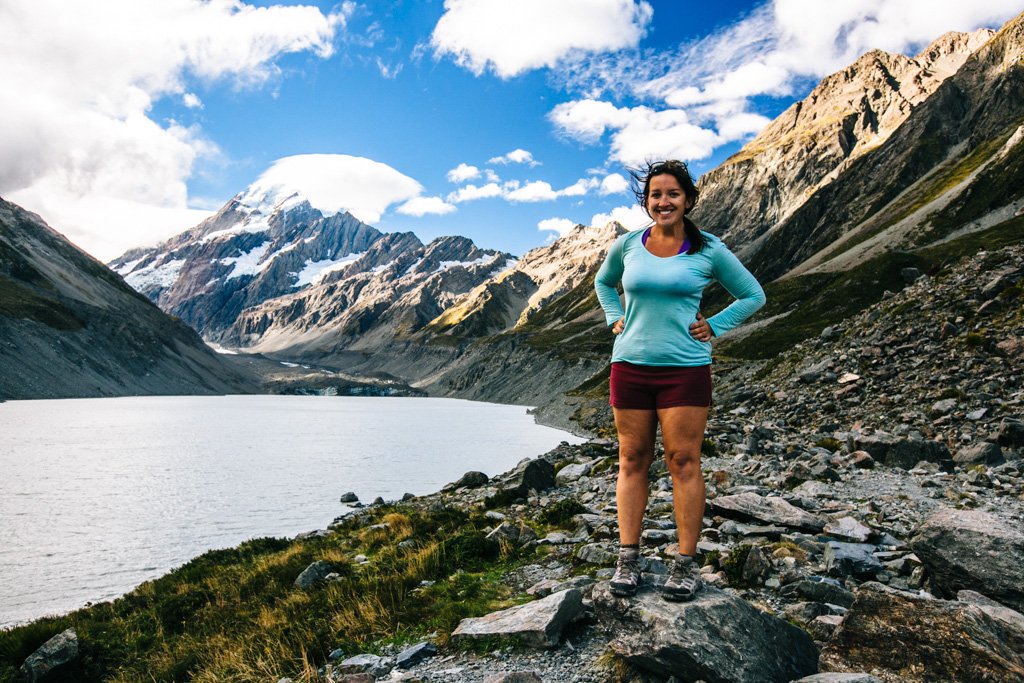
The track takes you across a few NZ swing bridges crossing over glacial rivers, and down some man-made boardwalks that follow the stream, and ends at Hooker Lake where you have a clear view of Mt. Cook (well, clear if the clouds cooperate!). It sounds pretty average when summed up in 25 words or less, but believe me: the Hooker Valley Track is devastatingly beautiful and definitely gets my vote for best day hike in New Zealand. Allow me to illustrate:
Sealy Tarns Track & Mueller Hut
The next day, I packed up my tent and went back into the village to 1). Sign in for the overnight trek to Mueller Hut, and 2). Store my belongings I wouldn’t be needing for the hike at my hostel for the following night.
The first part of that is easy enough. The Mueller Hut hike is quite popular, so you need to book your bed in the hut well in advance (for NZ$36) and then check in at the Mt. Cook visitors center the morning you start. That’s just so they know who’s on the trail and when to expect your return.
The second part was a bit tricky, though. Since I was doing the Mueller Hut hike without a car, I had to do a bit of a juggling act with all my gear that morning:
- Leave main backpack with all items needed for the overnight Mueller Hut hike (e.g. clothes, food, gear) at the White Horse Hill camp kitchen
- Walk into Mt. Cook Village with my valuables (i.e. camera gear) and items not needed for the hike
- Store unneeded items at the hostel I’d be staying at the following night
- Walk back to the campsite, grab my main pack and add my valuables to it
Obviously you can ignore all of that nonsense if you have a car (in which case I am very envious!).
If you’re unable to book a spot in the Mueller Hut, don’t want to pitch a tent there, or just plain don’t want to hike all that way, you can still get a solid few hours of hiking in by going up part of the way following the Sealy Tarns Track.
You can reach the trailhead from Mt. Cook Village by following the Kea Point track; alternatively, you can drive to the White Horse Hill parking lot, park, and hike in from there. Because I’d left my pack at the camp kitchen, I walked back to White Horse Hill, picked up my pack, and set off on the trail.
Sealy Tarns Track
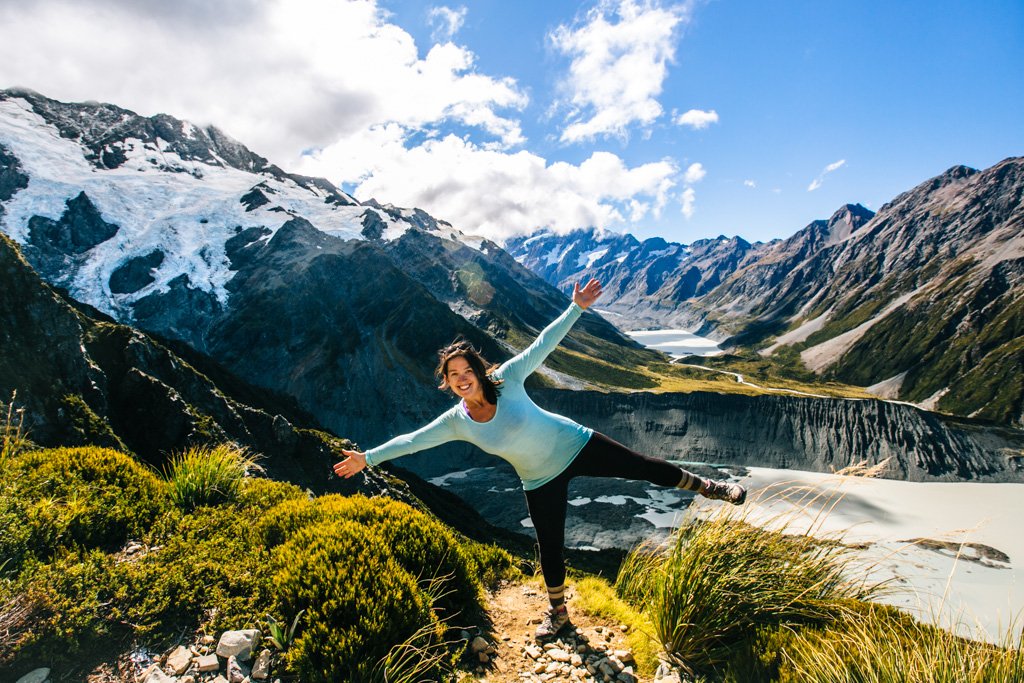
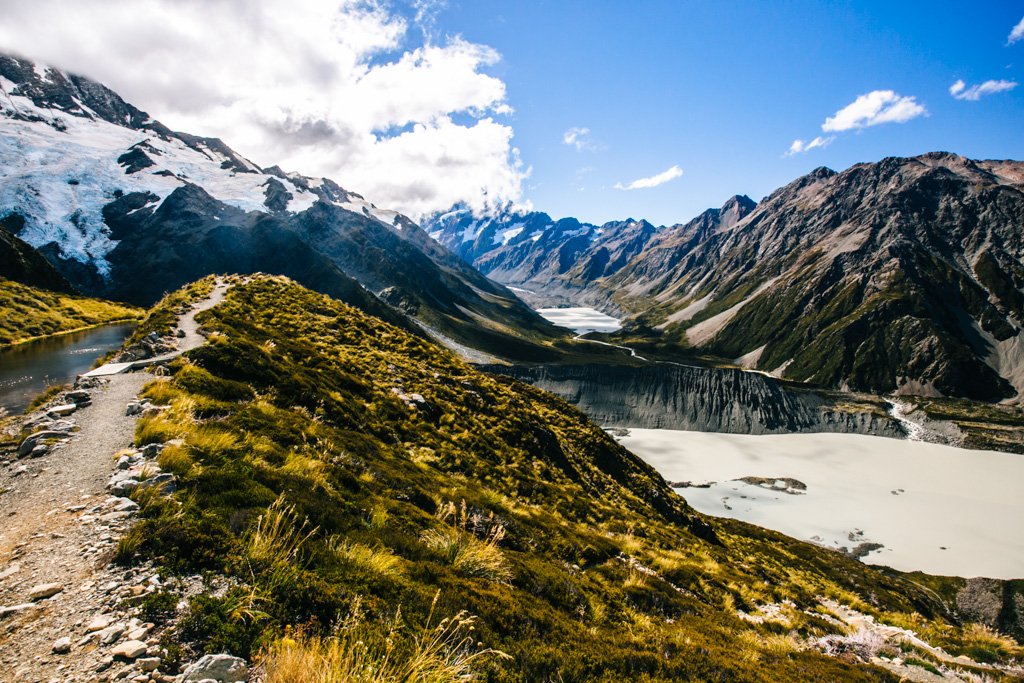
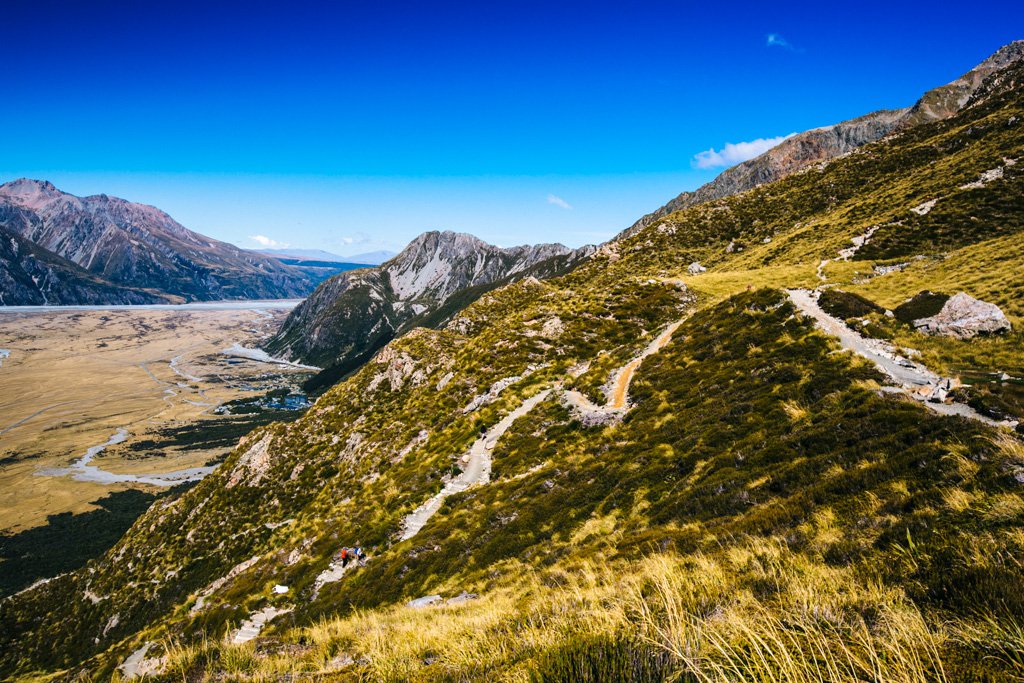
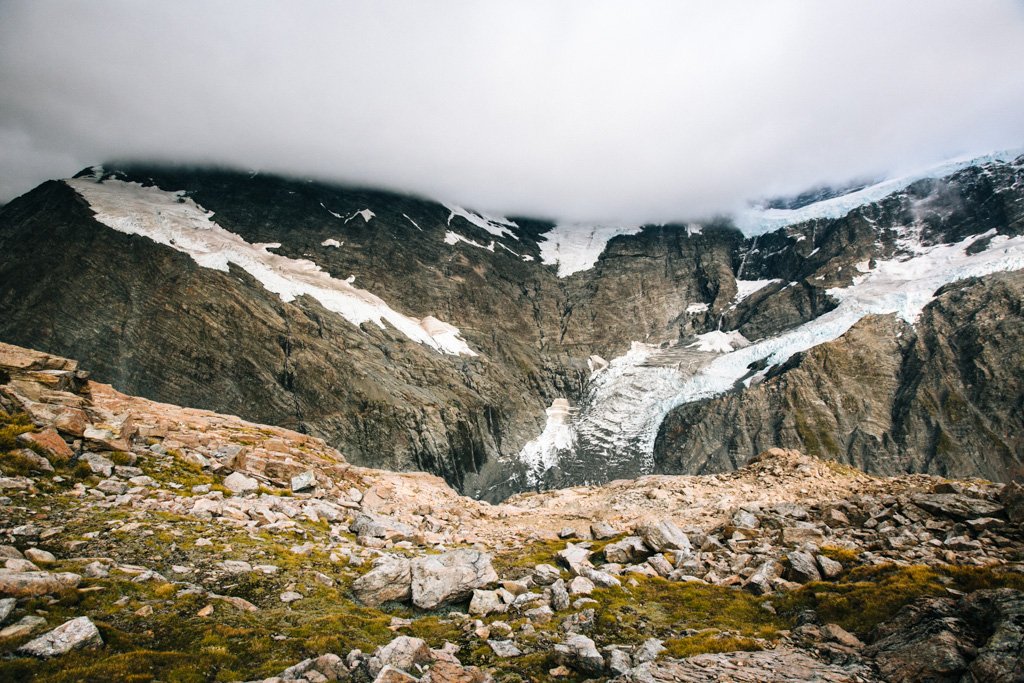
To reach the Mueller Hut, your trek begins with an ascent of nearly 2000 steps to Sealy Tarns. The views of the valley and surrounding mountains improve the further you rise, but nothing compares with with the glacier overlook at Sealy Tarns itself. There’s a picnic table conveniently placed here, as if they figured it was the ideal spot for a lunch break. I was happy to oblige.
Note that there’s a small lake up here where you can refill your water bottle.
Mueller Hut Track
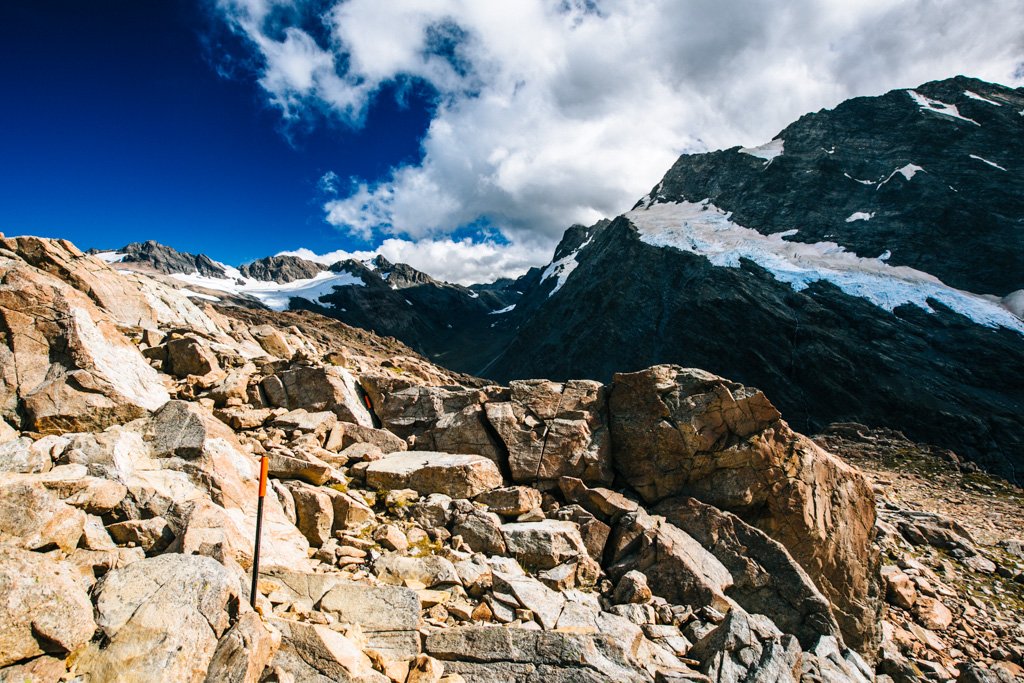
The Sealy Tarns Track is a walk in the park compared to what lies further on the “trail” to Mueller Hut. I hesitate to even call it a trail because it’s mostly just a constant uphill sludge through gravel and rocks of all sizes. There’s no clear path, just trail markers that you essentially crawl to however you can manage.
I won’t lie, it’s tough-going. Have no shame in stopping frequently to take in the view (slash catch your breath).
Yeah, try hiking up through this. Woof!
When you finally reach the top of the mountain, you’ll want to throw your layers on because the second you turn the corner to head around to the other side of the mountain, you’re going to get smacked by the wind. Consider the sweaty portion of the trek over and the cold portion only just beginning.
The landscape turns totally different on the other side. Suddenly it’s like you’re exploring some other planet, back on a proper trail dotted with some rocks for scrambling. There’s a decent chance that snow will be on the ground outside of summer months here.
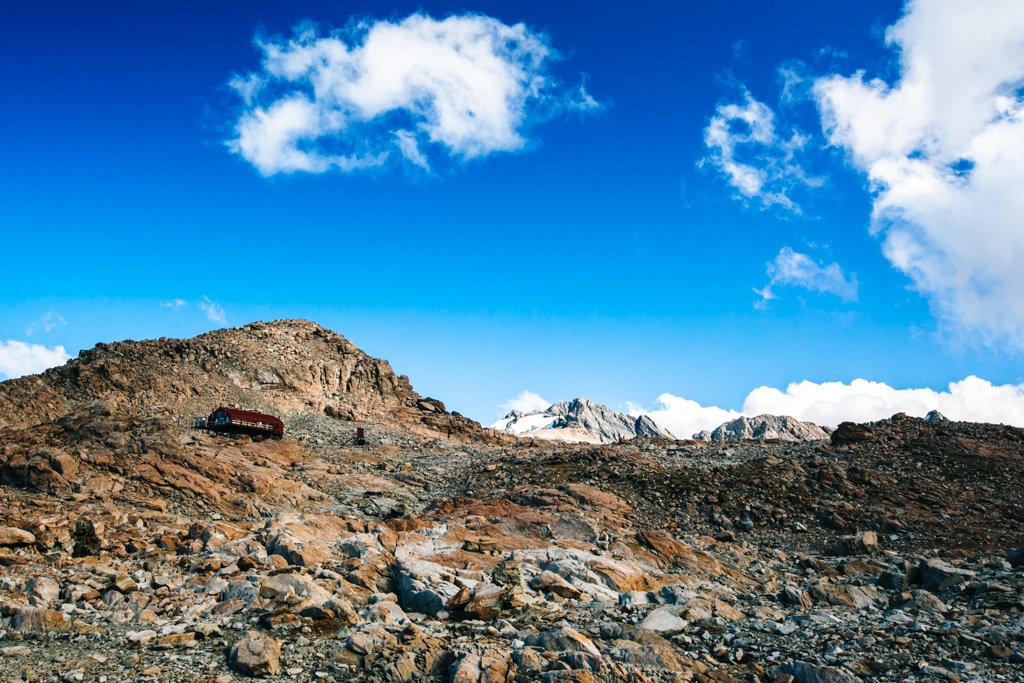
Can you spot Mueller Hut?
Mueller Hut has no heat, a couple of bunk rooms with sleeping mats, and a kitchen where you can use the stoves to cook if you bring your own utensils. I was thrilled to find a few wool blankets in the bunk rooms, one of which I stuffed in my sleeping bag for extra warmth. My main worry for this trek had zero to do with my ability to complete it and everything to do with being too cold. I think body heat really helps when you’re sleeping in a room full of other trekkers because I wasn’t cold at all overnight – yay!
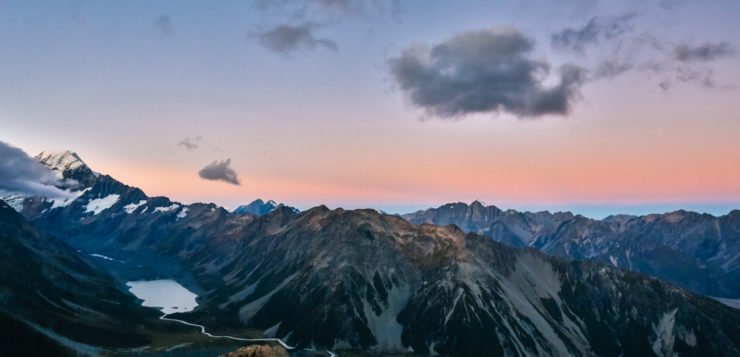
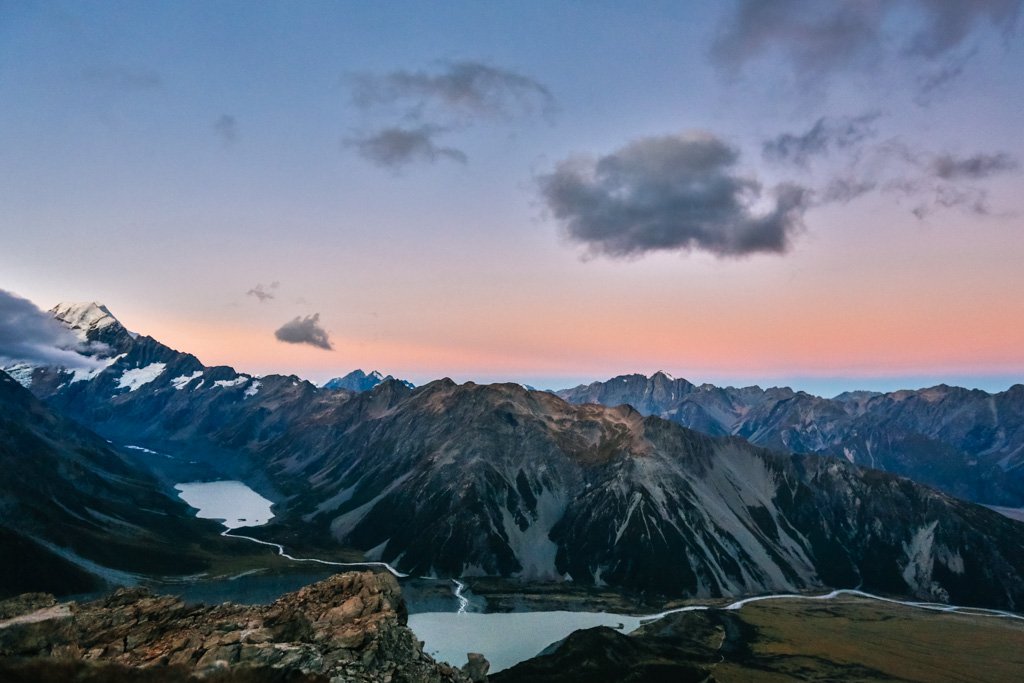
I’d recommend exploring the area around Mueller Hut while you’re there – particularly at sunset and sunrise. If you walk to the ledge, you’ll have an unparalleled view of the landscape below: from Hooker Lake and Mueller Lake to the Hooker River flowing out of the valley to the surrounding mountains. It’s seriously stunning. I’m kicking myself for not climbing up higher on the ledge for an even better view.
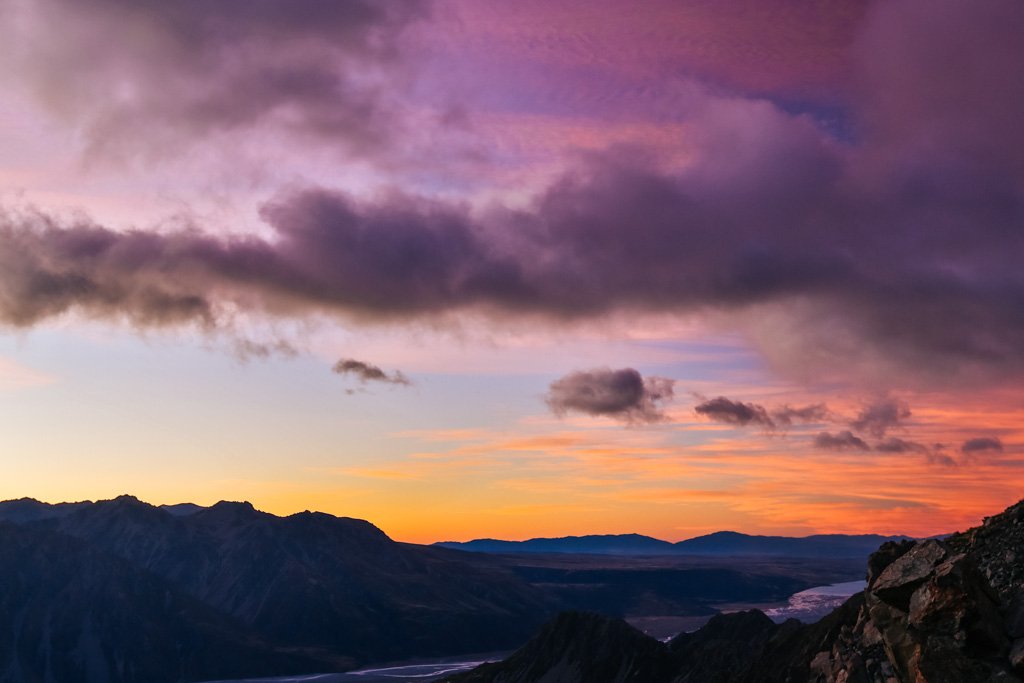
Sunset from Mueller Hut.
Sunrise from Mueller Hut.
Going back down from Mueller Hut was more challenging than you might think. I highly recommend bringing trekking poles because this is where you’ll really need them for support – particularly making your way down the gravel and rocky part of the trail before Sealy Tarns. It’s very rough on the knees!
I didn’t have any trekking poles, so by the time I made it to the stair portion of the trail my legs had all but turned to putty. I’ve never had so much trouble walking in my life – my legs kept trembling and I felt like I could tumble over at any second. It was seriously scary. All I could do was inch my way down each step and pray for solid ground.
I’d say it took my legs a full 3 days to recover from that steep downhill trek. During that time, I hobbled around like a granny with locked legs because I couldn’t bend my knees without feeling like I was going to fall down. Moral of the story? HIKE WITH TREKKING POLES.
Is it worth the effort?
A few people I ran into after conquering the Mueller Hut hike asked if it was worth going up just to Sealy Tarns. In my opinion: YES, it totally is. It’s a great cardio workout, and the views are sensational all along the way but especially from Sealy Tarns at the endpoint.
I also saw some people on the trail who hiked up to the top of the mountain and back down in one day without going to Mueller Hut. Is it worth it? In my opinion: NO. That’s way too much effort without the thrill of finding out what it looks like on the other side of the mountain.
Finally, is it worth the effort to hike all the way to Mueller Hut? YES, definitely. Staying overnight at Mueller Hut is an incredible experience, and the landscapes are sensational the whole way.
What do you think: would you ever hike to Mueller Hut?
