This post was last updated on 2025 October 27
This article on Highlights From The Overland Track may contain affiliate links. If you click and make a purchase using these links, I will make a small commission at no extra cost to you. Thanks so much for supporting Frugal Frolicker! :)
Even though I didn’t 100% love the Overland Track, I’m glad I hiked it and I enjoyed it whenever the weather cooperated.
If you’re thinking of hiking the Overland Track in Tasmania, you should do your research beforehand (unlike me – lesson learned!). Anticipate inclement weather and pack accordingly. And perhaps most importantly, look at the route and decide how much time you’ll need in order to complete your preferred side treks.
On that note, here’s what you can expect on a 6 day itinerary for the Overland Track with minimal side treks (though they’re noted after each day, should you be interested) —
Planning a trip to Tasmania?
These are the sites I use and recommend for booking travel:
ACCOMMODATION IN TASMANIA: I always search on Booking.com for accommodation, as their Genius loyalty program offers 10-20% discounts and free breakfast/upgrades for certain hotels.
FLIGHTS TO TASMANIA: When researching flights, I always check Skyscanner first because it pulls in flight options across all airlines and saves you the trouble of searching each airline individually. When booking flights via Skyscanner, I always book directly with the airline rather than one of the third party options.
CAR RENTAL IN TASMANIA: When renting a car on your travels, check DiscoverCars.com for the best deals.
ACTIVITIES IN TASMANIA: If you’re looking to book tours or other organized activities on your travels, GetYourGuide and Viator both offer myriad options for fun things to do all around the world (think: sailing trips, cooking classes, city walking tours, and more).
TRAVEL INSURANCE FOR AUSTRALIA: Unless you can easily afford to pay for huge unexpected medical bills, DON’T TRAVEL WITHOUT TRAVEL INSURANCE! These days, I usually buy the Safety Wing nomad insurance, as it’s very affordable and caters to digital nomads with a monthly subscription option. I’ve also been a longtime World Nomads user, and will still use them if I need more comprehensive insurance (e.g. for adventure activities) or if I am visiting the US (Americans aren’t eligible for Safety Wing’s US add-on option).
ESIM / SIM CARDS FOR AUSTRALIA: When traveling overseas, I always purchase an eSIM from Simify for the country I’m going to, activate it before I depart, and as soon as I arrive I am automatically connected to the local network and can easily find my way to my accommodation. No need to to buy a local SIM card at the airport; eSIMs are fully electronic and don’t require you to take out your old SIM.
LUGGAGE: I am currently a July luggage girl (July Australia / July US). They offer a lifetime warranty, which I have used multiple times now – and every time, they have sent me a brand new replacement suitcase without hassle. I recommend their Checked Plus if traveling with 32kg/70lb of luggage (note: many airlines do not allow bags this heavy!), the Checked if traveling with 23kg/50lb of luggage, and the Carry On Light (Expanded) which is super lightweight and really helps you stay within the 7kg carry-on limit that many Aussie airlines enforce. Click to read my full review of July luggage.
Day 1: Ronny Creek to Waterfall Valley (10 km / 4-5 hours)
With my pack at its heaviest, I set off around midday from the Ronny Creek car park into a drizzly meadow. True to form, the weather cleared within 20 minutes and I was able to ditch my rain gear for the rest of the day.
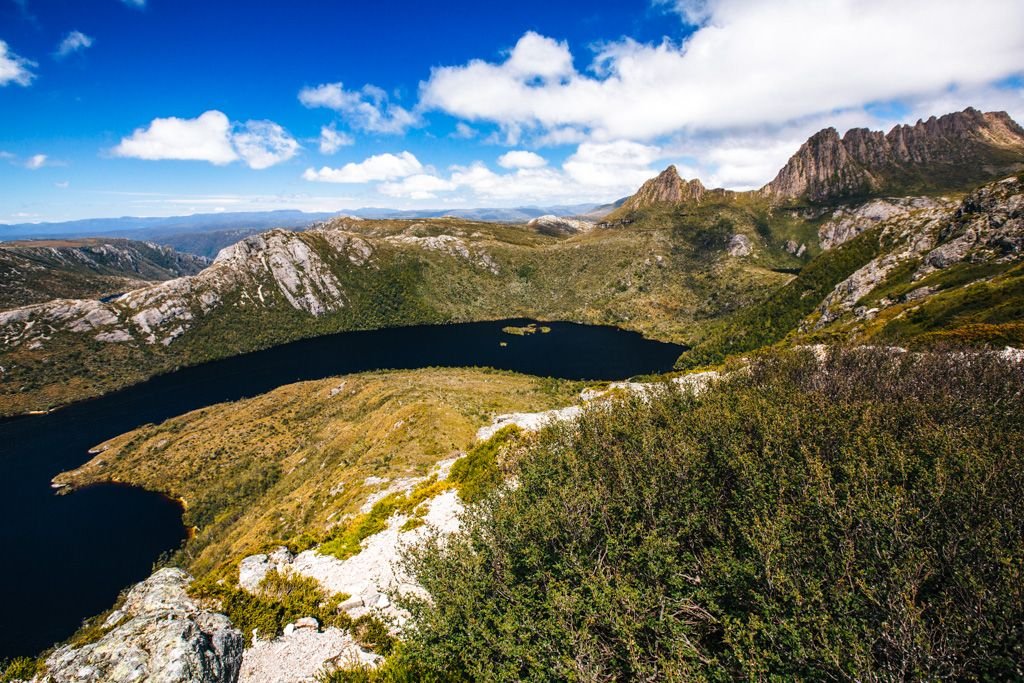
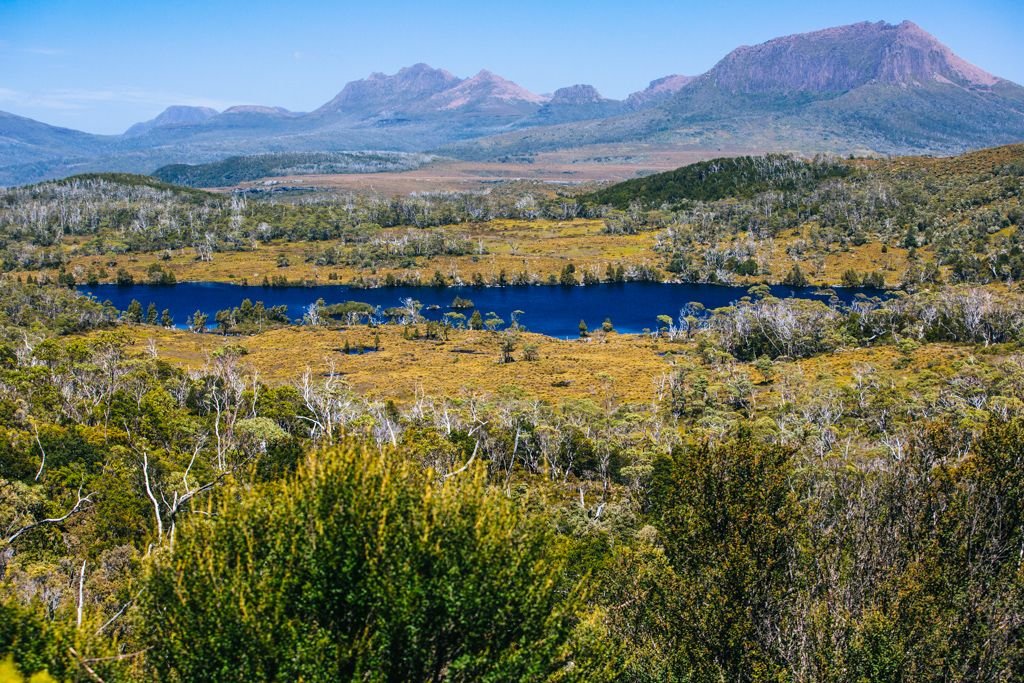
The first day of the Overland Track is terrifically scenic! The trail makes its way past a few small waterfalls and the glacially carved Crater Lake before a steep and windy ascent to Marion’s Lookout. From here, you can enjoy a 360-degree view of the surrounding mountains, lakes, and valleys. It’s the perfect spot for a lunch break!
View of Cradle Mountain from Marion’s Lookout
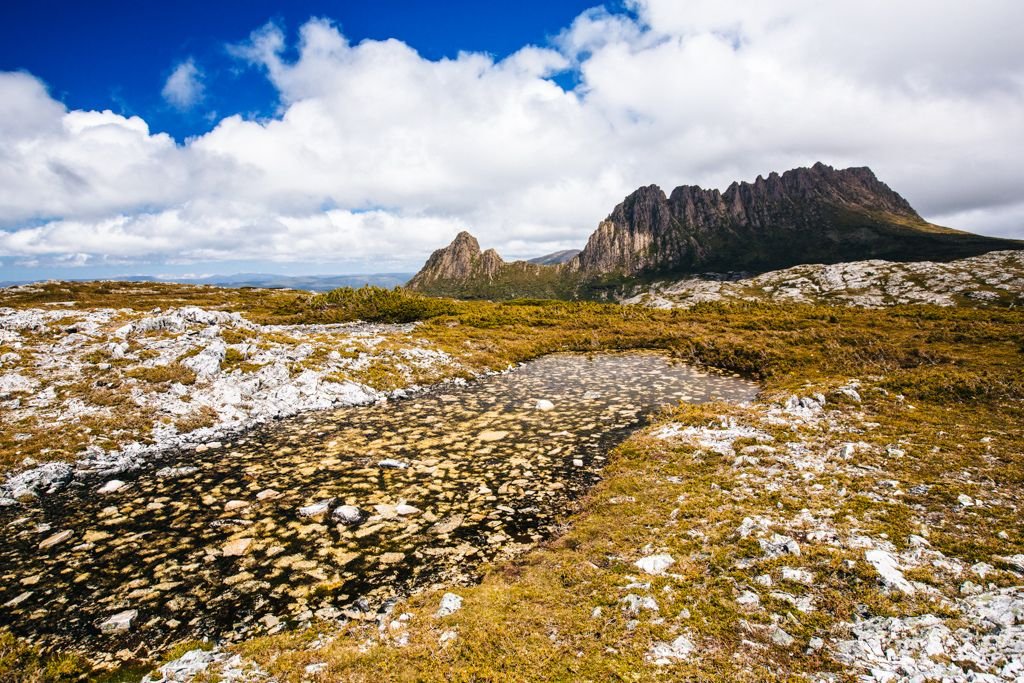
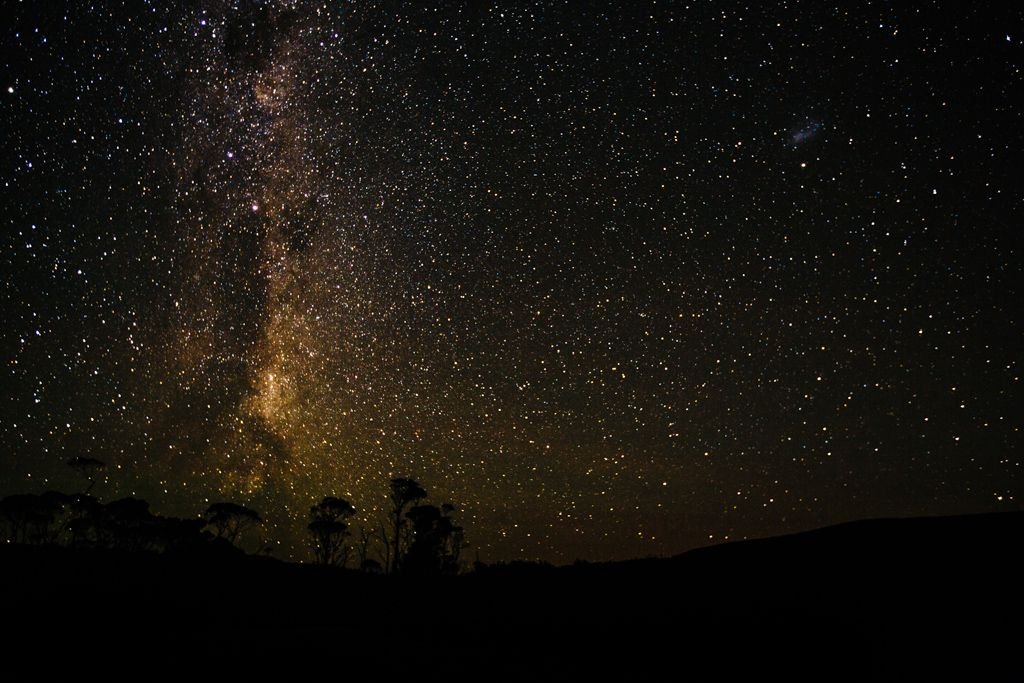
The second half of this segment covers some very rocky ground around the base of Cradle Mountain and ends with seemingly endless stairs down into Waterfall Valley. I was completely knackered by this point and all but crashed upon arriving at the hut. I’m really glad I made the effort to take some photos of the night sky later on, though – I mean look at it!
Optional Side Treks:
- Cradle Mountain summit (2-3 hours)
- Barn Bluff summit (3-4 hours)
Note: These climbs are only worth doing on a clear day, otherwise you won’t see much from the top!
Day 2: Waterfall Valley to Windermere (8 km / 2-3 hours)
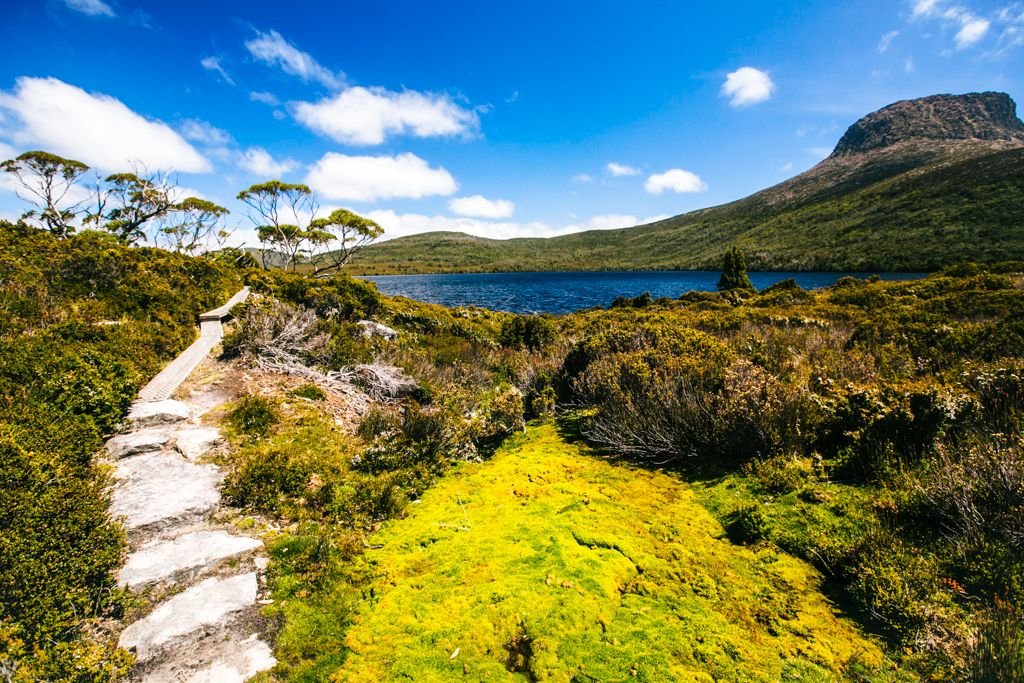
The second day of the Overland Track is all about the lakes! I got lucky with a warm and sunny day, which was even more convenient as this segment of the trail is largely out in the open air through the moorland.
Since this day is easy and almost entirely flat, the side hike to Lake Will is basically a no-brainer. You can walk closer to Barn Bluff mountain and further along the lake, where you might witness weird things like a massive tree growing smack in the middle of a sandy beach.
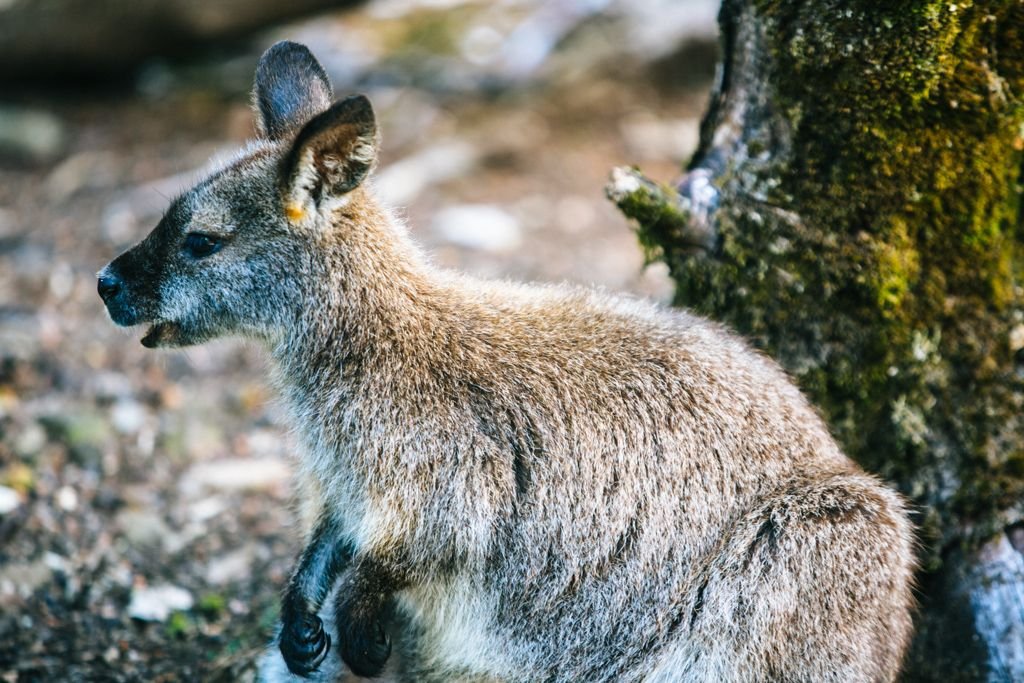
The end of the day’s trail segment leads into Windermere Hut, where you can relax by the lake after a day of trekking (or swim if you’re not a wuss like I am!). I opted to hang out on the hut deck with a pademelon (wallaby-like creature) and then sit out in the sun reading on a boulder nearby the trail.
Optional Side Treks:
- Lake Will (1 hour)
Day 3: Windermere to Pelion (17 km / 4-6 hours)
I look back on Day 3 not-so-fondly as the day of hell. My handwritten notes have RAINY MUD MAZE scrawled across the page, accompanied by a sad face. Sounds about right!
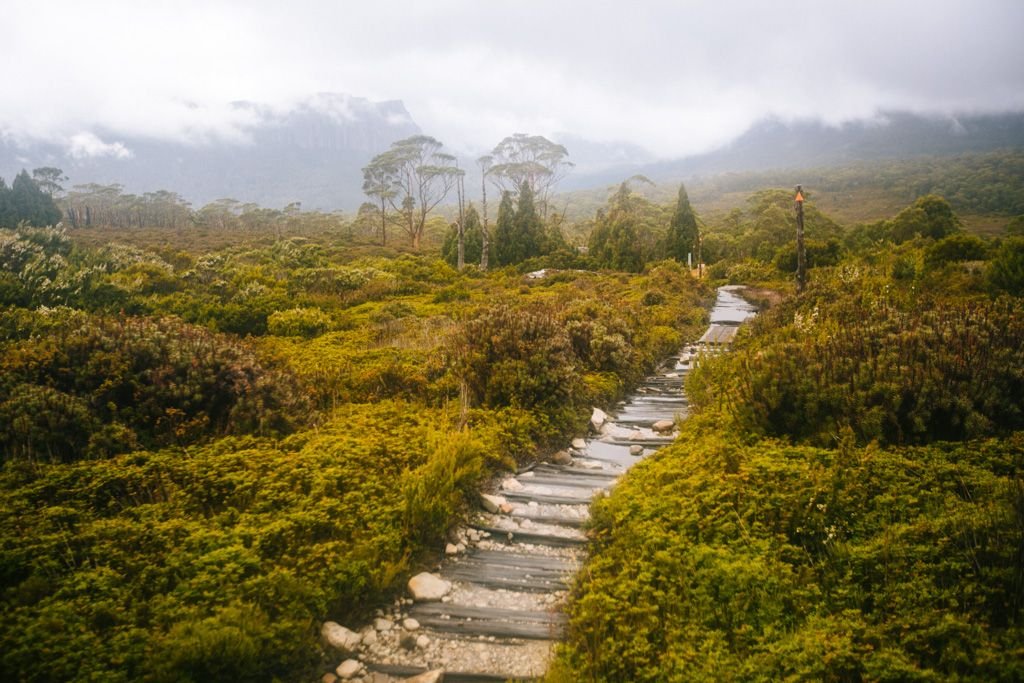
To be fair, my negative feelings about it were almost exclusively due to the awful weather. This segment starts out through moorlands and affords some pretty fabulous views of the valley below in better conditions. But with limited visibility, all I could do was trudge on and hope the next hut wasn’t too far along.
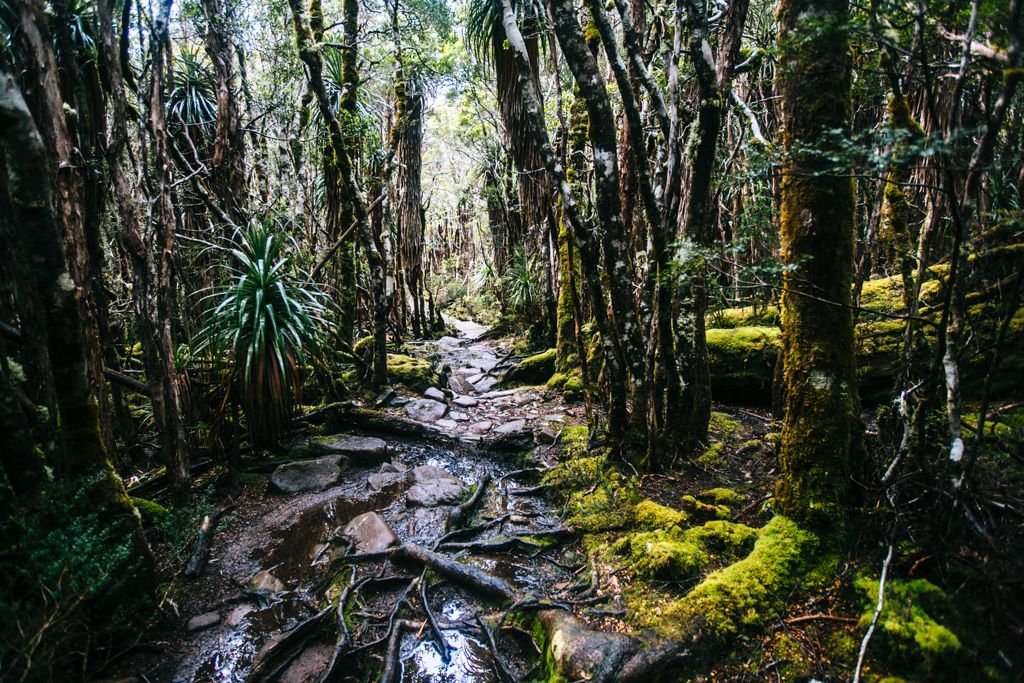
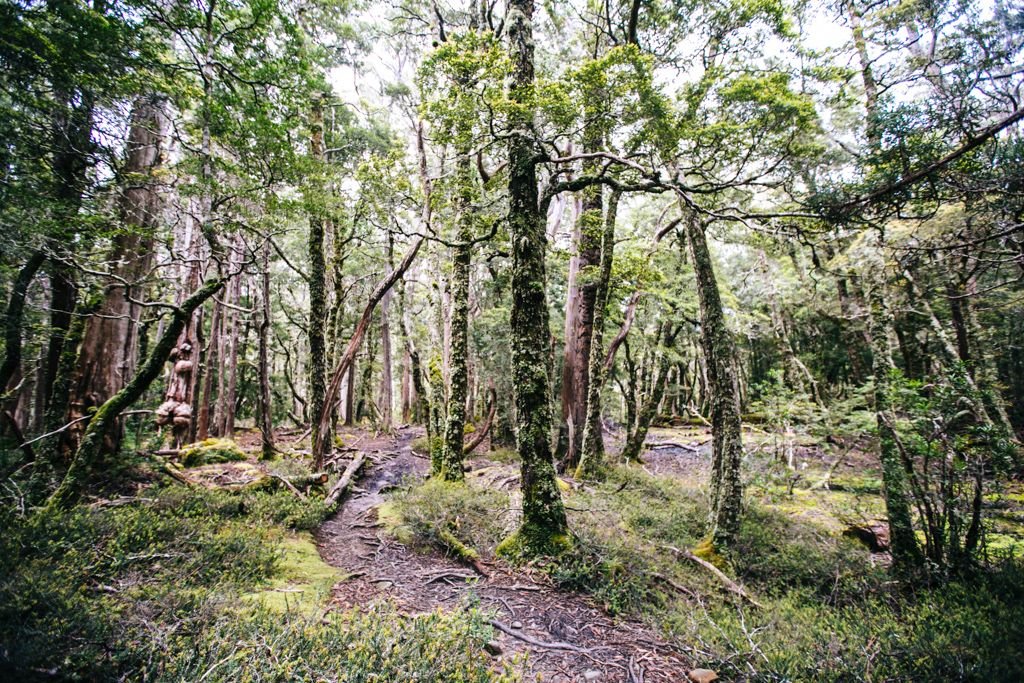
Then, the trail enters the woods and winds its way downhill. It was dark and soggy at midday, and heavy rain had penetrated my shoddy rain jacket and rain pants (chafing for days!). Suffice it to say I bore precisely zero resemblance to a happy camper. I gingerly stepped around puddles and tree roots to minimize discomfort, eyes on the ground at virtually all times. The mud maze went on for so long that I thought I must have missed a turn at some point and, feeling defeated and slightly freaked out, turned around to retrace my muddy steps.
Thankfully I finally ran into a couple of folks who had stayed at the same hut as me the night before and they assured me I was heading in the right direction. I calmed the heck down and resolved to follow them for the remainder of the day. I finally reached the New Pelion hut limping and chafing in no less than 6 spots on my body. It’s one of the newer and larger huts, so I quite enjoyed warming up and resting there after a traumatic morning of trekking.
But! On a more pleasant day, I’m sure Day 3 of the Overland Track would be perfectly enjoyable. Really!
Optional Side Treks:
- Mt. Oakleigh (4-5 hours)
Planning a trip to Tasmania?
These are the sites I use and recommend for booking travel:
ACCOMMODATION IN TASMANIA: I always search on Booking.com for accommodation, as their Genius loyalty program offers 10-20% discounts and free breakfast/upgrades for certain hotels.
FLIGHTS TO TASMANIA: When researching flights, I always check Skyscanner first because it pulls in flight options across all airlines and saves you the trouble of searching each airline individually. When booking flights via Skyscanner, I always book directly with the airline rather than one of the third party options.
CAR RENTAL IN TASMANIA: When renting a car on your travels, check DiscoverCars.com for the best deals.
ACTIVITIES IN TASMANIA: If you’re looking to book tours or other organized activities on your travels, GetYourGuide and Viator both offer myriad options for fun things to do all around the world (think: sailing trips, cooking classes, city walking tours, and more).
TRAVEL INSURANCE FOR AUSTRALIA: Unless you can easily afford to pay for huge unexpected medical bills, DON’T TRAVEL WITHOUT TRAVEL INSURANCE! These days, I usually buy the Safety Wing nomad insurance, as it’s very affordable and caters to digital nomads with a monthly subscription option. I’ve also been a longtime World Nomads user, and will still use them if I need more comprehensive insurance (e.g. for adventure activities) or if I am visiting the US (Americans aren’t eligible for Safety Wing’s US add-on option).
ESIM / SIM CARDS FOR AUSTRALIA: When traveling overseas, I always purchase an eSIM from Simify for the country I’m going to, activate it before I depart, and as soon as I arrive I am automatically connected to the local network and can easily find my way to my accommodation. No need to to buy a local SIM card at the airport; eSIMs are fully electronic and don’t require you to take out your old SIM.
LUGGAGE: I am currently a July luggage girl (July Australia / July US). They offer a lifetime warranty, which I have used multiple times now – and every time, they have sent me a brand new replacement suitcase without hassle. I recommend their Checked Plus if traveling with 32kg/70lb of luggage (note: many airlines do not allow bags this heavy!), the Checked if traveling with 23kg/50lb of luggage, and the Carry On Light (Expanded) which is super lightweight and really helps you stay within the 7kg carry-on limit that many Aussie airlines enforce. Click to read my full review of July luggage.
Day 4: Pelion to Kia Ora (9 km / 3 hours)
Day 4 started out gray and rainy, but I was in much better spirits knowing it would be a short day on the trail. This trail segment moves through both rainforest and a valley, so it’s less maze-like than Day 3.
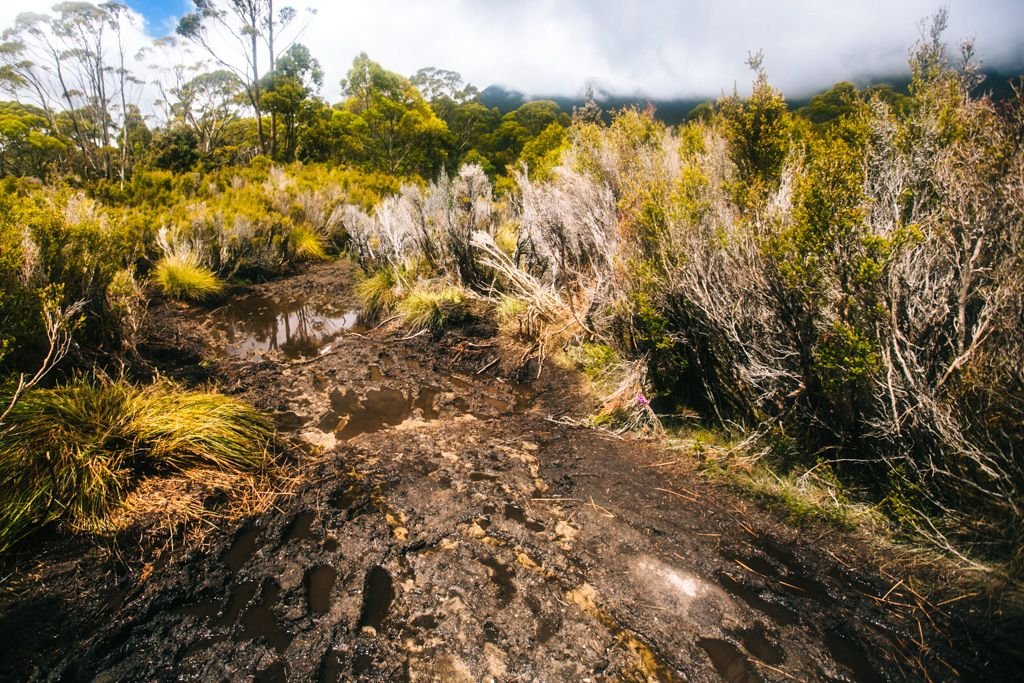
Had it cleared in time, I’d have done the side hike up Mt. Ossa which would have made it a fuller day of hiking; but it was overcast and drizzly when I reached the trailhead, so I carried on to the Kia Ora hut instead. It ended up clearing shortly after I passed it, go figure. The lack of rain made it slightly more bearable when we were trekking through massive mud trenches. There are hardly any platforms placed on the trail in this section, and at some points you have no choice but to step right into the deep piles of mud. What a cruel, cruel joke!
Optional Side Treks:
- Mt. Ossa (3.5-4.5 hours)
Day 5: Kia Ora to Windy Ridge to Narcissus (10 km / 3-4 hours & 9 km / 3-4 hours)
Day 5 is the day I got my groove back on the Overland Track. With the weather on my side, I set off on what was my longest day on the trail. Note: I’d have split this into two days if I were taking the ferry to Cynthia Bay rather than hiking there the following day.
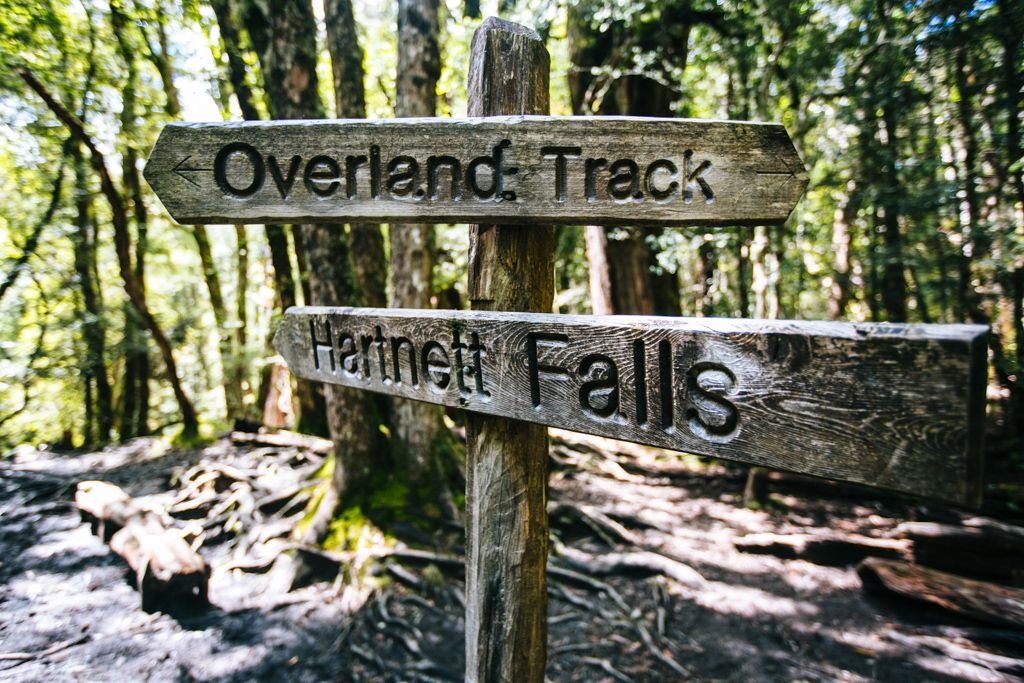
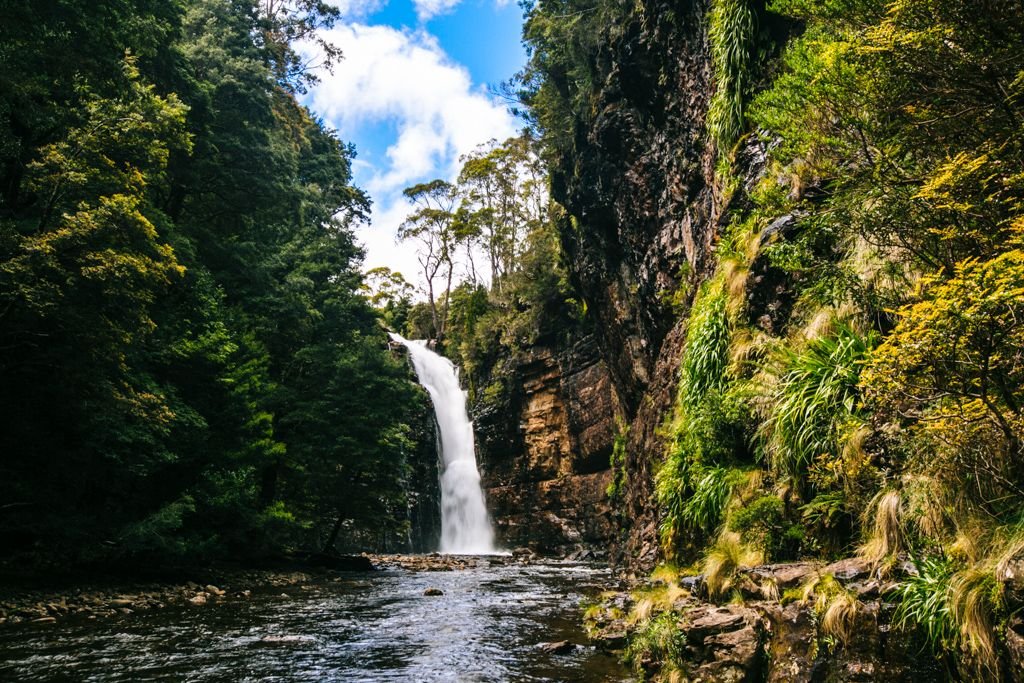
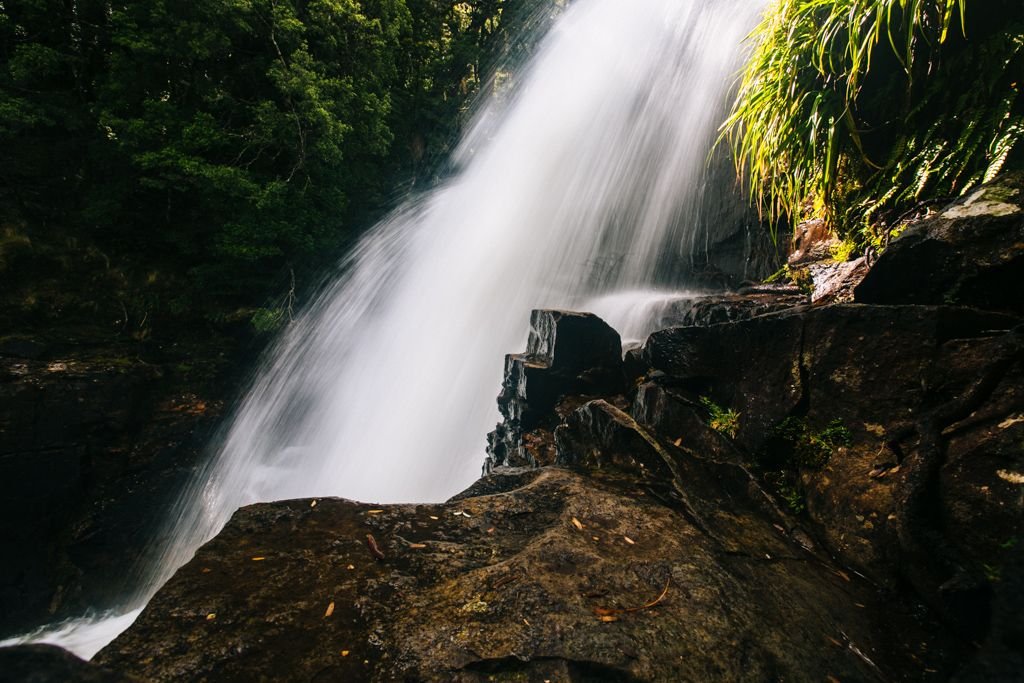
There are a few side treks to some impressive waterfalls along this segment – DO THESE. You can drop your pack at the junctions to the falls and take an easy walk down. Fergusson Falls is especially impressive close-up; D’Alton less so. Hartnett requires more effort to get to because the most of the path is muddy, and then you have to find your way down a bushwhacked path that takes you right down to the water. I’d highly recommend the extra effort here because the falls are way cooler when you can get closer to them, vs. the obstructed view you get from above if you don’t bother with the bushwhacking.
Hartnett Falls
Fergusson Falls
The midway point for me on Day 5 was the newly-constructed Bert Nichols hut. I was bummed not to be able to stay overnight here, but I hung out for a bit and made myself lunch before carrying on to Narcissus.
The second half of the day’s trek was wonderfully dry and flat. I had a ball frolicking in the tall trees, but my favorite part was towards the end when the trail opened up to sweeping views of the mountains over the valley. Crossing the swing bridge was pretty fun, too! This may be TMI, but my feet have never looked more disgusting than they did at the end of this day. After nearly 10 hours of trekking in damp boots, they were completely pruny and literally steaming when I took off my shoes and socks. SO GROSS.
Optional Side Treks:
- D’Alton & Fergusson Falls (1 hour)
- Hartnett Falls (1 hour)
Planning a trip to Tasmania?
These are the sites I use and recommend for booking travel:
ACCOMMODATION IN TASMANIA: I always search on Booking.com for accommodation, as their Genius loyalty program offers 10-20% discounts and free breakfast/upgrades for certain hotels.
FLIGHTS TO TASMANIA: When researching flights, I always check Skyscanner first because it pulls in flight options across all airlines and saves you the trouble of searching each airline individually. When booking flights via Skyscanner, I always book directly with the airline rather than one of the third party options.
CAR RENTAL IN TASMANIA: When renting a car on your travels, check DiscoverCars.com for the best deals.
ACTIVITIES IN TASMANIA: If you’re looking to book tours or other organized activities on your travels, GetYourGuide and Viator both offer myriad options for fun things to do all around the world (think: sailing trips, cooking classes, city walking tours, and more).
TRAVEL INSURANCE FOR AUSTRALIA: Unless you can easily afford to pay for huge unexpected medical bills, DON’T TRAVEL WITHOUT TRAVEL INSURANCE! These days, I usually buy the Safety Wing nomad insurance, as it’s very affordable and caters to digital nomads with a monthly subscription option. I’ve also been a longtime World Nomads user, and will still use them if I need more comprehensive insurance (e.g. for adventure activities) or if I am visiting the US (Americans aren’t eligible for Safety Wing’s US add-on option).
ESIM / SIM CARDS FOR AUSTRALIA: When traveling overseas, I always purchase an eSIM from Simify for the country I’m going to, activate it before I depart, and as soon as I arrive I am automatically connected to the local network and can easily find my way to my accommodation. No need to to buy a local SIM card at the airport; eSIMs are fully electronic and don’t require you to take out your old SIM.
LUGGAGE: I am currently a July luggage girl (July Australia / July US). They offer a lifetime warranty, which I have used multiple times now – and every time, they have sent me a brand new replacement suitcase without hassle. I recommend their Checked Plus if traveling with 32kg/70lb of luggage (note: many airlines do not allow bags this heavy!), the Checked if traveling with 23kg/50lb of luggage, and the Carry On Light (Expanded) which is super lightweight and really helps you stay within the 7kg carry-on limit that many Aussie airlines enforce. Click to read my full review of July luggage.
Day 6: Narcissus to Cynthia Bay (17.5 km / 6-7 hours)
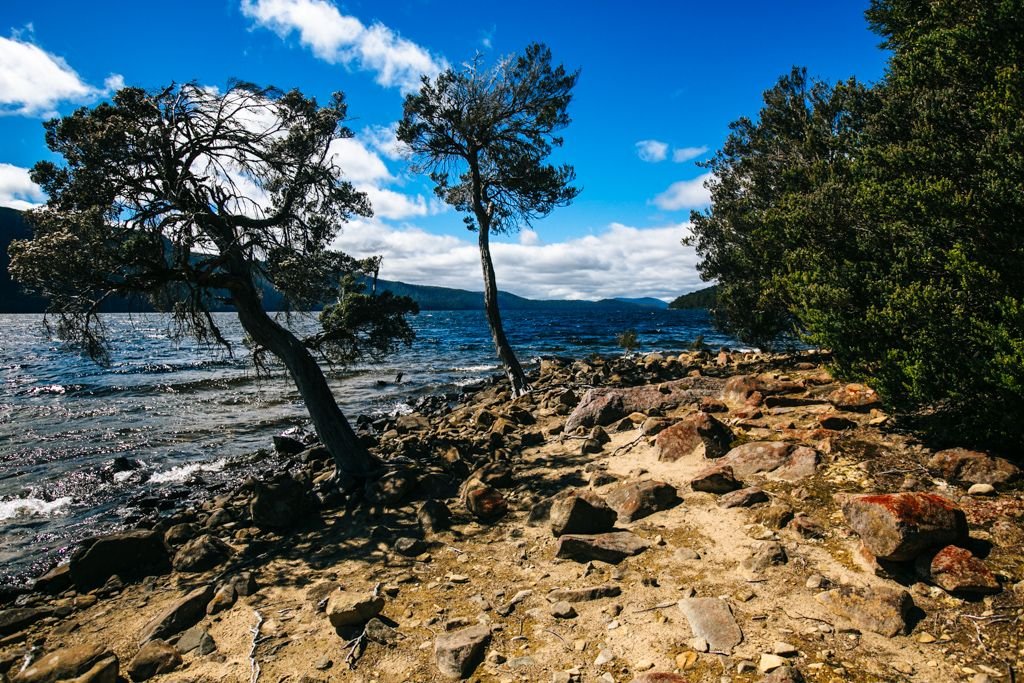
Day 6 wins the award for dullest day of the Overland Track. I now understand why most trekkers opt to take the ferry from Narcissus to Cynthia Bay rather than hike the 17.5 km – there isn’t much to see here. There’s the occasional view of Lake St. Clair, but aside from that – it’s just woods. It’d be fine on a day hike, but after 5 days of really awesome scenery it just seems a bit pointless.
View from Echo Point
On a more positive note, I’d finally woken up my hiking legs. That, coupled with a lighter pack, made it a fairly easygoing day on the trail. Had it not been for my heavily blistered feet and bruised hip, I might have enjoyed my final day on the Overland Track. Instead, it felt more like a slow-going race to the finish line. Toward the end, I had to break out my iPhone, put my cheesy playlist on speaker, and sing along just to get through the final stretch.
I swear, the path to the Visitor’s Centre dragged on for AGES. I limped the whole way there, then tore off my boots the second I reached the campsite, threw on flip flops, and ordered a double burger with fries and a flat white at the Lake St. Clair Lodge because I FINISHED!!
Hiking the Overland Track? Be sure to check out my other posts on things you should know before taking it on!
Frugal Facts
As of November 2018 —
The bus from Launceston to Cradle Mountain costs 75 AUD via McDermott’s Coaches. It leaves at 7:30am on Sunday, Monday, Wednesday, and Friday.
The bus from Lake St. Clair to Hobart costs 53.60 AUD with TassieLink. It departs Lake St. Clair at 11:45am on Tuesday and Thursday and 2:45pm on Sunday.
An Overland Track permit costs 200 AUD – you must book your start date upon purchasing your permit.
A Tasmania Parks Pass costs 30 AUD for hikers (valid for 8 weeks). If you already purchased a parks pass for your vehicle (like I did when I was roadtripping in Tasmania – it costs 60 AUD), you can just use this while you’re trekking.
The private ferry from Narcissus to Cynthia Bay costs 50 AUD.


