This post was last updated on 2024 April 21
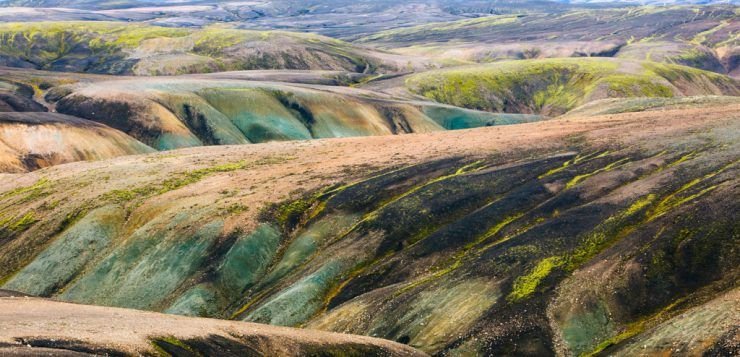
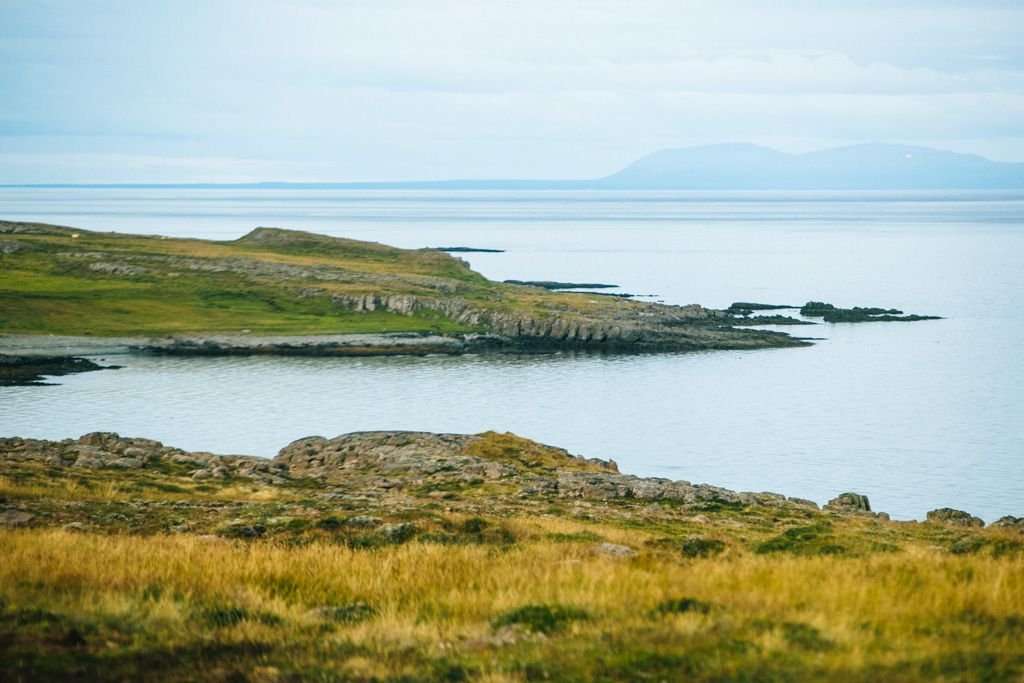
In a place as stunning as Iceland, it’s not all that difficult to take good photos. The majestic waterfalls, rugged coastline, and vibrant mountains pretty much set the scene up for you – all you have to do is press the shutter and boom.
Good photos are nice, but why settle for good when you can strive to take AWESOME photos in Iceland? It’s not so hard – you just need to know a few useful techniques! Allow me to enlighten you:
What Photo Gear Do You Need For Iceland?
Hold up! Before I go recommending fancy photo gear for your Icelandic adventure, there’s one thing you need to do first:
Learn how to shoot with your camera in manual mode.
You might be able to get away with Av or Tv mode if you had to, but manual mode will give you the most flexibility. So if you’re not yet comfortable shooting manual, take to The Google and get your learning on. Then, get your practice on. You can have the best gear in the world, but unless you know how to use it well your photos will be craptastic.
Got it? Now, once you know how to use a camera, here’s the photography equipment you should bring to take awesome photos in Iceland:
- Digital SLR camera – I used a Canon 5d Mark III (update: in 2018 I use a Canon 5d Mark IV)
- Wide angle lens – I used a Canon 16-35mm f/2.8 L
- Telephoto lens – I used a Canon 70-200mm f/2.8 L IS
- Polarizing filter – I used a Marumi DHG Circular PLD
- Tripod – I used a Slik Sprint Pro II (update: in 2018 I use a Manfrotto BeFree Advanced)
- Extra memory cards
- Extra batteries (and charger)
Traveling Iceland in winter? You’ll need to be equipped with more than just photo gear, so check out this post for what to wear in Iceland in winter.
How To Take Awesome Photos From The Car
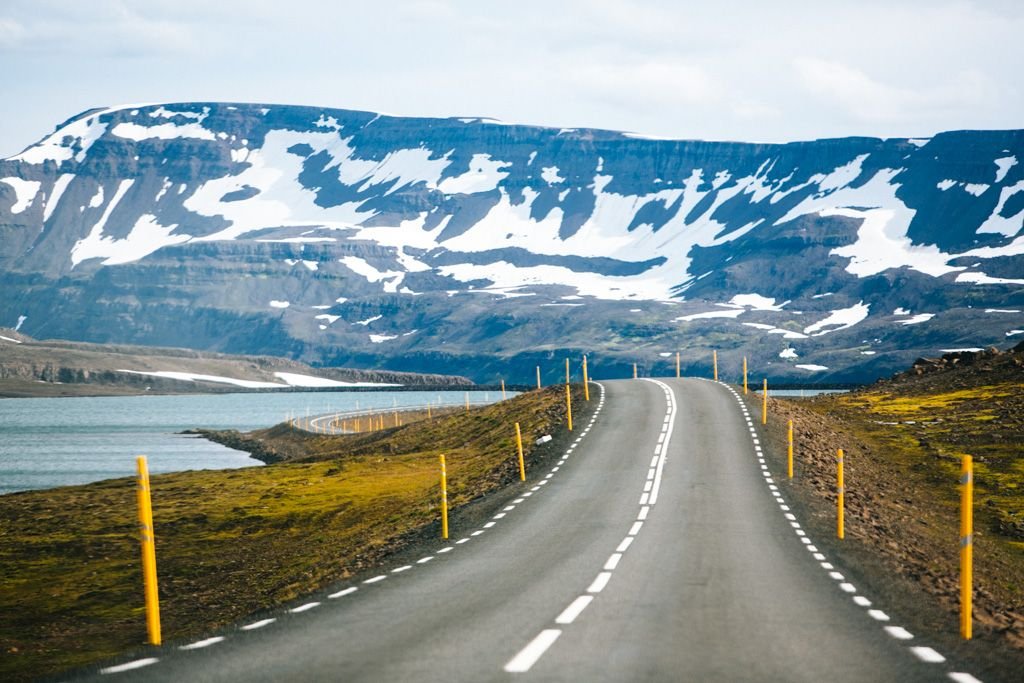
With so much of Iceland’s scenery rolling past as you drive around the country, it’d be a shame not to take pictures of it. Don’t be afraid (or too lazy!) to take pictures from inside your car.
One thing to be aware of when roadtripping in Iceland is that there often isn’t room to pull over on the Ring Road. It’s just not safe to stop your car on the side of the road wherever you please, so don’t be that guy.
But worry not! If you’re not the one driving and you’ve heeded my advice about lugging a telephoto zoom lens on your Iceland trip, you can totally snap some awesome shots from inside the moving car. Here are a couple tips to keep in mind for taking awesome photos on a road trip from the car:
- Shoot with a fast shutter speed. You’re moving, the car is moving, the scene around you is moving. Unless you want it all to appear a colorful blur, you’ll want to freeze the motion by setting your shutter speed to 1/400 or faster.
- Shoot as zoomed in as possible. When you’re shooting through windows and windshields, there’s bound to be dirt and other residue on the surface. The more zoomed in your lens is, the less in focus those surfaces will be. I found the 70-200mm lens to be perfect, especially when zoomed in closer to 200mm.
I took this photo straight through the front windshield at f/3.5, 1/4000 second, ISO 320, all the way zoomed in at 200mm:
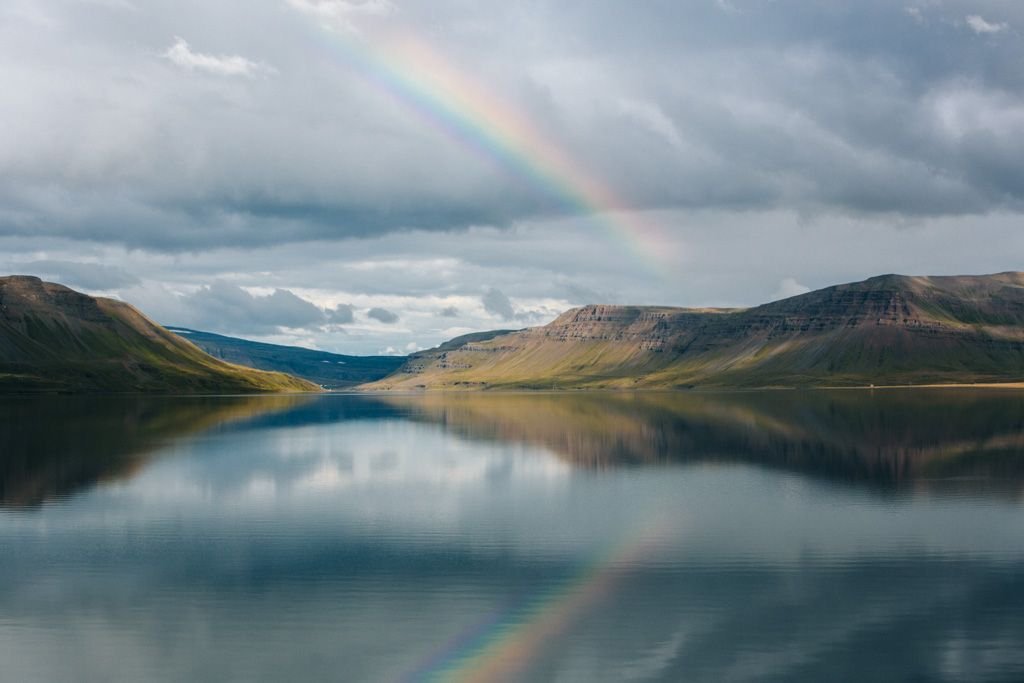
I shot this rainbow through an open window at f/8, 1/400 second, ISO 400:
How To Photograph Waterfalls in Iceland
You’d be remiss not to photograph the waterfalls in Iceland, so let’s assume that you are on a quest to capture these amazing feats of nature.
Here’s the thing about waterfalls: they make for interesting photographic subjects because of their motion. How you photograph them depends on how you want to capture this motion – and you’ll do this primarily by controlling the shutter speed.
Here’s a quick and dirty rule of thumb:
- If you want to freeze the roaring motion of the falls, use a faster shutter speed
- If you want the falls to appear smooth and blurred, use a slower shutter speed
Scenario #1 more closely resembles what you see in real time, and can be easily achieved by setting your camera to a fast shutter speed (1/200 second or faster). My iPhone was able to capture the thundering falls of Godafoss pretty well at about 1/400 second:
Scenario #2 requires more effort to achieve results. To get that smooth, blurred effect on the falls, you want to aim for a shutter speed of 1/30 second or slower, which presents some difficulties —
First, with a slower shutter speed (anything slower than 1/60 generally), you’ll have to contend with camera shake. Unless you are exceedingly skilled at holding a camera perfectly still, even the slightest shake will generate some blur in your image. The best way to prevent camera shake with a slow shutter speed is to:
- Use a tripod.
- Put the camera on 2-second self timer mode so that it has time to still after you press the shutter.
Second, you will likely get an overexposed image in the midday sun at a slow shutter speed. There may be too much light to get a decent shot at 1/30 second or slower. Here are a few ways you can combat the too-much-light problem:
- Adjust your aperture to a narrower setting (a higher value, e.g. f/22) and ISO to the lowest setting (e.g. ISO 100).
- Try shooting the waterfall on a cloudy day, or close to sunrise/sunset when there’s less light.
- Use a neutral density (ND) or polarizing filter on your lens. These filters cut down on the amount of light entering the sensor, allowing you to shoot at a slower shutter speed than you’d be able to otherwise. Note: Check out this webpage for the lo-down on which filter to choose.
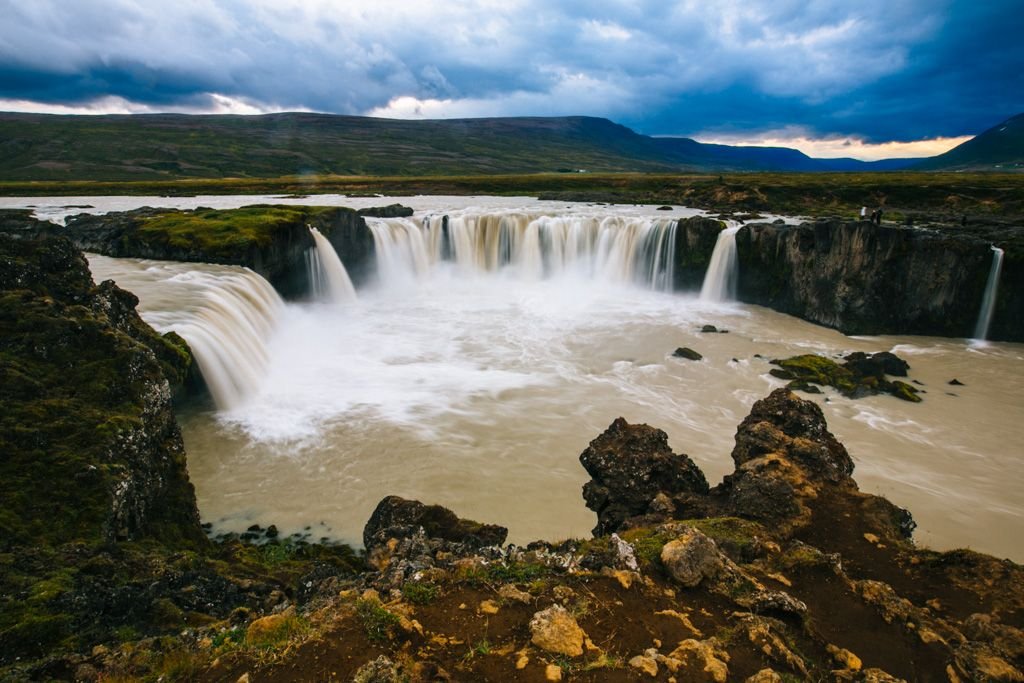
Using a tripod and polarizing filter, I captured Godafoss at f/22, .4 second, ISO 100:
Both photos of Godafoss are *technically good*, but stylistically are completely different. Neither style of shooting waterfalls is right or wrong – it’s all a matter of preference. Which do you like better?
How To Photograph The Northern Lights
I don’t know about you, but I get super intimidated by complicated recipes, especially ones that call for more than 10 ingredients. Thankfully my recipe for shooting the Northern Lights in Iceland is about as simple as it gets:
- Use a tripod
- Set your camera to 2-second self timer mode (to prevent camera shake)
- Set the shutter speed to 30 seconds
- Keep the ISO as low as possible to prevent grain in the image
- Adjust the aperture so that the image is properly exposed (i.e. not too dark or too bright)
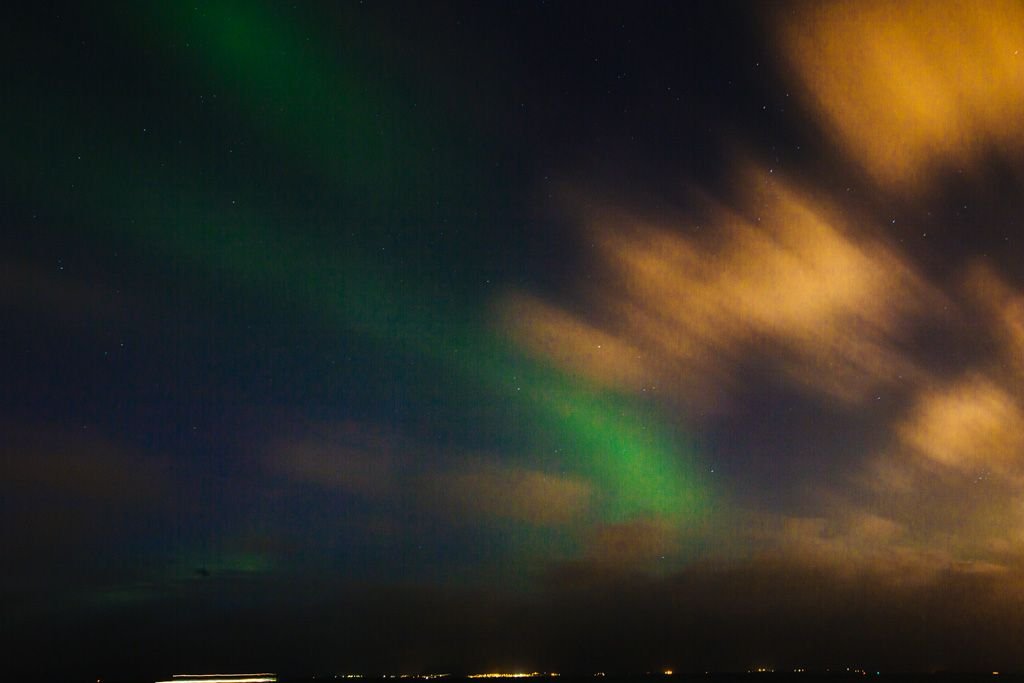
For this Northern Lights photo, my settings were f/10, 30 seconds, ISO 250:


