Let me preface this post with a disclaimer that I AM NOT A BEAUTY BLOGGER.
I never planned to write about my microblading experience, but after a handful of frantic late-night Google searches, trying to understand if what I was seeing and experiencing was a normal part of the healing process and not quite finding a clear answer… I feel compelled to fill in the gaps for future freakouters.
Oh and apologies in advance for the lack of quality photos in this post – again, I did not plan to blog about this experience, so I didn’t put much effort into documenting it and only have a handful of selfies to share. You forgive me, right? :)
Why Microblading? My Story
We all have parts of ourselves that we’re particularly self conscious about. For me, it’s my hair and my eyebrows.
I had bushy eyebrows as a child and teen, the kind of brows that wouldn’t look at all out of place on a guy’s face, but that stand out like a sore thumb on a female face. I hated them, but I kinda just ignored them (and my appearance overall) during my formative years, focusing all my energy and attention on excelling in school instead.
Once I started college, I started experimenting with tweezing. Mostly I just plucked out the strays and was too scared to try to shape them in any way.
Then in my 20’s, I plucked (pun intended!) up the courage to start shaping my brows – albeit very conservatively. I still didn’t know what I was doing and was too petrified to get them waxed, so mostly I was trying to get them to a neutral point – like, not super bushy but also not beautifully shaped. The kind of brows that don’t draw any attention, positive or negative (which, real talk, is what I do with most everything in my life… read into that what you will).
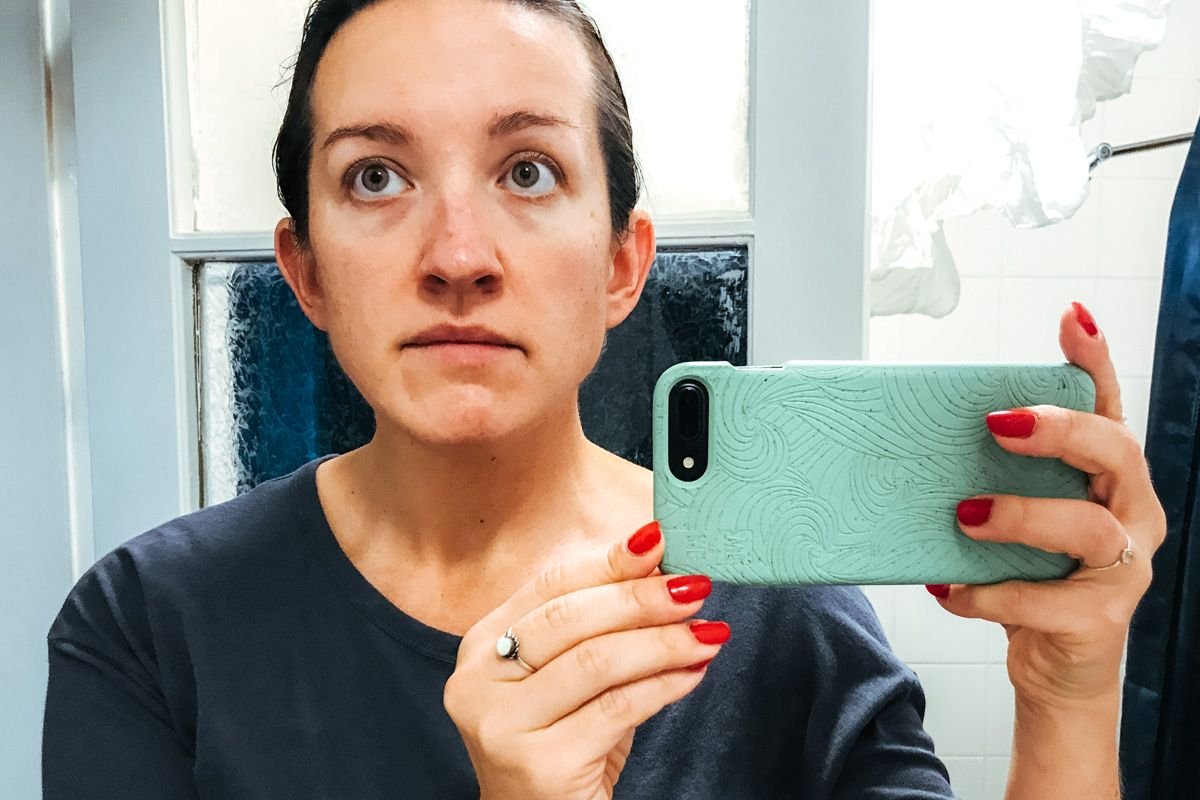
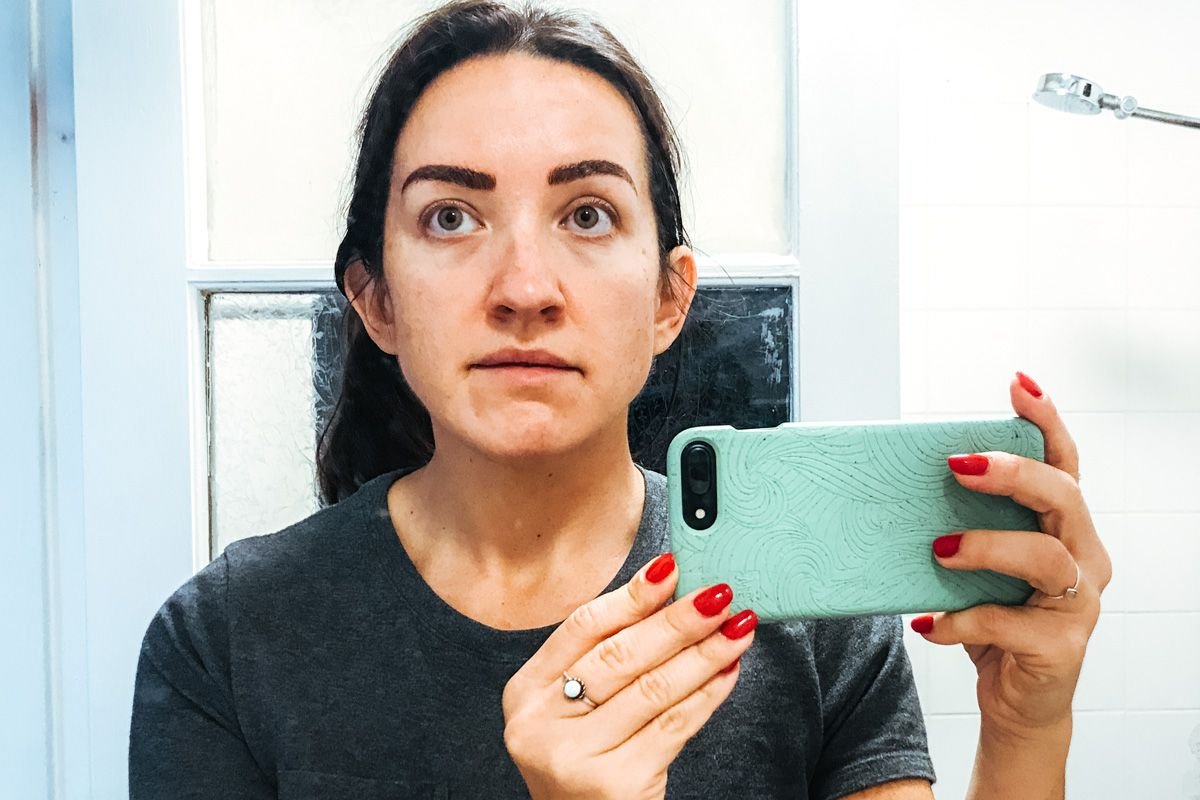
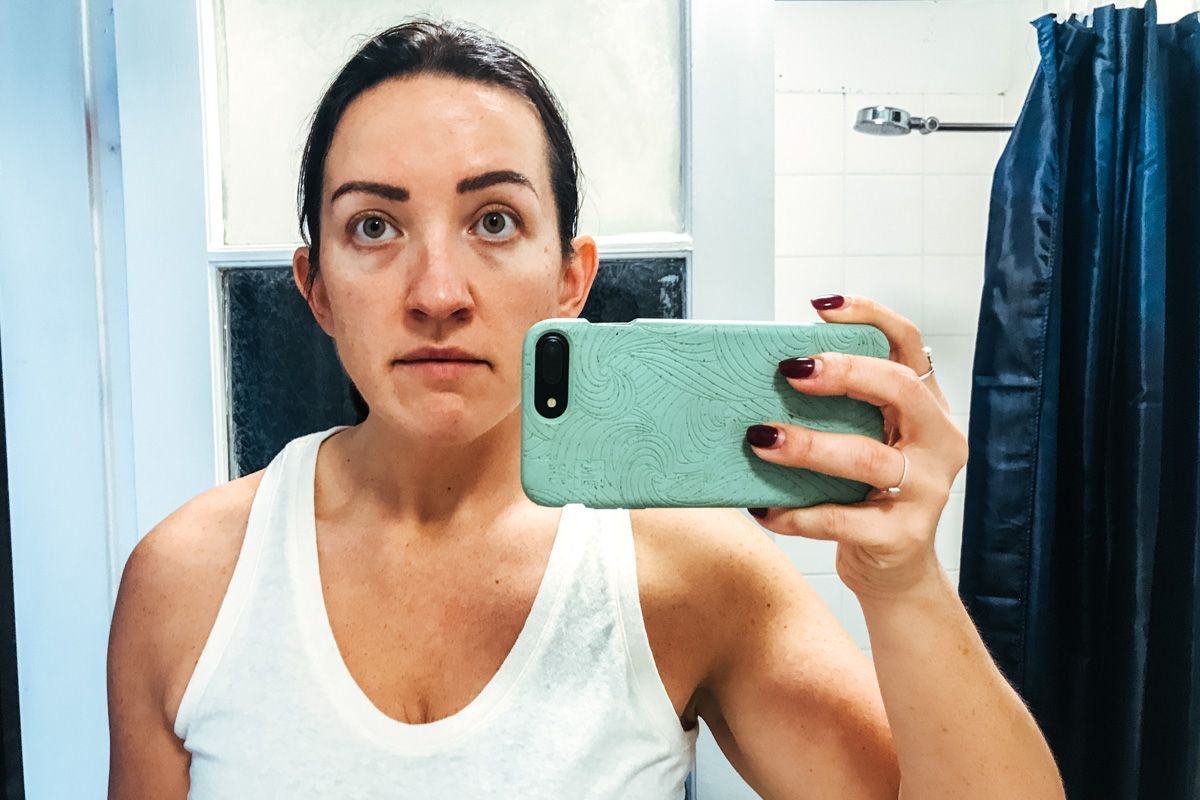
My eyebrows BEFORE microblading, without any makeup.
Fast-forward to present day: at 35 years old, my brows still have a lot of hair (excuse me while I pat myself on the back for never getting into the over-plucking trend!), but they’re… patchy and uneven. I don’t even know how they got to be this way, as the patches are not in places where I would have tweezed. Also, the tail of one of my brows is shorter than the other (ok, so I’ll admit to over-tweezing that one time).
So every single day of my life, I wake up and immediately fill in my brows (yes, even if I’m camping). Most of the time it’s the only makeup I apply. But I don’t feel like I do it in a consistent way because to me, they often look different day-to-day. So annoying!
On top of that, I spend most of my time in warm climates, sweating because I’m one of the lucky ones that sweats a lot, and/or swimming because I LOVE THE BEACH. So most days end with my eyebrow penciling pulling a disappearing act.
ALL THIS TO SAY: I was BEYOND tired of penciling my eyebrows and having it melt off halfway through the day. I wanted to be able to travel and hike and camp without having to deal with this nonsense.
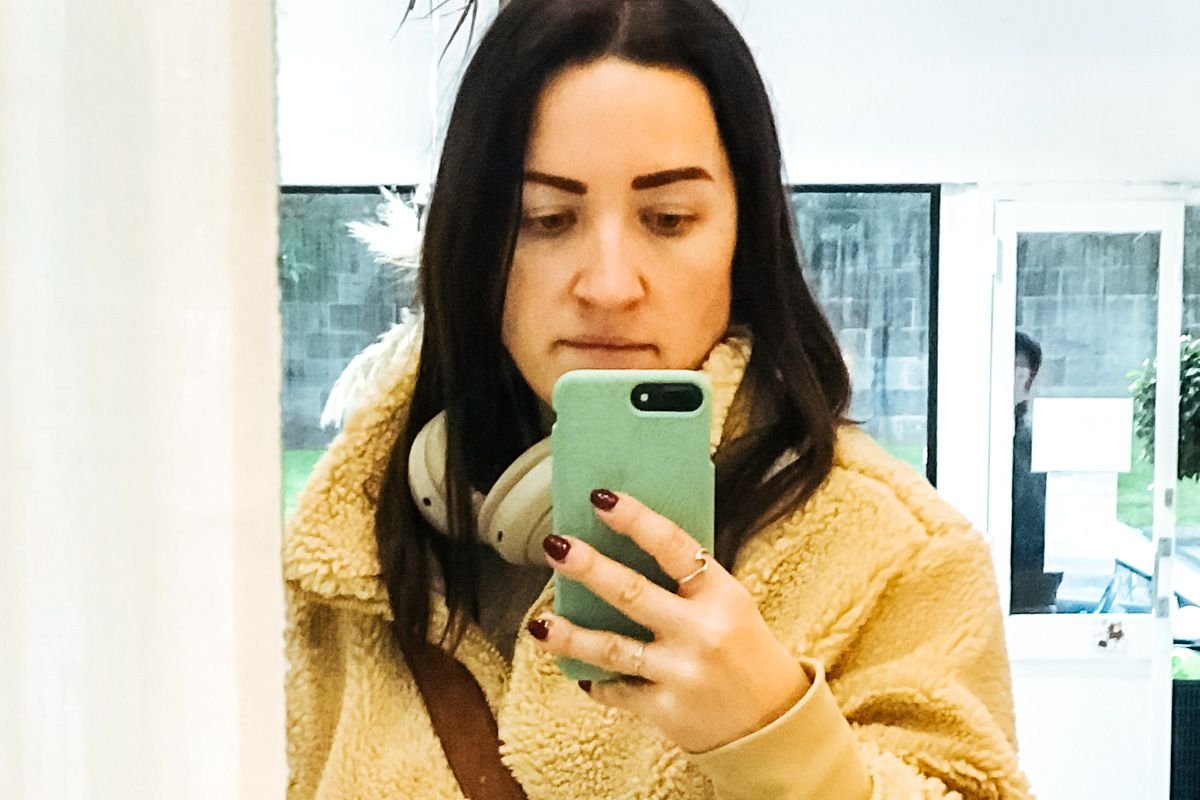
Out and about the day after my first microblading session and OMG my eyebrow finally has a tail!
I am very much about throwing money at things that will make my life immensely easier and better (see: LASIK, laser hair removal, end-of-lease cleaners… you get the picture). Microblading flew onto my radar a few years ago and I thought about it, but the idea of getting eyebrow tattoos (or ANY tattoo) was borderline nauseating so I kept putting it to the side.
Then COVID-19 hit and I found myself with extra money and time on my hands. If I was ever going to make this investment, now was the time for it.
In July, I casually booked a consultation with someone close to where I’m currently staying in Sydney, staving off the nerves by reminding myself that this was just a casual chat and that I didn’t have to commit to getting it done.
Welp, spoiler alert: I ended up getting microblading right after my consultation, completely unexpectedly.
This was a good thing because I didn’t spend any time worrying about it beforehand, but also kind of a bad thing because I didn’t really know what to expect and it was mildly traumatizing at times.
Ultimately I am VERY happy I got the microblading done, but I do wish I’d had a better idea of what to expect throughout the entire process, procedure to healing to touch up.
So this is me giving YOU all the deets on the microblading process.

2 weeks after first microblading session.
Where To Get Microblading: How To Choose
These days, there’s no shortage of microblading options in most major cities (well, at least in the US and AUS, that I know of). It can be VERY overwhelming deciding who to go with, not to mention confusing when you see how wildly they all vary in price.
On the cheaper end of the scale (<$400), you’ve got the Groupon deals and the solo artists who don’t work out of a proper studio and mostly just rely on word of mouth to make bookings. Those options definitely raise en eyebrow for me (HA I’m so punny!), as I can’t help but wonder why they’re priced so low or why they don’t have a proper website or physical presence. Those things all inspire trust, so if I don’t see them in a microblading option I’m like NEXT.
Then on the pricey end of the scale, you’ll find fancy salons dedicated to microblading, possibly with a massive Instagram following, charging $1000+ for eyebrow tattooing. I feel like you’re paying for prestige and flash and perhaps the overall salon experience here, which is fine if that’s your jam. I think these places are pretty trustworthy, I’m just not sure if the value is there.
And finally, you have the midrange microblading options (~$400-800ish). I focused my research in this zone, seeking out quality, no-frills, and great value. The artist I went with in Sydney charged 650 AUD (just under US$500).
In short, here’s what you want to look for when trying to figure out where to get microblading:
- Price: not too low, but not unnecessarily high either
- Reviews: Check their Google Maps listing for reviews, and also their website for testimonials
- Photos: Check their website for photos of their microblading work. Make sure you like their style before you book with them!

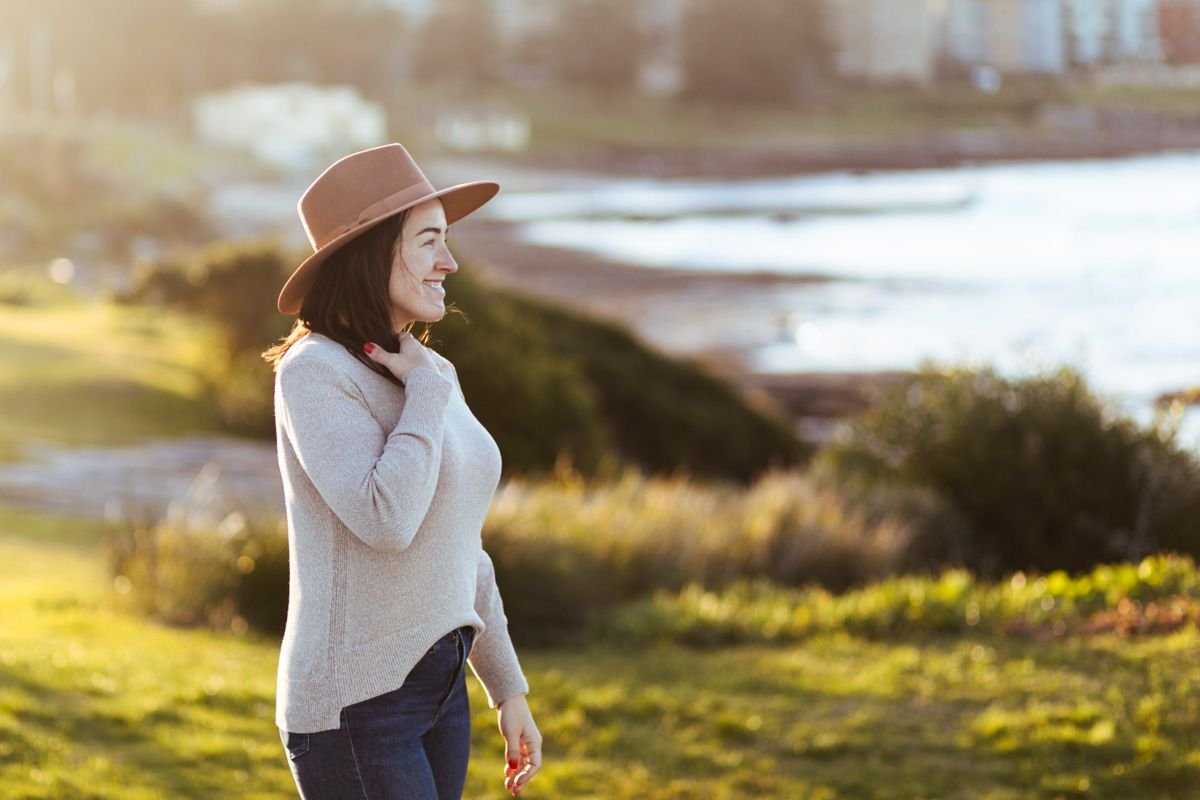
4 weeks after first microblading session, still diligently wearing my hat while in the sun.
The Microblading Process
Microblading Consultation
Microblading typically begins with a consultation, where you go into the salon to meet with the person who you’re looking to have do your microblading and learn more about the process.
If you have any questions, this is the best time to ask them. I’d also ask for a run-down of the process and what to expect, as well as explain the look you’re going for and ensure they’re willing and able to do it for you. You might also request to see photos of their work, if you haven’t seen enough on their website.
For me, it was hugely important that my eyebrows looked extremely natural – like, to the point where you’d never suspect they’d been microbladed. I just wanted them evened out with the spots filled in, NOT overdone and enlarged to look like caterpillars. So I emphasized that I wanted SUBTLE and NATURAL and was assured that it’d be no problem to accomplish.
After the consult, if you want to go ahead with the microblading you can schedule your appointment – or if you’re lucky like I was, you might be able to have it done right then and there!
Preparing For Microblading
Before you book, you’ll want to make sure you schedule your microblading during a time where you’re able to keep up with all the aftercare. If you’re traveling lots, training lots, or swimming/beaching lots, I would not recommend getting microblading done until you have some time where you don’t mind sitting still for awhile. Also remember that you’ll need to be available to go in for a touch-up ~6 weeks after the initial microblading treatment.
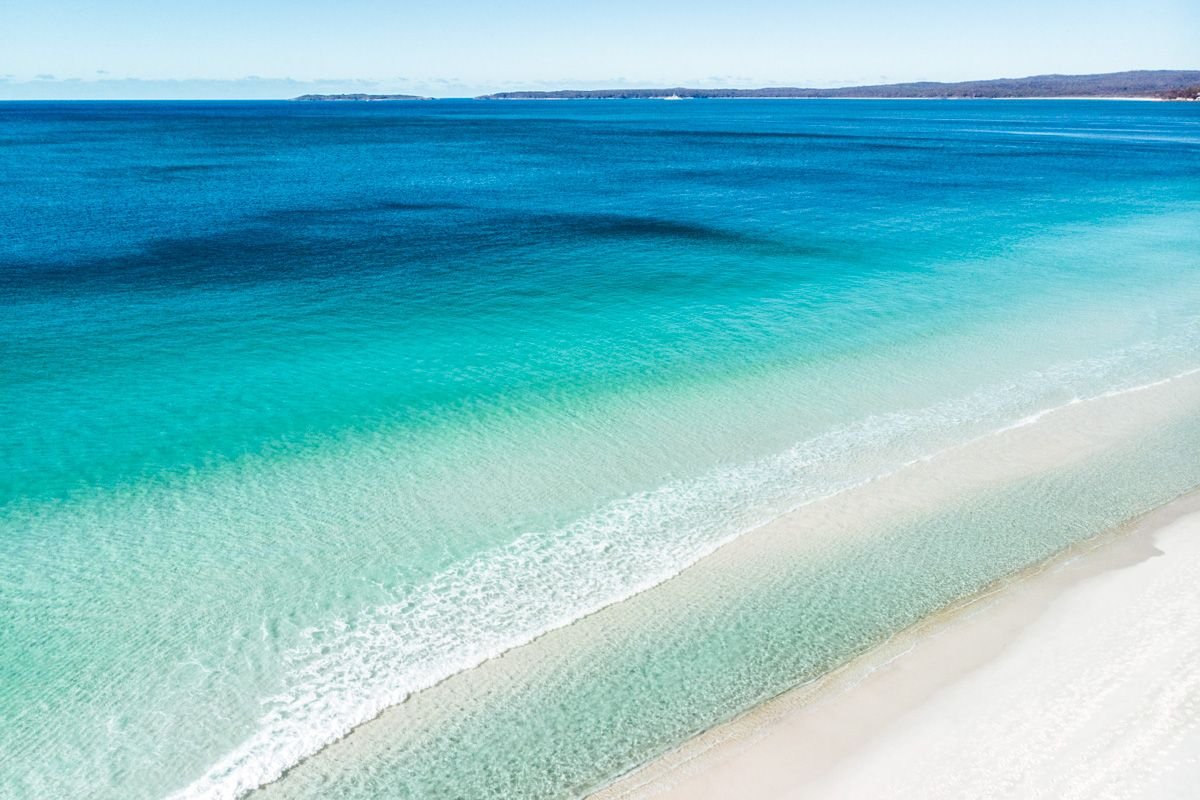
Throwing in one random photo because it’s just too much of my face for one post!
I wasn’t advised to do or not do anything in the days leading up to my microblading appointment, but I’d read on other websites that you shouldn’t consume any caffeine in the 24 hours beforehand, or take any fish oil in the 3-7 days beforehand (these things can thin the blood and potentially cause you to bleed and scab more). I had caffeine and fish oil in my body during the first microblading session, but I cut them out before my touch-up appointment and didn’t scab as much that time so… maybe there’s something to it?
Microblading: What To Expect
The first hour or so of the initial microblading appointment is spent designing the shape of your new brows. I didn’t request any particular shape and figured it would best be left to the expert (aka NOT ME), but if you have a specific look you want, you can bring in a photo they can use for reference.
You’ll have all sorts of measurements taken and sketches drawn onto your face, taking into account your face shape and bone structure. It’s pretty common to have your tails extended and/or your brows brought closer together, both of which were done for me (in the end, the tails came out fine, but the lines bladed on my inner brows didn’t really hold – I suspect due to my oily T-zone).
I really wish I’d snapped a photo of what this all looked like, but I tried to minimize how much I looked at my face, for fear of puking. Your brows do look over exaggerated with all the drawn-on bits and aren’t indicative of what the final result will look like, but even still – it can be quite alarming to look at for the first time.
I knew I’d chosen the right person to do my microblading because she was such a perfectionist and said she never moved forward until she was 100% happy with the sketches. I also appreciated that she checked in with me to make sure I approved, and listened to me when I insisted that the arches were just a wee bit too much for my liking.
Once you’re both happy with the proposed new brows, it’s time to start the microblading!
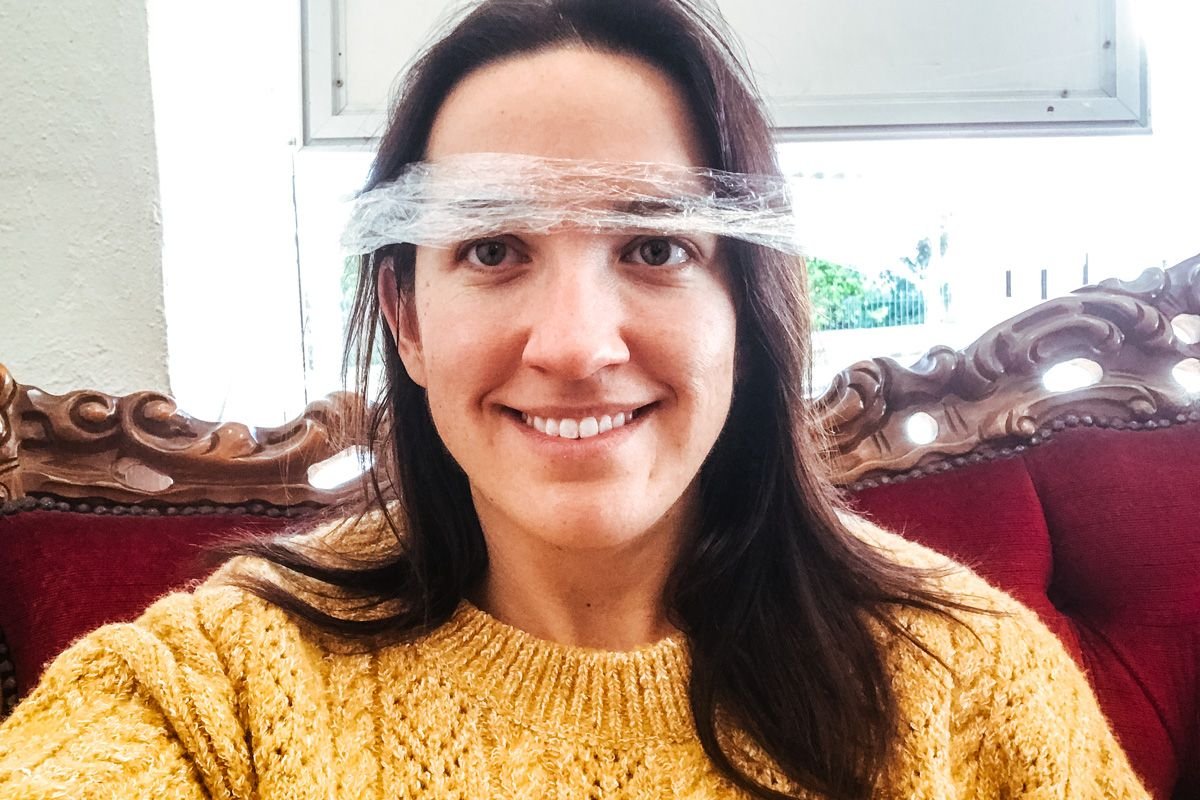
At this point, they put numbing cream on your brows and cover them with saran wrap, and then you let it sit for a half hour or so. I was assured I’d barely feel a thing once my brows were numbed, but spoiler alert: IT HURT A LOT. If your pain tolerance is low and/or you have larger brows (i.e. it takes longer to do the microblading, which means the numbing cream will wear off sooner), I would request to have the numbing cream left on for longer if possible (more on this later on in this post).
In terms of colors, I didn’t really have much of a choice because I have dark hair and it’s pretty obvious that the ink also needs to be dark in order to match it. But if you’re a blondie with lighter brows, you have more options in terms of how dark you want to go.
The microblading itself took about an hour for me, but will go a bit quicker if you have smaller/thinner brows. It starts with etching an outline around your brows, and then you’ll have thin lines cut inside and around your existing eyebrows, which are filled in with ink. The lines are meant to mimic the way eyebrow hairs look so that it appears natural, rather than filling in the brows as you would with a pencil.
What does microblading feel like, I’m sure you’re wondering? If you’re lucky, you won’t feel any pain but rather a scratching or etching sensation. Some people complain about the strange scratching noise that accompanies it, but I barely noticed any sound (probably because I was wincing in pain and playing the same two songs on repeat in my mind in order to distract myself).
Just a reminder here that these are essentially eyebrow tattoos! You are getting tiny lines tattooed onto your face. The only difference is that unlike a normal tattoo, microblading is semi-permanent and does not penetrate the skin as deeply (which is why it fades within a few years).
In total, I was there for nearly 3 hours, from consultation through to microblading (~30min numbing cream + consent forms to fill out, 1 hr for drawing the shape, ~1 hr for the microblading).
Immediately after first microblading session: SO DARK!
Microblading Healing
There’s a funny microblading meme floating around that illustrates the range of emotions one might experience throughout the microblading healing process. If you’ve done any research, then you know the one.
It may be cute and funny, but also: IT’S REAL.
And I speak from experience when I say that even a level-headed, logical, “no worries, mate” kinda person is likely to experience some freakout as their microbladed eyebrows heal.
Everyone’s brows heal differently, but here’s the rough timeline of emotions you might experience over the first 2 weeks following the microblading process:
Phase 1: OH GOD WHAT HAVE I DONE I LOOK LIKE A CARTOON (Brows are DARK and swollen and just so different than what you’re used to, it can be a shock to look at! There also might be a bit of scabbing.)
Phase 2: I CAN’T STOP ITCHING! (The brows are itchy but try not to touch them!)
Phase 3: EW, AND NOW THEY’RE FLAKING OFF! (Little flakes in your brow hairs, not so cute. Eyebrows look patchy and weird now.)
Phase 4: WHERE DID MY NEW BROWS GO? (They fade after about a week, then return as the skin heals and regrows)
Phase 5: OMG I’M SO GLAD I DID THIS! (Brows are back and lookin’ good, and you feel like a QUEEN)
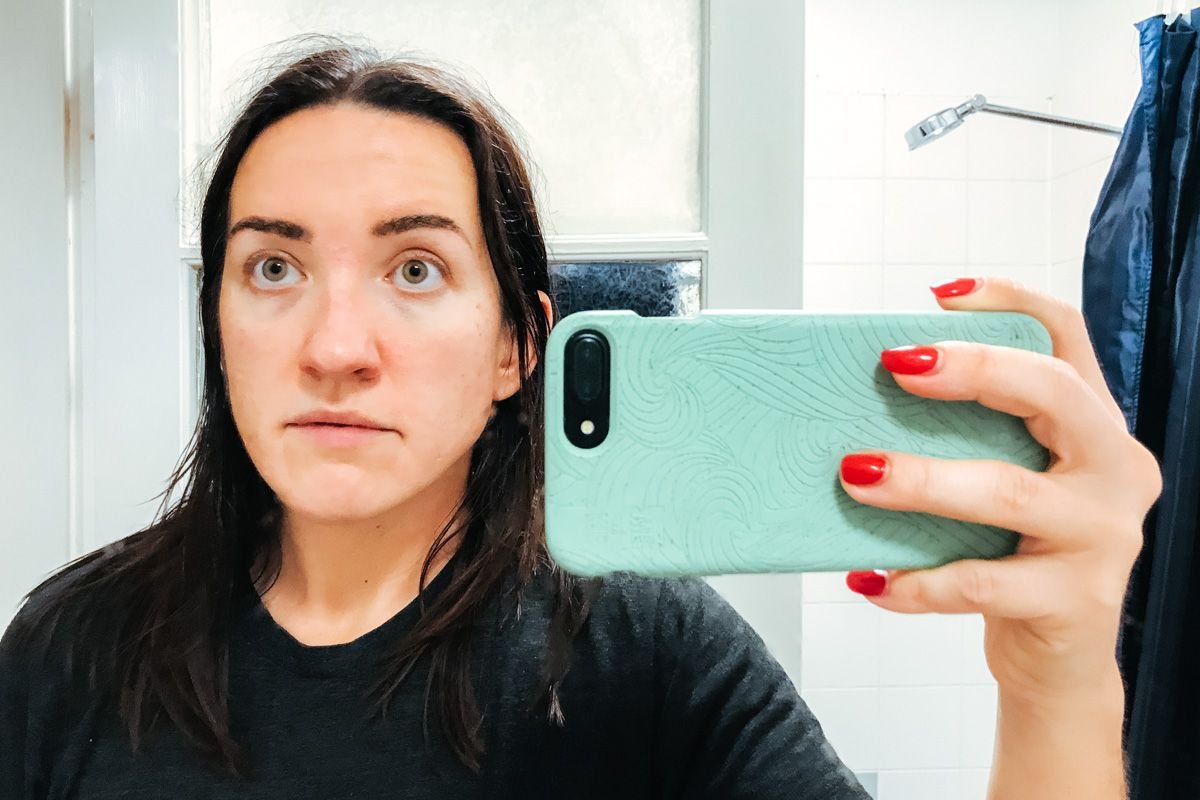
1 week after first microblading session: very scabby and patchy.
Microblading Aftercare
As far as aftercare goes, the daily regimen goes something like this:
In the 4 hours immediately following the treatment, take a baby wipe and wipe your eyebrows once every hour. You’re essentially wiping off blood and ooze off so that scabs don’t form, so this is super important. Don’t be afraid to wipe firmly, either – this is where I failed my first time around, I think, as I ended up scabbing quite a bit and as a result, my brows looked a bit patchy before I got them touched up. Again, make sure you wipe the crud off those brows, as gross as it may look!
Then for the 10 or so days after the treatment, you’ll likely be given some kind of ointment to apply to your brows in the morning and just before bed (I was given diaper rash cream!). What worked best for me was wiping my brows with a baby wipe and then applying a thin layer of ointment with a cotton swab. Again, do this twice a day for the first 10 days.
I’d also recommend wearing a hat if you’re out in the sun with your microbladed brows, especially during the first 10 days. Sun will fade them faster, and it can mess with the healing process as well.
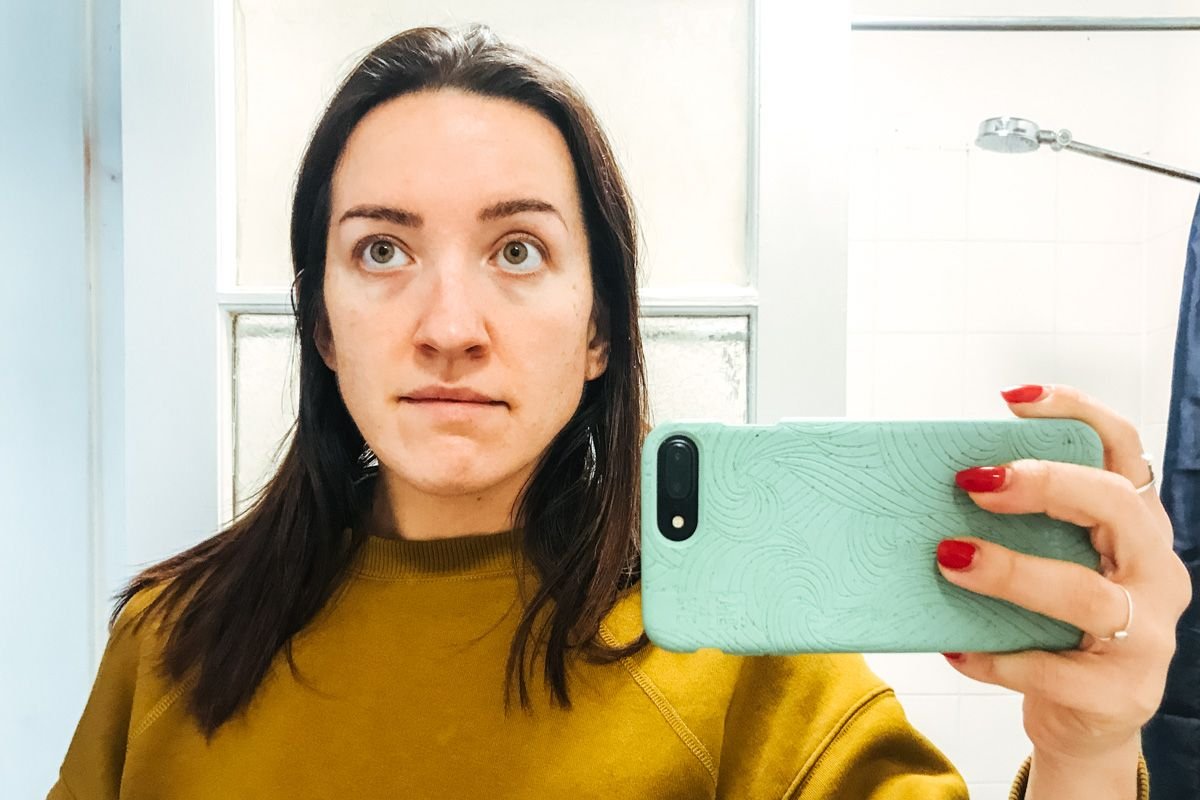
2 weeks after first microblading session: mostly healed, but still patchy.
During the two weeks immediately after microblading, you must avoid getting your brows wet as they heal. This means no swimming, no sweating, no excess moisture of any kind. Working out or exercising is discouraged. Avoid steam rooms, baths, and facials.
You can take hot showers, but keep them short and be careful not to get your eyebrows wet if you wash your hair. I actually found it easy to keep them dry in the shower. I also only wash my hair every 4 or 5 days, so I just had two showers during this time where I had to be extra careful not to get my brows wet. (Pro tip: wash your hair just before you go in for microblading, then you don’t have to worry about it for a few days).
I did find it mildly annoying to wash my face without getting my eyebrows wet, but not too bad. I’d wash my forehead separately and then the bottom of my face (below the eyes), and then I’d pat my face dry with a towel.
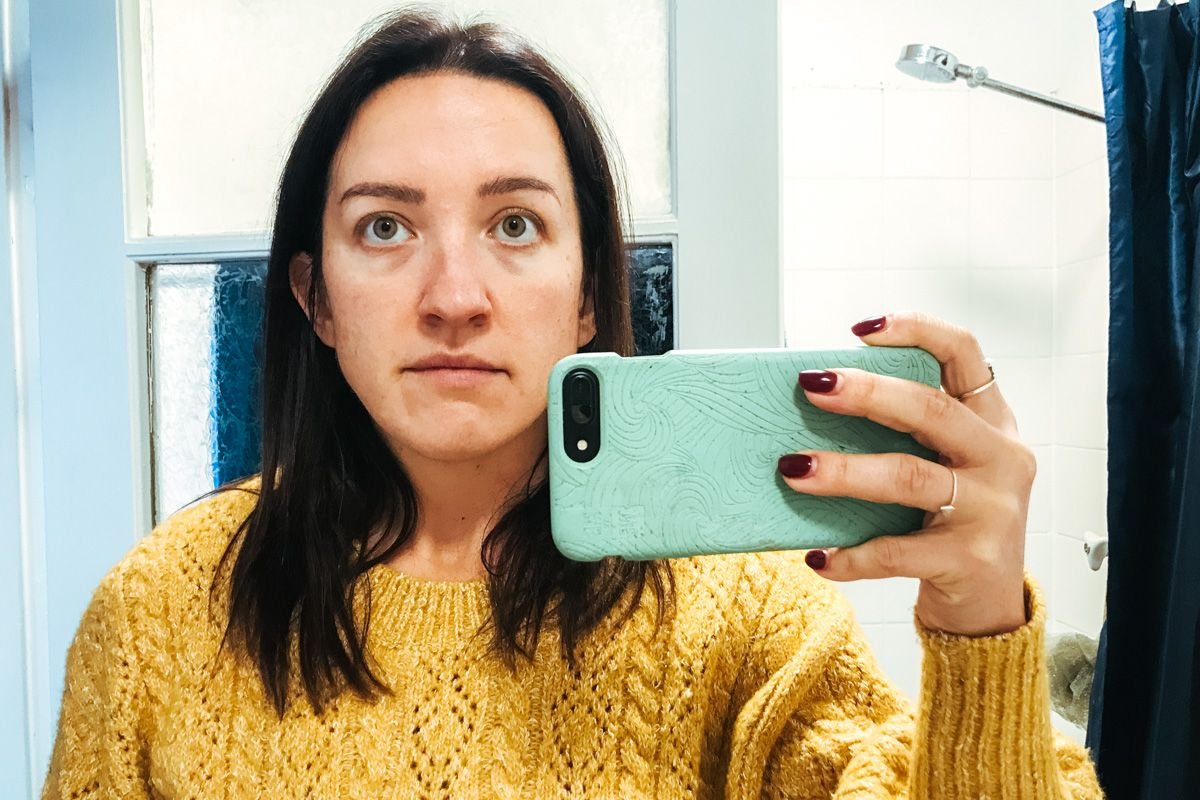
5 weeks after first microblading session, just before heading in for the touch-up.
The Microblading Touch-Up
As mentioned above, the microblading process includes both the initial treatment and the touch-up. So when you pay for the microblading, you’re paying for both sessions. The touch-up should be scheduled 4-8 weeks after the initial microblading session; mine was done 5 weeks later.
Warning: Do NOT skip the touch-up. Your microblading is not considered complete without it and your brows are likely to fade much faster if you don’t get the touch-up.
I feel like calling it a touch-up is misleading though, because it’s not like they just fill in any gaps you have. No, the microblading process is actually completed in its entirety again, so your entire brows get bladed.
I won’t lie, I was absolutely DREADING having to endure the whole thing again. But since it had been so painful for me the first time around, we left the numbing cream on for longer before the touch-up (about 40mins this time, as opposed to 25mins last time). This seemed to make all the difference, as I barely felt any pain during the touch-up!
1 day after the touch-up: back to being too dark.
In all, I was there for just under 2 hours: 40mins for the numbing cream, and the rest for the actual microblading.
And that’s it! Be sure to keep up with the aftercare for the next 10 days, exactly the same as you did after the first microblading session. Once you’re done, you’re good to go for at least a year until you need to go back for another touch-up. Some people’s microblading can last for 2 or even 3 years before it starts to fade and a touch-up is needed, it all depends on your skin.
1 week after the touch-up: still a little dark, but much less patchy than they were after the first session.
Is Microblading Worth It?
I must admit, I didn’t feel like the patchy brows I ended up with after the first microblading session were worth the pain and hassle I endured. But knowing the process wasn’t complete until after the touch-up, I kept an open mind and waited to form my final opinion.
Now, about a month after the touch-up with my eyebrows healed, I can honestly say that microblading is worth it for me. Thankfully the touch-up was much less painful, and the healing process was less traumatic this time.
I’m very happy with the final result and love that my eyebrows always look full and shaped no matter when I look in the mirror! And now I get to be even lazier when I get ready for the day, bahaha.


3 weeks after the touch-up: all healed, a tiny bit patchy but not enough to bother me.
Any questions about microblading? Ask away in the comments below!
